
Book binding as a tradition can be traced back through the centuries in many cultures. Long has the world chosen to preserve knowledge and stories in books, and Japanese bookbinding is one such method that has stood the test of time.
Books from the previous eras in Japan are still intact today, as are the methods used to create them.

By Codex (Creative Commons Attribution-Share Alike 3.0 licence)
So what’s the special trick? Rather than keeping to just one technique, Japan has explored a wide range, the most popular being Japanese stab binding, which does not require glue at all – making it one of the oldest techniques!
You merely need a needle, thread, and a few specific tools. For this reason, Japanese bookbinding is popular craft picked up by hobbyists and professionals alike.
Of course, there are other Japanese bookbinding methods that can suit your unique projects. Depending on what style of book you are binding, what skills and tools you have available, and what kind of a challenge you are after, some bookbinding methods will suit you more than others.
Here we’ll explore a few of the options and guide you through creating some beautifully crafted books!
Contents
Styles of Japanese Bookbinding
Kansubon/Scrolls
Scrolls have been a means of recording and preserving the written word in many cultures, and Japan was no different.
Uniquely, though, in Japan, a Kansubon was not made from a single piece of paper, but rather a large number of pages glued together.
These pages would be laid out horizontally and then glued together along the vertical edges. After completion, some were kept in special tubes for preservation, while others were sealed with wax or tied shut.
Outside of hobbyists, Kansubon is rarely practiced today.
Kansubon Tutorial
Creating a Kansubon scroll takes up quite a bit of floor space, so try and clear a surface that won’t be disturbed by anyone during your project.
A table or an empty room, where no kids or pets will be messing around, are two viable ideas.
You will need:
- Paper for your pages.
- Bookbinding glue.
Working in sections is a methodical and practical way forward for the Kansubon method.
Lay out your pages in order, with page one on the left leading to the last page on the right. Starting from the last page, apply glue along an inch-wide strip on the leftmost edge of the page. Then, lay the preceding page over this glued edge and smooth it down.
Repeat until all the pages are connected. Try working in sections of five to keep this project manageable.
Once your pages are glued together, you can roll the scroll up and seal it shut with a small length of ribbon.
Orihon/Folding Books
Orihon is an evolved version to Kansubon. After gluing (by using the above method), rather than being rolled, the single sheet of paper is folded into a sort of paper accordion. Occasionally, covers will be glued to the first and last page.
Cleverly, Orihon works so that the book does not have to be completely unfolded to read a page.
Orihon Tutorial
Using the same method to create a single, continuous piece of paper as Kansubon, make your page.
Then, begin folding the paper following this guideline: fold over, fold under, fold over, and so forth. You can make the individual pages whatever size you want!
Once your paper is folded, you can glue a front and back cover to the first and last pages for extra security.
Detchoso/Glued Books
These should sound quite familiar! Detchoso is very similar to how modern books are printed, as in stacks of folded paper are glued together and bound within a cover.
Although modern bookbinders use machines to do all the work nowadays, the process is remarkably similar.
Detchoso were made from numerous stacks of folded paper, which were themselves made by folding a single piece of paper vertically.
Once the required number of stacks were aligned, a glue would be applied to the creased edges.

By Leena Kultanen (Creative Commons Attribution-Share Alike 3.0 licence)
Glue would also be painted over the outer edge of the first and last pages, and then wrapped in a final, single piece of paper that would act as a cover.
Detchoso Tutorial
The Detchoso bookbinding method is quite simple and only requires a small number of items to begin.
You will need:
- Paper for your pages.
- Bookbinding glue.
- Paintbrush.
- Paper for the outer cover.
Take the paper that you have printed on (or will write onto), and fold each one vertically. Although this process can take a while, especially if you are making a lengthier book, be patient and ensure that each fold is neat. It will pay off in the end!
Once the desired number of pages have been folded, break out the glue and brush. Depending on how many pages you are working with, you may want to operate in small batches over a number of hours or days; this makes the glued stacks more manageable as you progress.
One idea is to divide your book into quarters, glue the pages of each of those quarters together, and then glue the quarters together once the first wave of glue has dried.
After all of your pages are bound, coat the inside of your cover in glue and apply it to your page-stack.
As a final touch to really press everything together and create a flat, neat book, squish your book between a smooth surface with another flat, evenly weighted object – a stack of three or four large books would suffice!
Detchoso is a great Japanese bookbinding method for kids to play around with! No needles, no thread, just a bit of gluey mess to clean up in the end.
Fukuro Toji/Bound-Pocket Book
Fukuro toji is an especially unique method of Japanese bookbinding. Instead of sewing along the folded edge of the paper, bookbinders would sew the loose edges together to create the spine.
Although this method did cut down on how many writable pages were available, this method also allowed thinner paper to be used. As a result, it opened up the chance for interesting binding patterns or differently shaped books.
Traditionally, a back and cover were included before sewing began as a protective or decorative measure.
Fukuro Toji Tutorial
Making your own Fukuro toji isn’t difficult, even if it sounds hard! The true work lies in the amount of time you must devote to it.
You will need:
- Paper for your pages.
- Paper for your cover.
- Bull clips.
- A large sewing needle.
- A bookbinders’ awl.
- Thread.
Using the folding method for paper in Detchoso bookbinding, create the desired number of pages. Alternatively, you can use a thinner, more delicate paper to create your pages.
Next, select the front and back cover. Compile your book and clamp everything into place with some bull clips.
For the next step, you will need a hole-punching tool called a bookbinders’ awl. These can be picked up cheaply online or at a craft store.
After marking where your holes will be, start using the awl to push a hole through the book. If your book is quite thick, separate the pages into sections and drill the holes; this method is also useful if the book cover is made of tough material.
Regardless, pushing the awl through a book does take a bit of elbow grease.
Once the holes have been punched, thread your needle and start binding your book together! There are special threading methods for stab binding that keep the pages neatly aligned and secure, which you can find with a quick Google search.
Tetsuyoso/Sewn Books
Tetsuyoso books are those that are sewn together with the stab binding method we’ve discussed!
Traditionally, Tetsuyoso methods did not include covers to protect or reinforce the book – but modern hobby-crafters have adapted stab binding to sewing covers in as well.
Using the same page crafting method as Detchyoso, bookbinders would create all the pages they need. However, it was not uncommon that, to ensure stitch secure bindings, pages would be separated into smaller bundles.
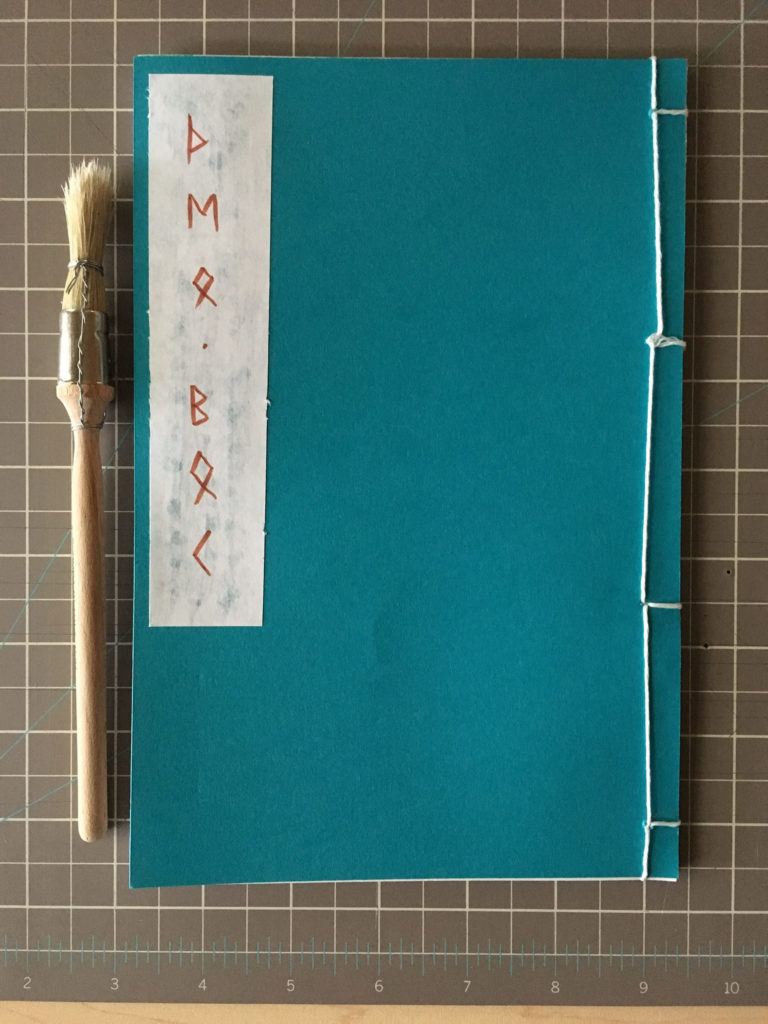
By aehdeschaine (Creative Commons Attribution-Share Alike 3.0 licence)
These divvied-up stacks would be sewn together, and then all of them would be combined to make the whole book; whether or not you do this is completely up to you.
Since no glue is involved and there is no true spine for the book, the front and back covers are sewn in with the paper bundles.
There are dozens of beautiful threading designs that can add an incredible ‘wow’ factor to any handcrafted book!
Check out some of the designs on Pinterest, or play around with your own design. Styles range from easy to difficult.
Tetsuyoso Tutorial
For Tetsuyoso bookbinding, you will need a few tools, a steady hand, and a large amount of patience!
You will need:
- Paper for your pages.
- Paper for your cover.
- Bull clips.
- A large sewing needle.
- A bookbinders’ awl.
- Thread.
Fold the number of pages you need, using the Detchyoso method. Then, pile everything up and clamp it all together with some bull clips; you can pop a square of soft material under the beak of the clips to prevent them from denting the paper.
Stab your holes and start threading.
Now you have your very own Tetsuyoso book!
Here’s a video showing an example of Japanese book binding.
Conclusion
This guide has covered some of the most prominent Japanese bookbinding methods throughout history.
There are many ways that bookbinding has evolved, and though some are no longer used today, hobbyists can certainly try them out for themselves.
Grab some paper, a few tools from the craft store, and thread of your choice, and you can follow any of the tutorials above!
Do you have any tips on Japanese book binding?


