
Book lovers know the importance of a good bookmark. After all, nothing’s more frustrating than losing your place!
Whether it’s a novel, a textbook, or any other type of book, bookmarks are a handy way to customize your reading experience and save time.

Speaking of customization – what if you want to make your own? Simple, easy, and beautiful, here’s everything you need to know about DIY bookmarks!
Contents
What is a Bookmark?
Bookmarks refer to anything that can mark your place in a book. They’re typically thin markers made of card, leather, or fabric.
You may think of a bookmark as a thin piece of rectangular paper, usually tied to a ribbon at one end.
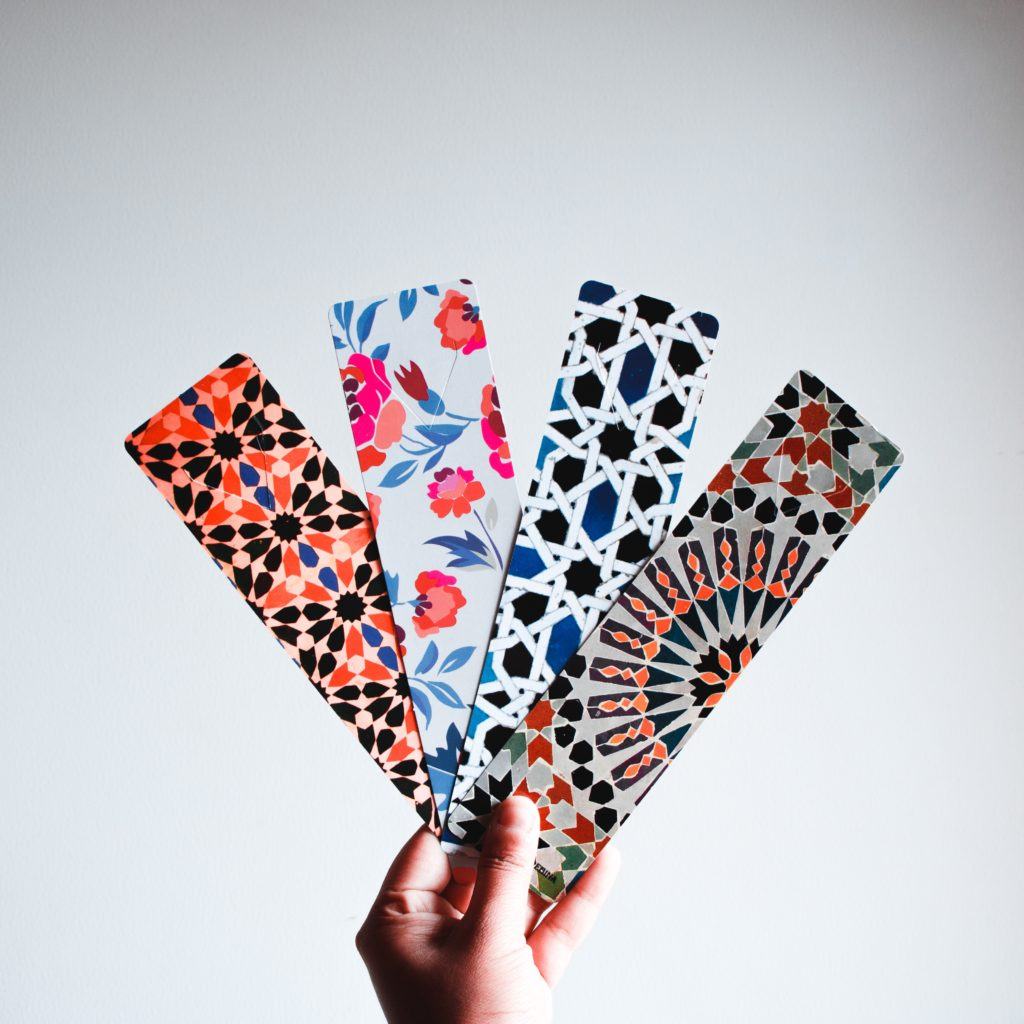
However, bookmarks can come in many different shapes and sizes, and can be made with a myriad of materials.
History and Origin
Ever since there were books, there have been bookmarks. Research on bookmarks has uncovered evidence of their use since the 1st century AD, alongside handwritten manuscripts.
The oldest verified bookmark is dated as far back as 6th century AD, found in the ruins of an Egyptian monastery. It was made of ornamented leather, lined with vellum, and attached to the cover of a manuscript with a leather strap.
Bookmarks of the medieval period were often made with a parchment strip, attached to the edge of a book or to a piece of cord. These were made with extra care; because printed books in the medieval era were rare and expensive, people went to great lengths ensuring that bookmarks wouldn’t harm their valuable pages.
Detached bookmarks came along in the 1850s, resembling the design we are more used to in the modern-day. Because they weren’t attached to the book, bookmarks were collectibles for the first time! This made them popular to give as gifts or horde in a collection.
The materials used in bookmarks eventually began to widen. Notable materials included the woven silk bookmarks in the Victorian Era, introduced by an English silk weaver. Ribbons and leather were also popular, intended to be used in Bibles and prayer books.
The modern, stiff, paper and cardboard bookmarks emerged in the 1880s. These cheaper, commercial designs accompanied the more commercial nature of books. From then on, bookmarks took off! They’re now made with countless different materials and come in many shapes and sizes.

How to Make DIY Bookmarks
With the wide range of materials commercially available in the modern-day, it’s very easy to make your own bookmarks.
We are going to start with a more traditional style: a rectangular strip of stiff paper with a tassel. This tutorial serves as a great basis for many other designs.
Once you have the hang of this tutorial, you can easily swap out cardstock for a different type of paper, or the tassel for a ribbon.
Materials
- A piece of double-sided, cardstock, scrapbook paper; 8 x 2 inches in size.
- Yarn; preferably a thinner weight.
- Scissors.
- Hole punch; preferably with a small, 1/8-inch-circle hole.
- Laminator.
Method
- Let’s start by creating our tassels. Begin by loosely wrapping the yarn around four fingers. Keep going until you have a thickness that you feel is appropriate.
- Leave off an extra 8 inches of the tassel, and then cut off the end.
- Take the cut end and wind it around the yarn, in the space between your index and middle fingers, a few times. Pull and create a tight knot.
- Release the yarn from the bottom three fingers, and cut the bottom yarn loop.
- Now, cut off another piece of yarn, about 9 inches long. Fold it in half, and slide this piece through the top loops.
- Laminate your cardstock, and press a hole at the top.
- Insert the top of your yarn tassel into the bookmark hole, and secure with a knot at the hole.
For those who would like chunkier tassels, this tutorial from Homey Oh My has you covered.
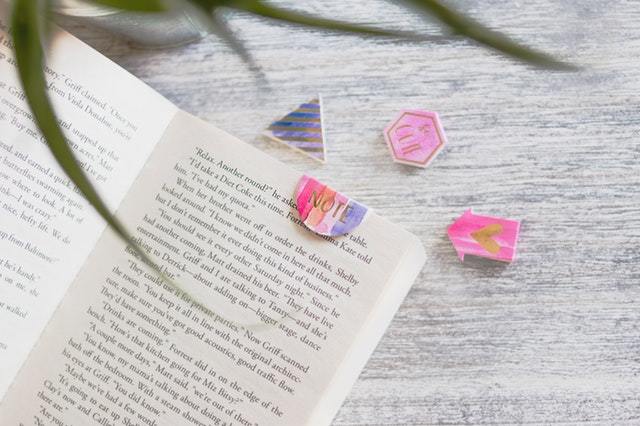
Bookmark Ideas
Bookmarks can be far more than just a rectangular cardstock with a ribbon! To start you off, here are some cute bookmark ideas for you to try.
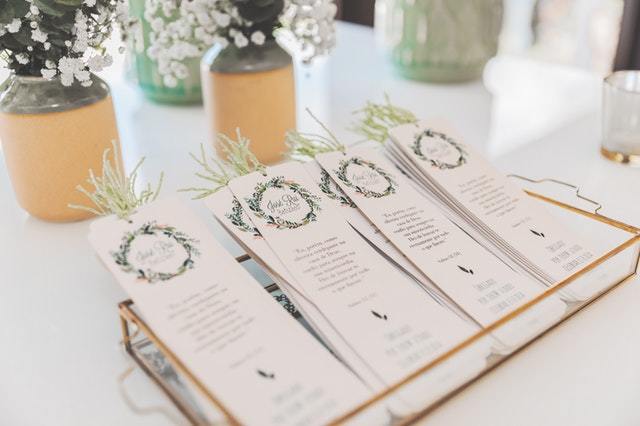
With Quotes
There’s nothing that can show your love for reading more than quotes. And what better place to put a quote than inside a bookmark?
Showing off your favorite lines all while marking a book is perhaps a true sign of a bookworm.
On top of that, quoted bookmarks are very easy to make! You can use whatever quote you like, be it an inspirational quote, a line from a different book, or even a quote from the book you’re marking.
Cardstock
There are many ways to add quotes to your own bookmarks. The most common way is writing them down yourself on cardstock, then laminating that cardstock and adding a yarn or ribbon at the top. I
f you are tech-savvy, you can save time by using computer programs to design your quotes. You can use different fonts, and even add decorations alongside your quote.
Print this out on cardstock, then laminate and add yarn or ribbon.
Linen
For those who want a more hands-on approach, you can also try sewing your quotes on linen.
This tutorial is timeless, elegant, and perhaps one of the most unique bookmark ideas out there!
Materials
- 2 pieces of linen; 3 x 6 inches.
- 1 piece of iron fusible; a bit smaller than 2.5 x 5.5 inches.
- A pen for tracing out your quote, or a stamp.
- Sewing machine (optional).
- Thread (in the color you want for the quote).
- Extra strips of cloth for decoration.
Method
- Start by making a guide for your quote, either through writing it down by hand or by stamping a quote straight onto the linen. If you choose a pen, be sure it’s designed for writing on linen or that its ink will be fully covered by your stitches.
- Stitch the quote onto the linen by hand or with a sewing machine.
- Add more designs around the letters, either by hand or by stamping. Stitch these in.
- You can also add strips of cloth at this point, stitching them into the linen.
- Put your strips of linen on top of each other, and stitch around the borders of your bookmark, making sure to keep about ¼-inch away from the edges.
- Trim the excess cloth with pinking shears.
- Cut a small hole at the top of your bookmarks, and attach a piece of ribbon.
Heart-Shaped Origami Bookmark
If you’re looking for cute bookmarks, this heart-shaped bookmark has you covered. A break from the usual rectangle-shaped bookmarks, this heart-shaped design requires no cutting, sewing, or hole-punching!
All you need is a piece of square paper (the typical origami size) in a design that you like, and five minutes of your time.
Procedure
- Cut your square paper in half. For reference, origami paper is typically 5 inches on all sides. When cut in half, you will end up with a rectangle measuring 5 inches on longer sides and 2.5 inches on the shorter sides.
- Fold the paper in half lengthwise, making sure that the pattern is on the outside.
- Then, mark the center of the rectangle, on its longer side, by making a crease.
- With the opening facing you, take one of the rectangle’s bottom ends and fold upwards at a 45-degree angle. The edge should align at the center.
- Do the same to the other side. Your origami should now resemble a small rectangle with a triangular tip.
- Turn the paper over, and fold the top downwards. Fold about 1/3 inch downwards. This will be the basis for the heart’s top curves.
- Now fold the corners of the fold you just made, each of them towards the center of their respective sides. Fold just until they are parallel to the previous fold. They should form a heart.
- Flip the bookmark over. Take one corner of the page you need to mark and insert the page inside the pocket, towards the bottom of the heart.
Here’s a video showing another example of origami DIY bookmarks.
DIY Bookmarks for Kids
Reading is a great habit for kids, and there’s nothing like a fun bookmark to encourage them.
These confetti bookmarks are a visual treat, made with a clear center and filled with sequins! On top of all of that, this bookmark is very easy to make; kids can easily create their own customized versions with assistance from an adult.
Materials
- Stiff paper.
- Sequins, or materials to make sequins out of (construction paper or tissue paper, for example).
- Clear contact paper, laminate, or clear packing tape.
- Glue (if using laminate).
- Scissors.
- Craft knife and mat, or paper cutter.
- Hole puncher.
Method
- First, let’s make some confetti. Take your chosen paper, fold them a couple times, and use your hole puncher to create small circles.
- Now let’s create a border for your bookmark. Trace a bookmark template on top of your stiff paper sheet. You should make the border at least half-an-inch-thick and even on all sides.
Now for the outer covering.
If you are using contact paper:
- Take two pieces, both at least the size of your border – one piece a bit larger than the other. Peel off the backing of the smaller piece, then put it on your table, sticky-side up.
- Place your border in the middle.
- Add your confetti.
- Then, finish by sticking the second piece of contact paper over the whole thing.
If you are using laminate:
- Cut out the same size and number of pieces. Only, this time, stick your border onto your laminate with glue.
- Spread glue in the middle of the border, and sprinkle on the confetti.
- Then, apply glue to the top of your border again, and stick the second piece of laminate on top of your bookmark.
- Wait for the glue to dry, and laminate the whole thing.
If using clear packing tape:
- Start with one of the shorter ends of the border, and wrap the tape around the rest of the piece.
- Remember to sprinkle confetti in the middle as you go.
When you’re done, remember to trim off the excess contact paper, laminate, or packing tape. And you’re done!
You can also add a ribbon or a tassel to your bookmark, if you desire. This helps you find it easily within the pages, and adds a touch of personalized flare to the design.
This video shows another example of cute bookmark ideas.
Interchangeable Felt Bookmark
Kids like a great deal of variety. What better way to achieve that than with a bookmark they can change up all the time!
This interchangeable bookmark uses Velcro attached behind felt strips to change up the design of an elastic bookmark. You can switch out the design depending on your mood, reading material, or day of the week!
Materials
- Felt.
- Velcro.
- Hot glue.
- Elastic.
- Scissors.
- Designs (printed out or hand-made).
Method
- Begin by making your felt designs. These can be small and simple. Try layering different felt pieces to achieve a 3D look. Once you’re done, attach the pieces together with hot glue.
- Cut out a small, plain circle of felt. This will be your base felt piece.
- Attach a small bit of Velcro on the back of each felt design, also using hot glue. Attach the other side of the Velcro on your base felt piece.
- Measure the elastic, and sew the ends together. Hot glue the felt base piece you made earlier on this sewn part to hide it.
- Stick the design you made on your elastic, and you’re done!
Conclusion
Bookmarks don’t have to be boring. With a bit of creativity, you can use many varying designs and materials to suit your style.
Bookmarks are also easy, cheap, and fun to make, turning them into a great project for a lazy day or bonding time with the kiddos.
Hopefully, this tutorial has given you enough ideas to bookmark all the pages you need. Happy crafting!
What are your favorite bookmark ideas?


