
The sheer number of different things you can make out of air-dry clay is far too large.
It is such a versatile and easy-to-use clay, especially since you do not need a fancy kiln or an oven to dry out your creations.
You can even let your kids join in on the fun, so they can experiment with their own air-dry clay projects!
Contents
Types of Air-Dry Clay
There are a few different types of air-dry clay out there, and, depending on the project you wish to undertake, you might prefer one type over another.
Paper Clay
As its name suggests, paper clay is made out of paper fibers. As such, it is extremely lightweight and has a pulpy texture.
This type of air-dry clay is highly recommended for both beginners and children, due to how easy it is to handle. It is also very cheap to make yourself.
Experimenting with this clay gives you the basic idea of how to form your creations without leaving any wrinkles or cracks. Though this clay usually comes in white, it is also very easy to color.
Unfortunately, paper clay is also quite weak and crumbles easily because of how fast it dries. It is important that your clay stays moist until you want it to dry, otherwise, you risk the chance of your clay cracking as you work with it.
It is easy to remedy this, however. Simply keep adding water as you mold your clay to prevent premature drying.
Commercial Air-Dry Clay
These are the clay packs you can find in most art stores. It should be bouncy, soft, smooth to the touch, and bond easily together. It should also be lightweight and relatively cheap.
As with paper clay, commercial air-dry clay usually comes in white but is easy enough to color. While this type of clay dries slower than paper clay, it is also much more flexible after drying.
The downside to commercial air-dry clay is that it can sometimes be too soft, making it difficult to touch up any mistakes you make along the way.
Cold Porcelain Clay
Cold porcelain clay is recommended for those who want to try crafting more detailed creations. It only takes a few minutes of kneading to soften it, but once it is soft enough, start molding right away.
As with all air-dry clays, you must work relatively quickly to prevent too much moisture from leaking out before you complete your project.
Keep in mind that this clay can become too sticky if you knead it heavily in the beginning.
This clay also bonds strongly together and is easy to fix or touch up when (and if) you make mistakes. You can also combine this type with other varieties of air-dry clay to give your creations more texture.
This clay dries a little shiny because of the oils within it, and it becomes hard as a rock. It is also much less likely to crack or look too dry when compared to the other types listed above.
One of the few downsides of cold porcelain clay is that it is not as common in the U.S. as it is in countries like China or Japan, especially since most of the good cold porcelain clay brands come from Japan. This type can be quite pricey for American buyers interested in delving into the craft.
Luckily, there are many simple recipes online for cold porcelain clay, so whip up a few batches and see if this type is right for your upcoming projects!
Air-Dry Clay Ideas
You might be overwhelmed by all the possibilities of what you can make, or perhaps you are on the hunt for some air-dry clay projects to try out yourself.
Below are just a few, fun clay ideas you can try at home.
Pots and Containers
There are a great number of different pots and containers you and your children can make out of air-dry clay.
Here are a few!
Flower Pots and Planters
Small flower pots and planters are very popular ideas for air-dry clay. These pots and planters all have the same basic instructions on how to form the pot, and will then diverge in the overall design aspects.
Typically, the pots you make from air-dry clay will house smaller plants like succulents or cacti. Because these smaller plants retain water for longer periods of time, they are perfect for both a busy parent and a curious child interested in learning about the care of plants.
This first project is very simple, and you can allow your kids to experiment with it too.
To create a small flower pot or planter, take a ball of clay that is roughly the size of a plum, forming one per pot. You can have your children roll out the balls with a rolling pin, but make sure they do not go overboard and roll it too thin. Should this happen, it is easy enough to roll the clay into a ball so you can try again.
Next, have them fold the sides of the flattened clay up until they form a basic pot shape. It does not need to look perfect. In fact, any unevenness or pinches in the clay can add a childish charm to the pots.
Be sure that the bottom of the pot or planter is not too thin, as these pots are meant to hold in the water your plants will need to thrive.
Allow the clay pot to dry, sand off any rough edges with sandpaper, and then let your kids paint away.
If you want to be a little fancier, you can also imprint the clay with stamps! Additionally, you can spruce up any normal-looking flower pot or planter by covering it in air-dry clay and painting over that with your own designs.
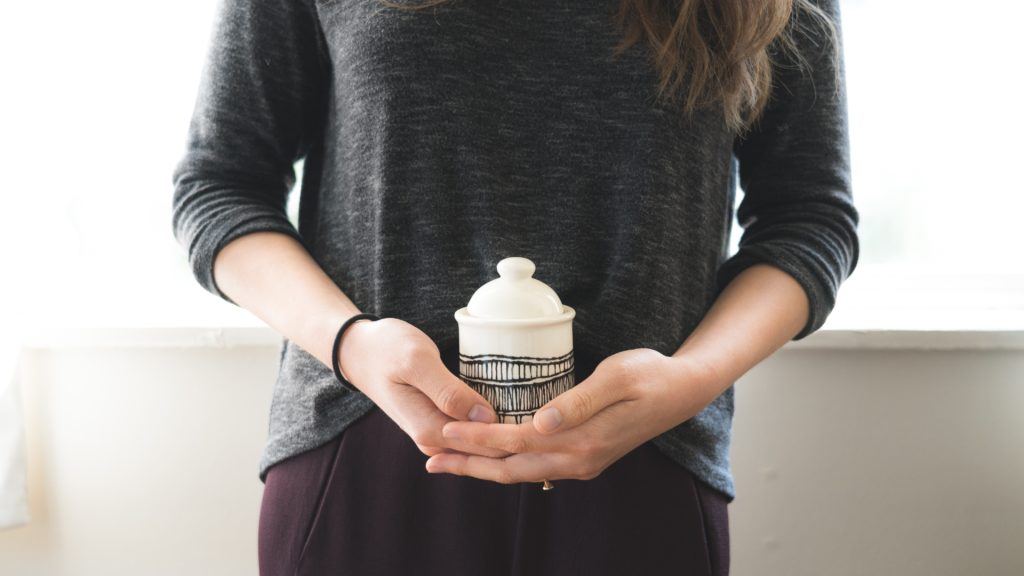
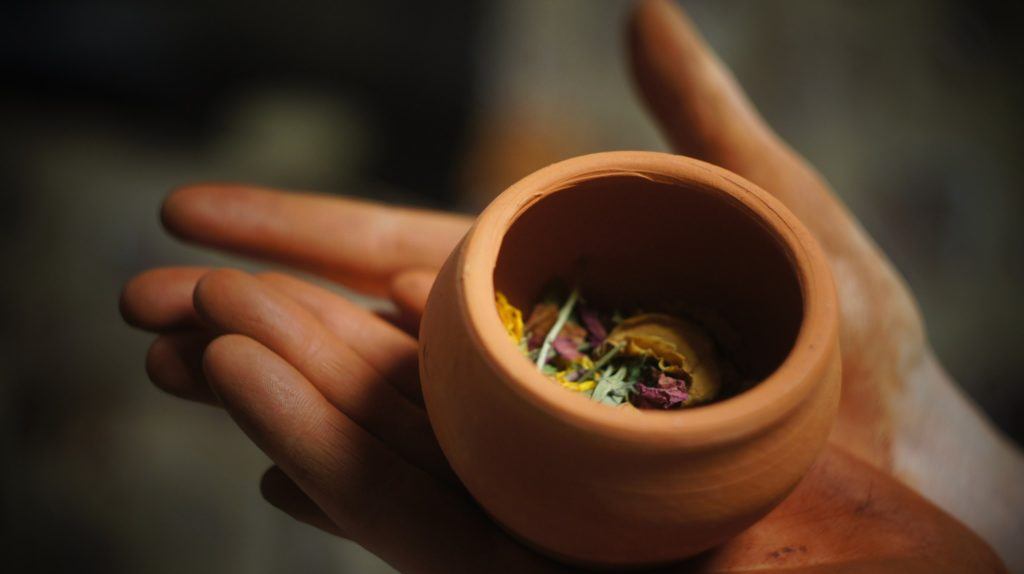
Jars
Jars can be created similarity to pots, though they are far more flexible with their shapes.
Simply gather a medium-sized handful of clay, hollow out your desired amount of space for storage, and then form the clay into whatever shape you want.
This will usually result in a nice decoration for your desk, as well as a handy little storage area for coins, keys, and more.
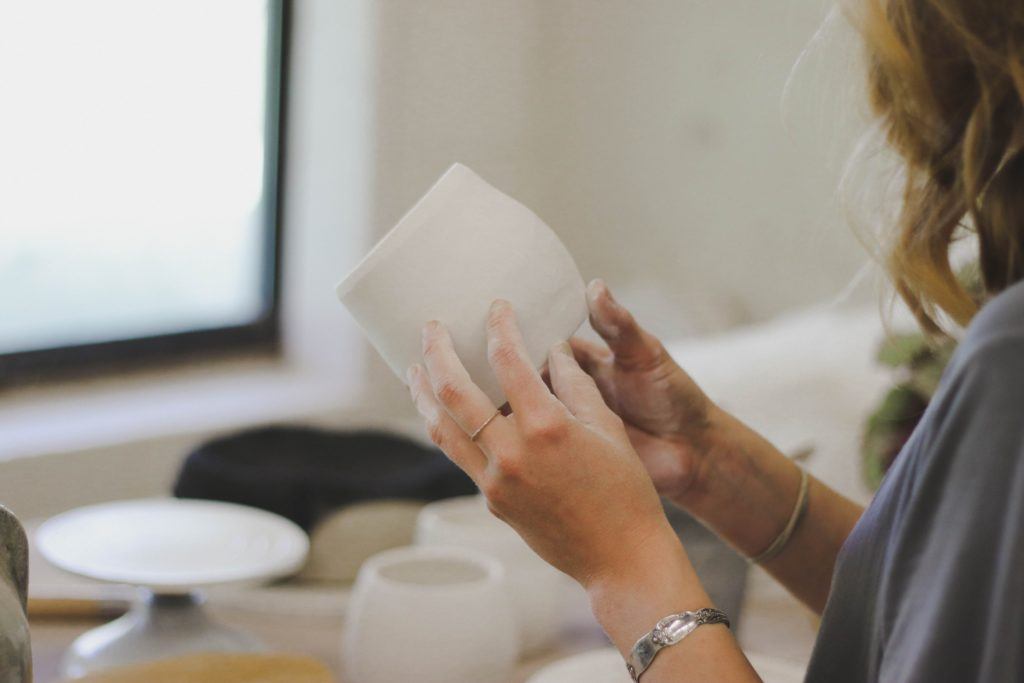
Bowls
Making small bowls is another popular and easy air-dry clay idea. Take a medium-sized ball of clay and roll it out, making sure it has an even thickness.
After that, use a bowl you already have and place your clay in the center of it. Then spread the clay out and up to fit the sides and edges, so the clay molds into its shape.
Leave it to dry, and then flip it upside down to remove it. Tap the bowl if the clay does not move out immediately. After this, feel free to paint your bowl in whatever manner you wish.
Metallic paint is a popular choice for small clay bowls such as these, though you can also let your children paint them in whatever vibrant colors they like.
These bowls are not for eating out of but are instead used to store small objects like coins or keys.
Kitchenware
Coasters
Air-dried coasters are also fun projects for you and your kids. Simply roll out a medium-sized ball of clay and imprint any stamps you want onto it.
Your kids can put their own fun stamps onto this clay to personalize them, hopefully encouraging them to use the coasters more often (and save your precious tables)!
You can use a coaster you already own to cut out its shape, but be sure you do not press it too much into the clay, or else it might flatten out the stamps and ruin it.
After it dries, sand off any rough edges with sandpaper, then paint your coasters whatever colors you want.
Decorations and Other Ornaments
Christmas Ornaments
You and your children can have fun making your own Christmas ornaments out of any type of clay.
Typically, commercial air-dry clay ornaments and cold porcelain clay ornaments are the best, as they are less prone to crumbling or breaking in storage.
Making new Christmas ornaments every year could even become a fun family tradition.
Roll out some clay, then use cookie cutters to make whatever shapes you or your kids desire. Poke some holes through the top of your clay for any rope or thread you will use to hang your ornaments.
After they dry, paint on designs, thread any string or rope through it, and hang them on your tree.
Keychains and Jewelry
Both of these air-dry clay projects utilize scented oils to help soothe you throughout your busy day. They can also be made without them if you want a simple accessory.
To create a simple keychain, pinch off about an inch of clay and roll it into a smooth ball. After creating multiple, use a coring tool or skewer to make a clear hole through your clay beads and let them dry overnight.
Paint them however you like and then run thread through the beads, tying a knot at one end while hooking a keychain loop through the other. If you like, you can also add a few drops of any diffuser oil to give your accessory a nice scent.
Clay necklaces are much simpler to make. Simply roll out a handful of clay, cut out the shape you want your pendant to be, imprint it with whatever stamps or designs you want, poke a hole at the top for the thread, let it dry, and then paint it however you like. It’s that simple!
You can also add a few drops of scented diffuser oil to this pendant too.
Here’s a video showing an example of how to make an air dry clay vase.
Do you have any air dry clay ideas?


