
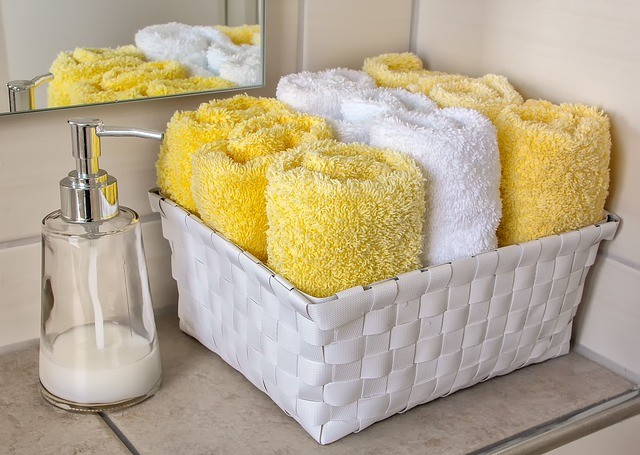
Soap is an essential part of life, necessary for keeping clean whether you prefer quick showers or long baths.
Once upon a time, soap was always made at home. However, this practice has fallen by the wayside in recent decades, gaining a reputation of being more trouble than it’s worth. Instead, most people buy their soaps (liquid, hard, fancy, or plain) in a store.
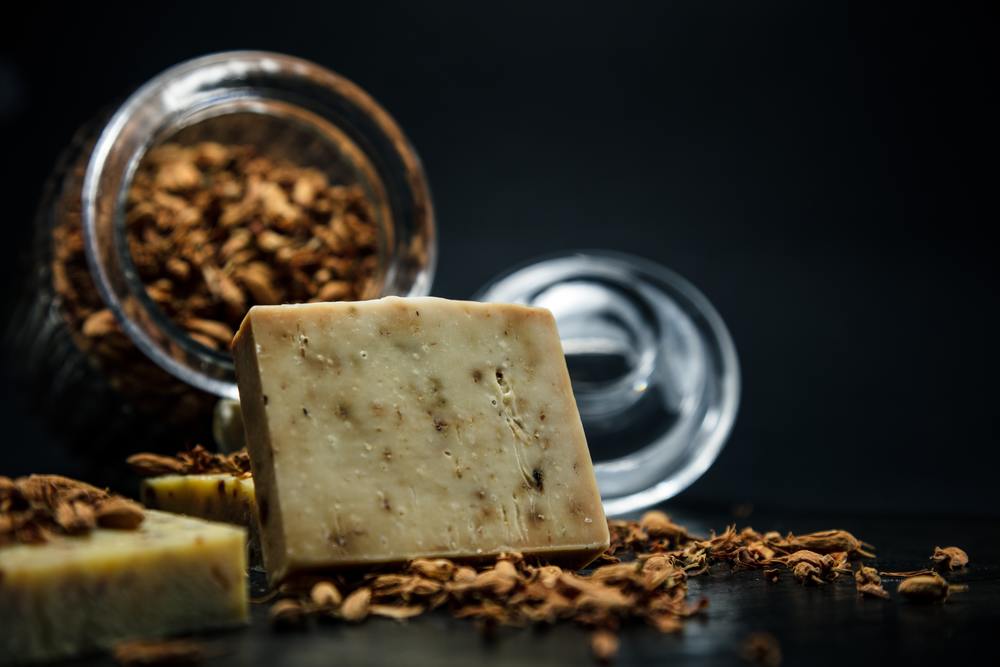
But soap-making is a craft that’s still viable today, allowing you to be creative and personal with the colors and fragrances you choose to put in it.
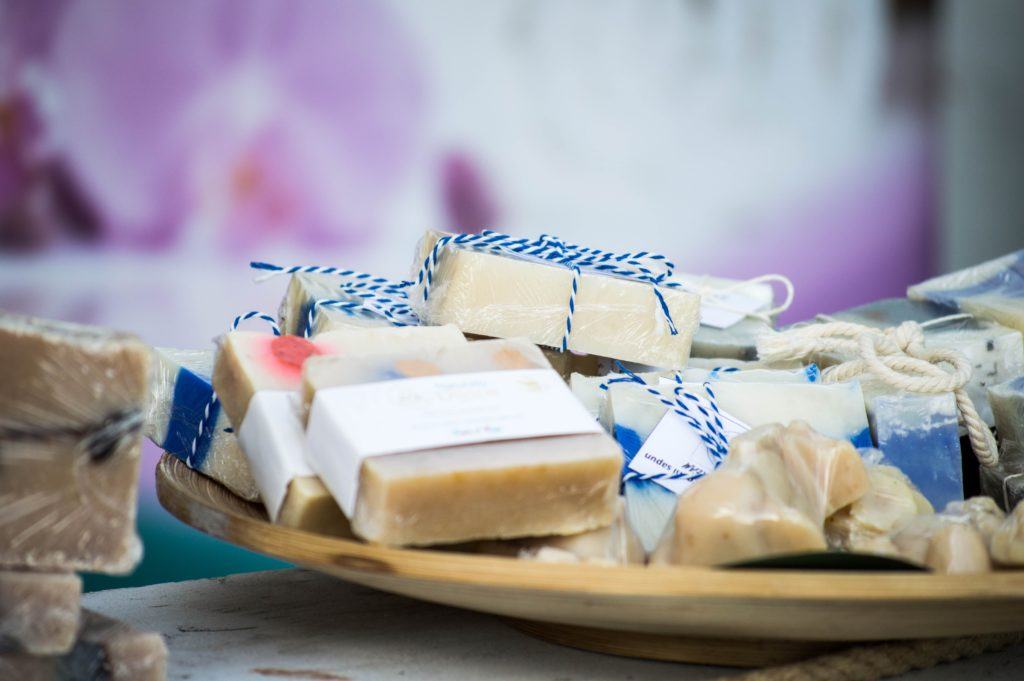
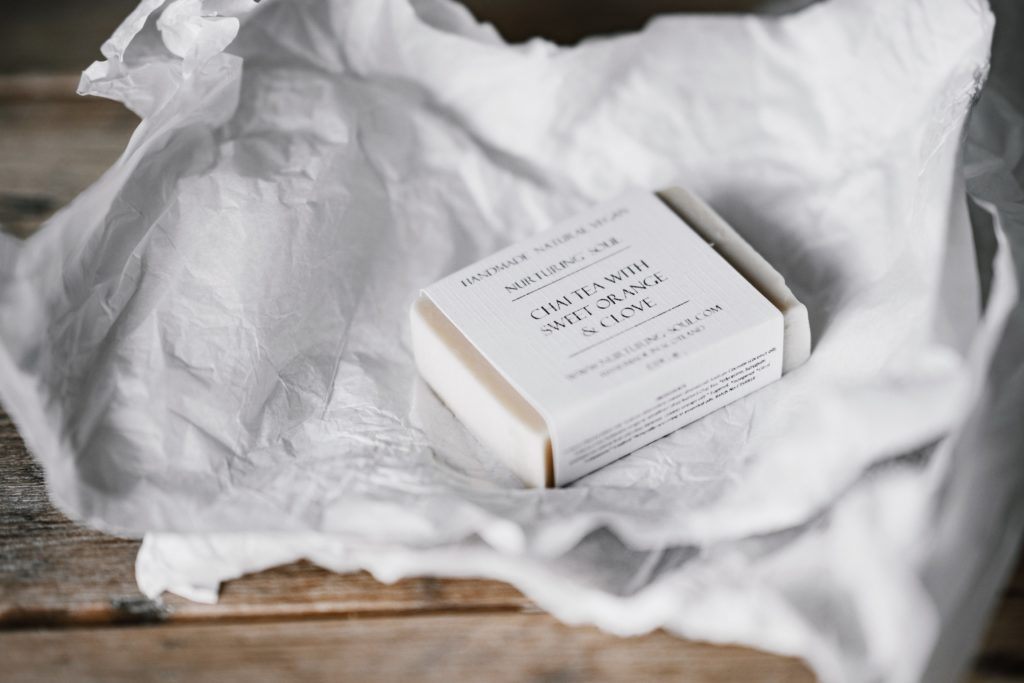
There’s a sense of pride to be found in handmade soap, since it can be more natural than store-bought, free of factory chemicals, and more customized to your tastes.
Additionally, you can make these bars of soap not only for yourself, but also as gifts for your friends, or as products to sell to your neighbors!
Are you ready to learn how to make soap, or are you at least intrigued enough to learn more about why making your own soap could be ideal? If so, read on – reasons and methods are ahead!
Contents
Benefits of Making Your Own Soap
It may be easier to just purchase a bar of soap at the store, but there is something unique about soap made at home.
Homemade soap has a personal touch to it, because it was made by you, rather than in a factory somewhere, so you can be proud of your work!
When you make your own soap, you get to choose the color, shape, and smell. The possibilities for creativity and for fitting in your unique preferences are limitless when you take on the craft personally!
By making your own soap, you can also decide to create a more natural bathing experience. Many store-bought, conventional soaps have chemical mixes which can remove vital oils from your skin, and they contain artificial scents instead of all-natural products.
If you value living a natural lifestyle, or if you suffer from allergies and sensitivities that make store-bought varieties a nightmare, then developing your own soap can be an asset.
Even better, it’s cost-effective in the long run! When you buy your own ingredients, you can make numerous bars while spending the same amount of money as you would in buying a single pre-made bar!
You can also sell the soap you make for a profit; people are willing to spend more for natural, homemade varieties than they are for the dull, synthetic products created in factories!
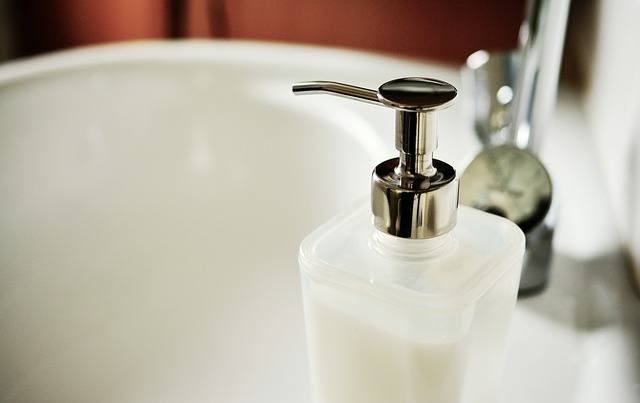
Bar Soap vs. Liquid Soap
There are many different types of soap, and they all come in one of two forms: bar soap or liquid soap. Different people have unique preferences about which kind of soap is better to use or make.
Store-bought liquid soap can be pricier than bar soap, but liquid varieties can be more hygienic overall because a bar of soap is more likely to be left out uncovered where bacteria can get at it, while liquid soap is sealed inside its container.
However, other studies have indicated that the pump on a liquid soap container can have just as much bacteria on it because it is so often touched by dirty hands and is never rinsed off, like bar soap is.
Liquid soap can also be cheaper to make than bar soap, and can be sold for a higher profit, because consumers tend to consider liquid soap as “higher-end” than bar soap, associating it with classiness and elegance.
With that, much of the liquid soap in a bottle is just distilled water compared to the amount of water in a bar. While this makes it cheaper to make, it means that in the finished product, you are ending up with less soap per volume.
This can impact how much you spend long-term and how effective it is at cleaning your skin or dishes.
It can also be easier to find unscented bars of soap than unscented bottles, if that is what you prefer, for personal taste or allergy-related reasons.
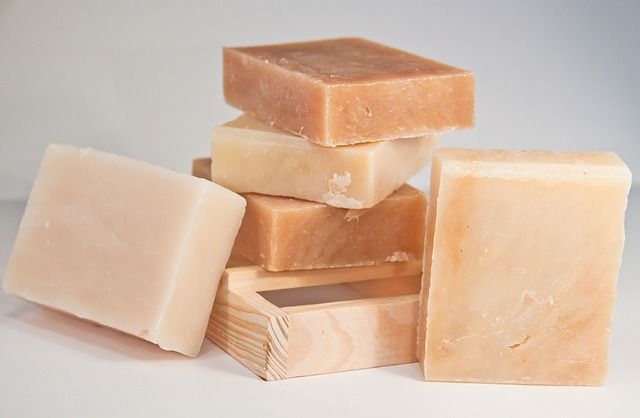
Which is Easier to Make at Home
While liquid soap has its benefits, such as the cheapness of ingredients, learning how to make bar soap is easier, and sometimes even more fun, than making liquid soap.
This is because you have more creative freedom and the ability to push boundaries while making bar soap, whereas liquid soap will reduce your options.
With that said, bar soap is the kind you will learn to make below!
Tools and Supplies You’ll Need
When making soap, you should always use supplies separate from your normal cooking tools.
You don’t want to accidentally eat what goes into your soap, and the residue is a very real thing!
Mixing Bowls and Spoons
For a mixing bowl, find a stainless steel, enamel, or tempered glass bowl.
Plastic bowls may melt, and copper or aluminum bowls will react with the lye, so do not use those materials. Styrene plastic or silicone mixing spoons will also serve you well.
Molds and Thermometer
Craft stores will supply you with soap molds – or silicone baking pans work as a great alternative, should you prefer a simpler approach.
A stainless steel thermometer is very useful, so try to find one that can read between 90 and 200 degrees Fahrenheit.
Colors and Scents
Consider different kinds of additives for your soap, to create different colors and scents.
Dried herbal material like lavender and essential oils from plants are great for scents.
Natural colors can come from a wide variety of ingredients, such as cinnamon for a brown soap, turmeric for yellow, and beetroot for orange.
This video goes into more details on how to make soap with different oils.
Lye
Homemade soap also requires lye. Lye is sodium hydroxide, and it cannot be substituted for other materials, because soap is the result of the basic chemical reaction between oils or fats and lye.
Remember that lye is a caustic material that can burn your clothes or skin. It can also fume up and cause you to feel a temporary choking sensation in your throat.
To handle lye, be sure to have protective tools on hand, such as gloves, eye protection, or a mask. Don’t worry – once the lye reacts with the oils in your soap, through a process known as saponification, no lye will remain in the finished product, which will be completely safe!
Once you have these supplies, you’ll be ready to make your own soap!
How to Make Soap
Now let’s explore how to make soap from scratch! There are several different methods you can use, some more complicated than others, and some which allow for more personal flair than others.
Reviewing each of the following four methods will teach you how to make natural soap, and also soaps that are made of synthetic chemicals.
Cold Process
The “cold process” method of creating soap is similar in principle to baking a cake from scratch.
You select all of the ingredients yourself, including:
- Vegetable oils or animal fats.
- A pitcher of lye-water.
- Fragrance or essential oil.
- Natural or synthetic colorants, depending on your goals for the soap and how natural you intend it to be.
After you’ve selected your ingredients, heat the oils in a pot until they are around 100 degrees Fahrenheit. Then, slowly add the lye-water mixture and blend the soap until it thickens.
Once thick, add the fragrance, color, and any other additives you have selected to the soap, and pour the mixture into the mold.
This soap will take about 24 hours to harden, and will need to cure for around four to six more weeks before it’s ready to use.
The best thing about this method? How much control you have over the process. You get to decide what’s in it, and the different soap combinations are endless; so is your ability to take pride in your work, when it is truly your own!
However, this method is longer than others and difficult to learn. You need to supply more ingredients yourself, and your soap will not be ready to use for several weeks after making it.
What’s more, this method requires that you use lye, which is a dangerous material. Lye can eat holes in fabric and even burn your skin! Always wear gloves and eye protection when using lye.
When mixing lye-water, do not let the lye clump at the bottom of the bowl; if the lye heats up all at once, it could explode.
This video shows an example of how to make soap using the cold process.
Melt and Pour
The “melt and pour” soap-making process involves taking pre-made blocks of soap, melting them, and adding your own fragrance to it.
First, you go to a craft store or other soap supplier and purchase blocks of unscented, uncolored soap. Then, using a microwave or a double boiler, you melt the soap base.
Once the soap is completely melted, you add the fragrance and color that you desire, and place it into a mold to harden. This soap will be ready for you to use as soon as it has cooled!
The main pro of this method is it’s a very easy and inexpensive way to make soap. You do not need to collect and combine a lot of ingredients, and your soap is ready to use quickly.
You also do not have to handle the dangerous lye mixture used in other methods of soap making. Therefore, this is a great way for beginners to get into the craft.
However, when making soap with the melt and pour process, you have less control over the quality of the soap. It all depends on the base you purchase, which is not something that you made personally. You have no control over the quality and the ingredient content of the soap itself.
This method is also not as natural as others because numerous manufacturers of the unscented soap base add chemicals to make the soap lather more or to melt more quickly.
Hot Process
“Hot process” soap is a variation on the cold process method, in which you cook the soap in an oven or crockpot.
First, just like with the cold process, you mix the lye and oils together until they are appropriately thick. Then, you put them in the crockpot, and turn the crockpot to a low setting, keeping the lid closed.
Check the soap every 15 minutes or so to make sure it’s thickening properly. The soap should begin to bubble and become light and fluffy when stirred about 50 minutes into the cooking process.
Then you add the fragrance and color to the soap, and place it in a mold.
The benefit of this method is that the soap is ready to use far sooner. Cooking with heat cuts a day off of the soap’s saponification process and can also cut down on the necessary cure time.
Rather than four weeks, you’re looking at three weeks. However, it is a slightly more labor-intensive soap-making process.
Rebatching
Rebatching is a kind of soap-making in which you grind up bars of soap and re-blend them with water or milk to make a new bar.
First, grate or cut the soap into small chunks. Then, add a liquid, such as water or milk, to make the soap soft and wet.
Add whatever oils you want to edit the soap mixture with, and then cook the soap in a crockpot on a low-temperature setting.
Let it cook for an hour, then stir, and then leave it for another hour before stirring again. After this, the soap will be ready to mold!
The amount of time it needs to harden and cure can vary based on how much liquid you’ve added to the original soap.
You can use this method to fix a batch of soap, should you have committed a mistake before. However, it is a very lengthy process, and you might be inclined to just start from scratch with the cold process or hot process method instead.
Now that you know how to make soap at home and why it is such a good creative outlet, you are ready to try your hand at this craft!
What’s your favorite way to make your own soap?


