
Balloons are a birthday party staple, but, admittedly, they aren’t really fun on their own. At least, the typical round varieties aren’t.
Why not shake things up and learn the art of balloon modelling? With it, you can develop amazing balloon sculptures for your child and their friends to keep or take home, spice up all your future events, and enjoy a fun new hobby.
Ready to try it?
Let’s take a look at what balloon modelling is, how to get started with a few balloon figures of your own, and some tricks of the trade. By the end, you’ll be well versed in the art of balloons!
Contents
What Are Balloon Animals?
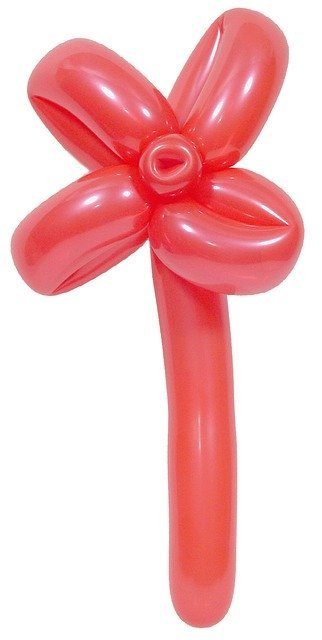
Balloon modelling is the art of twisting balloons into different shapes, the most popular being balloon animals. Other great balloon shapes include swords, flowers, and balloon hats.
There are two ways you can develop balloon sculptures:
- Single balloon modelling, which is when the balloon artist uses only one balloon to form a shape
- Multiple balloon modelling, which is when a sculpture is created from more than one balloon.
Both methods present their own set of challenges, and aren’t limited to a person’s skill level. An expert balloon artist can create an intricate design out of one balloon, while a novice can have fun weaving several balloons together.
What Supplies Do I Need?
A beginner’s kit might include a hand pump, a basic set of instructions, and some twisting balloons. Unfortunately, most of the balloons in these kits are cheaply produced and may not even twist as you need them to.
There are surprisingly few companies that manufacture good-quality twisting balloons. Qualatex is the best balloon brand, due to their wide array of balloon shapes, colors, and sizes.
Sempertex is a great European balloon brand that offers many twisting balloons, including their popular Link-O-Loon balloons that connect several round balloons together in a chain.
Twisting balloons are categorized by their diameter and length in a three-digit code. Basically, the first number tells a balloon artist the overall diameter, while the last two tell you how long it will be once fully blown.
So, for instance:
- A 160 balloon will measure 1 inch wide and 60 inches long.
- A 260 balloon will measure 2 inches wide and 60 inches long. This size is also perfect for novice balloon artists to work with.
- A 350 balllon will measure 3 inches wide and 50 inches long.
- And so on!
You should also pay attention to the color of the balloons you purchase. It’s best for novices to stay away from transparent or “jewel” colors, due to how fragile they can be. Standard or fashion colors are a great first choice.
Buying a reliable hand pump is also very important. Your lungs can only produce so much air at once, and you don’t want to end up lightheaded after just a couple of balloon animals! You can buy balloon hand pumps at toy stores or party stores anywhere.
How to Make Easy Balloon Animals
The Basics
Basic Twist
- To make a basic twist, first inflate your balloon and tie off the end.
- Grab a portion near the end in your non-dominant hand.
- Use your dominant hand to twist the balloon a few times. This will create a separate balloon segment. Hold both segments in a hand to prevent them from untwisting.
Lock Twist
- To make a lock twist, first inflate your balloon and tie off the end.
- Make two basic twists, fairly close together, to create four segments on the balloon. Hold all these segments in one hand to keep them from twisting back out.
- Use your other hand to keep a hold on the two middle segments, while keeping them apart from the last two end segments.
- Twist these two middle segments together three times. The segments should now be locked into place.
As its name suggests, the lock twist ‘locks’ all your ‘twists’ together to ensure they won’t come undone. It’s mainly used to make small balloon animal features like ears.
Fold Twist
- To make a fold twist, inflate your balloon and tie off the end.
- Use one hand to fold the top of the balloon down near the tied end.
- Make a basic twist near the end, ensuring you twist at least three times to get it to lock in place.
- The balloon should now have three segments—the two end segments and one loop segment.

The fold twist is similar to the lock twist in that it also locks the balloon’s twists together, so they won’t come apart. It’s often used to create the ears and noses on balloon animals.
How to Make Simple Balloon Animals
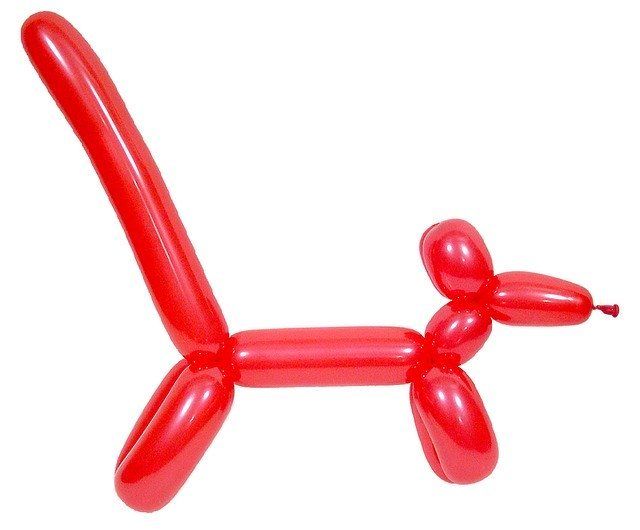
Dog
- Inflate your balloon until you’re about three inches from fully blowing it up. You will want to stop blowing at this point and tie off the end.
- Make three basic twists, starting near the tied-off end, to create four balloon segments. The first segment should be the one closest to the balloon’s knotted end, and should be slightly longer than the other two segments. This first segment will form your dog’s snout, while the other two smaller segments will become your balloon dog’s ears. The last segment (or the rest of the balloon) will form the dog’s body. (Feel free to experiment with different lengths for your dog’s snout and ears. If you want, you can also make the snout especially long and call your balloon animal an anteater instead.)
- Hold all the segments in one hand to prevent them from twisting out again.
- Use your other hand to grab the two smaller, middle segments. Twist them together three times to create a lock twist. You should then have created your dog’s head.
- Under the dog’s head, you need to make three more basic twists. The first twist should be a couple inches below the head, while the other two twists should be a bit longer but the same length. The smaller segment creates the neck, while the longer twists should create the dog’s front legs. (You can easily turn this balloon figure into a giraffe by making the neck segment extra long and the legs a little shorter, if you want!)
- Hold all the segments in one hand to prevent them from twisting out again.
- To create the front legs, fold your balloon at the twist between your two front leg segments. Twist these segments together three times at the base of the neck. Your dog’s front half should be complete!
- Make two more basic twists to divide the balloon into four equal segments. The first segment should be the front half of your balloon dog’s body, the middle two segments will become your dog’s back legs, and the last part is the tail that sticks up.
- Hold all the segments in one hand to prevent them from twisting out again.
- To finish up, fold the balloon at the twist between the two back leg segments. Twist three times to finally lock the back legs into place.
- Admire your new dog balloon sculpture! It should have a knotted nose, short ears, four legs of relatively equal length, and a tail that sticks straight up. If it appears lopsided, you can always undo the locks and try again.
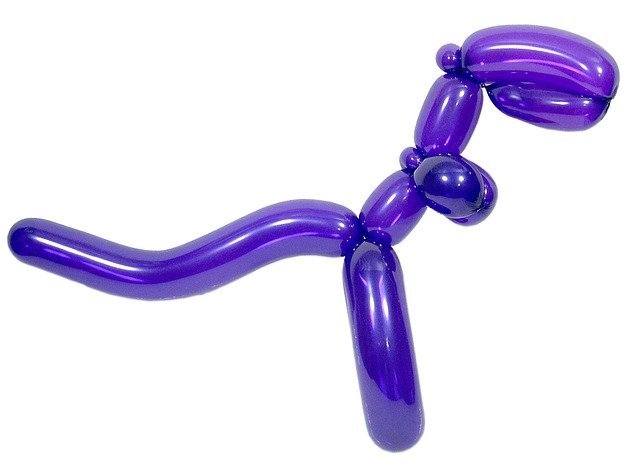
Monkey
- Inflate your balloon until you are about six inches from fully blowing it up. Then, tie off the end. Any shorter and your balloon may pop in the middle of you trying to shape it.
- Make a basic twist a few inches from the knot to create what will be the monkey’s face. Hold both segments in one hand to prevent them from twisting out again.
- Make a short fold twist really close to the first one, so that you have a small segment in between the face and the rest of the balloon. Twist three times to lock it in place. This little segment will be the monkey’s first ear.
- Make another basic twist a couple inches near the first ear to create a segment that’s equal in length to the monkey’s face. This will become your balloon monkey’s forehead.
- Make another short fold twist, close to the forehead, to create your monkey’s second ear. Twist three times to lock the ear in place.
- Now you should lock the entire head into place. To do this, hold the monkey by its forehead and ears segments in one hand, with the snout and the rest of its body in the other. Twist the forehead and ear segments at their bases three times to complete the head. It should be made up of the monkey’s nose, a forehead, and two ears.
- Now you will need to create three more basic twists. The first twist will form the neck, so it will be shorter than the other two twists. Form this first twist a few inches below the head. The other two twists should be equal in length and much longer than the neck, because they will become your balloon monkey’s arms. Hold all the segments in one hand to prevent them from twisting out again.
- Now you need to lock the arms in place. Fold your balloon at the twist between the two arm segments. Hold both segments in place and twist three times at the base of the neck twist to lock both arms in place. Your balloon monkey should now have a head, neck, and arms.
- Make your last three basic twists. The first should rest a few inches below the arms to create your monkey’s body. The other two will eventually form the legs, so be sure you make these segments equal in length. The rest of the balloon will compose the monkey’s tail, so be sure you leave plenty of room at the end. Its tail should be the longest segment of your balloon monkey. Hold all the segments in one hand to prevent them from twisting out again.
- Finally, you need to twist the legs together. Fold your balloon at the twist between the two leg segments. Hold both segments in place and twist three times at the base of the body to lock the legs in place. The tail should be pointing up.
- Enjoy your balloon animal creation!
Advanced Balloon Animals
If you’ve mastered the basic balloon art shapes and are looking for new projects to try, then check out famous French balloon artist Môssieur Ballon’s (or Mr. Balloon Man in English) website. He posts balloon art tutorials and techniques for people of all skill levels.
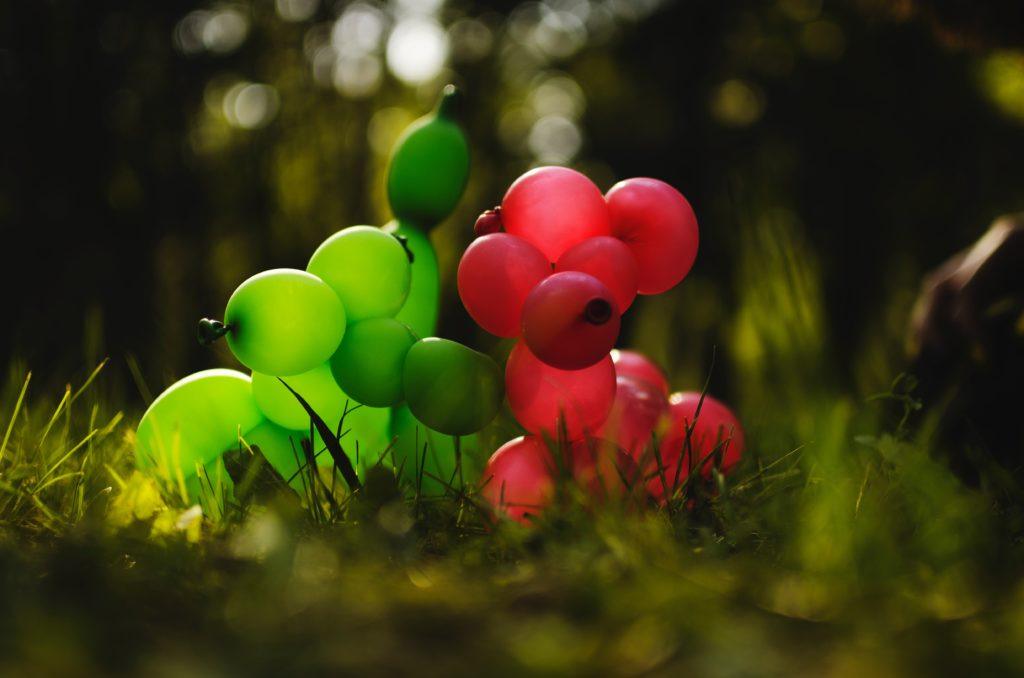
If you’re really daring, you can try to replicate Japanese balloon artist Masayoshi Matsumoto’s intricate balloon creations. He’s made dozens of amazing balloon animal sculptures inspired by real wildlife photos, and the results are truly a sight to behold.
Tips for Balloon Modelling
Make sure you are able to grab the balloon without it popping. This means that you need to keep long fingernails and jewelry away from the surface of the balloon, so they won’t catch on the rubber and accidentally pop it in the middle of your sculpting.
However, if you find that your balloon pops at even the slightest touch, then try switching to a higher-quality brand. Cheap balloon brands use less rubber in their balloons, making them more susceptible to popping.
If you’re planning to make balloon shapes for your child’s party, then it’s best to practice beforehand. Try creating a few sample models to display, so that your child and their friends can simply point to the shapes they want, instead of asking you for something too intricate for you to handle.
Conclusion
Balloon animals are one of the most entertaining activities you can perform at a party (be it for a child or adults). With enough practice, you’re sure to become a great balloon artist in your own right! Give it a try.


