
What’s a fun craft idea that is good for almost every occasion, and creates beautiful décor to spruce up your home? Why, wreath making, of course!
Wreaths are so versatile that anyone can make them, typically with materials you can find around the house. They can be as hands-on as you like, or not at all.

Assembling your own DIY wreath can take no longer than fifteen minutes if you opt to use ready-made materials from craft stores.
Indeed, they’re perfect for nearly any crafter, no matter the theme you choose or space you want to decorate.
But the question remains: how do you make your own wreath? While it may appear intricate, crafting your own wreaths isn’t that hard. So, sit back, relax, and let’s talk about how to make homemade wreaths.
Contents
Materials
To get started, there are only a few mandatory tools you’ll need. Everything else is optional.
Indeed, if you don’t have the time or money to dedicate to this project, then you can commit as much or as little as you please.
The basic materials that you would need to make any wreath your heart desires are the following:
Paddle Wire or Florist Wire
While you don’t necessarily have to buy green wire, green-colored florist wire or paddle wire is the most readily available.
Green wire will also be the most likely to blend with the materials you choose, as it usually comes in a deep sap green that is pretty close to the green in natural leaves. This makes it an ideal color to pair with others.
Wire Cutters
While scissors can be used to cut wire, wire cutters make it easier and safer overall. When cutting with scissors, the rest of the wire can snap off; using wire cutters avoids this possibility.
Wire cutters can also be used to cut off other materials that you use in these projects, such as thin tree branches.
However, if you can’t acquire this tool for any reason, you could always use scissors (the larger the pair, the better) and a bit of elbow grease.
Glue
While you could always use your paddle or florist wire to keep things in place, there will be a few materials that you’re better off sticking with glue. These materials can be small baubles, as well as flowers and leaves.
Any large decor may work better if tied to the wreath itself using wire, but you can also add a bit of glue to make sure that it stays in place long-term.
The best type to use in this project is a glue gun, as well as your favorite craft glue, like Elmer’s. The larger décor should be addressed with the gun – though be sure that the material used won’t melt under the heat, like thin faux flowers.
The lighter, thinner decorations are better suited to Elmer’s glue, so as to ensure they aren’t weighed down.
A Few Things to Consider
While you can make a wreath with pretty much anything you get your hands on, there are still a few objects to keep in mind that are best suited for these projects.
Below, we also provide a few tips that can help streamline the process and give you the prettiest results!
Keep Your Materials Consistent
While it is entirely possible to create a wreath from materials that don’t usually go together, it may be harder to then make that wreath look coherent.
Instead, simplify the materials that you use by picking out a consistent material type. This can help ensure that your wreath remains consistent and harmonious.
As a good rule of thumb, you should stick with either faux or natural materials, depending on the look that you want to achieve.
Color is King
While it is a good idea to keep your materials consistent, the main thing to keep an eye on is colors.
Materials clashing aren’t always hard on the eyes – but clashing colors, on the other hand, are almost always a bad idea. No one wants a wreath that is overwhelming or offensive to look at!
When picking out materials, consider their individual colors, and how they would go both with each other and as a whole. Alternatively, you can pick the colors that you want in advance, before selecting your materials.
Deciding on a color scheme allows you to refine the overall design and save the hassle of figuring out why your wreath doesn’t look as good as you’d intended.
For those of us who aren’t exceptionally artsy, choosing a set of colors may be a challenge. Thankfully, there are a number of sites online that can help you select a color scheme for any wreath.
There are also pictures you can draw inspiration from, which can be found on sites that you already use, such as Pinterest.

Should you need even more ideas, here is a list of resources where you can generate your own color pallet!
Consider Longevity
When deciding on the materials to work with, consider how long they will be able to withstand being a part of your décor.
Everything has an expiration date, after all, and there are some materials that last longer than others. For example, would a natural wreath be able to endure several weeks on your front door, or would synthetic be a better idea?
While it is always wise to opt for natural and biodegradable materials, those made of plastic and other synthetic ingredients will last longer.
However, if you want to select eco-friendly products, going green doesn’t necessarily mean getting stuck with materials that won’t last long. It simply means that you will have to replace them more often.
That doesn’t sound like a terrible pay-off, considering the amount of good it does for the environment and how much nicer it will appear in lieu of plastic. In the end, however, it comes down to personal preference.
This video shows an example of a DIY wreath with fabric.
Choosing a Theme
While wreaths are traditionally a Christmas decoration, they can be customized to suit any season or holiday! They’re incredibly versatile and dramatically change in theme with just a few alterations.
Want a summer wreath? Hope to spice up your old Christmas one to suit the New Year? You can even opt for one that lasts the whole year round, blending with all other decorations in the home.
If you don’t have a lot of time to change your wreath with the seasons, the basic design is a good choice to keep on your door.
For those who want to celebrate every occasion, we also have a few wreath ideas to inspire your next design, no matter the season.
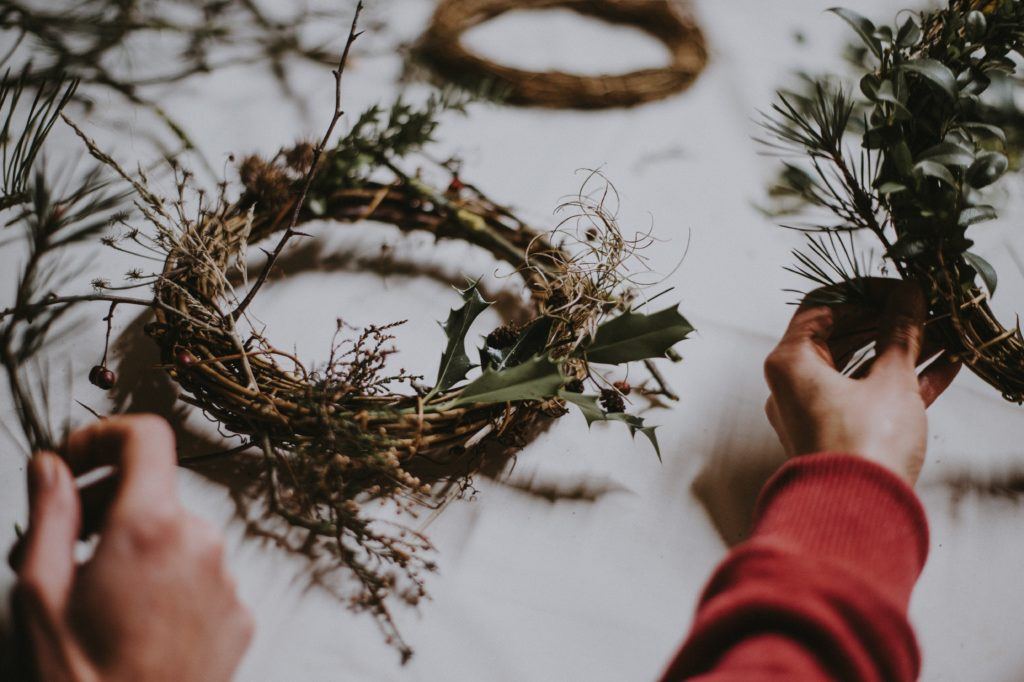
Basic Wreath
The basic wreath is simple. Chances are, you have the materials needed for this design already lying around your home.
If you don’t, however, they can be bought for cheap (sometimes in the bargain bin!) at your nearest craft store. You could also use materials found in nature, just by going to your local park or even your backyard.
The basic wreath utilizes natural materials. As such, it is a great decoration for nearly every occasion there is. It can also be used as a base, on which you swap out decorations to suit a more festive holiday or season.
Note, however, that despite using natural materials, we still need to ensure our wreath lasts for a long while by picking items that last.
When it comes to embellishments, it’s good to go simple. Small leaves, whether faux or natural, are a good candidate. Dried leaves will last longer, as well as faux leaves.
Buying a simple garland from a craft store will also work.
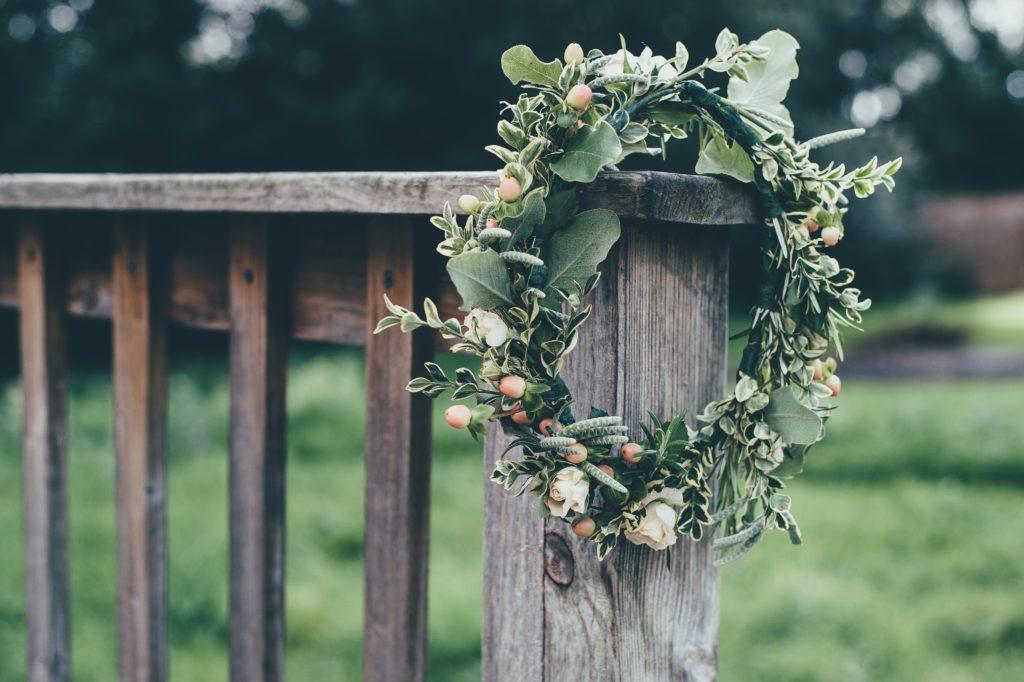
Spring Wreath
One of the most common themes in this craft, the spring wreath uses natural (or natural-looking materials) to bring in images of spring.
These designs make use of leaves, flowers, or other embellishments that remind us of the warm, flowering season.
For a spring wreath, you can opt to go simple, with a few leaves and flowers decorating a ring of twigs. You can also design a wreath that covers the twigs themselves with the leaves and flowers, making it appear larger and fuller.
For this design, it’s wise to pick flowers with a strong scent, so as to add dimension to your wreath.
Heather of On Sutton Place has her own take on a spring wreath, instead opting to use objects that remind us of spring unconventionally, like a pitchfork and a bluebird’s nest. Check out her tutorial here for inspiration!
The more unique it is to your idea of spring, the more iconic it will be for your home.
Summer Wreath
Summer wreaths, like spring wreaths, also use nature to bring up good memories. While there are many similarities between the summer and spring designs, the main difference between the two is their coloring.
Flowers available in the summer are usually brighter and bigger, with bolder colors. In contrast, spring wreaths tend to use small and dainty flowers, with more subdued tones (like white and powder blue,).
For this design, you’re seeking a loud and eye-catching aesthetic. Flowers that are perfect for summer wreaths include daisies, gerberas, and, of course, sunflowers.
Here’s a video showing an example of summer wreath making.
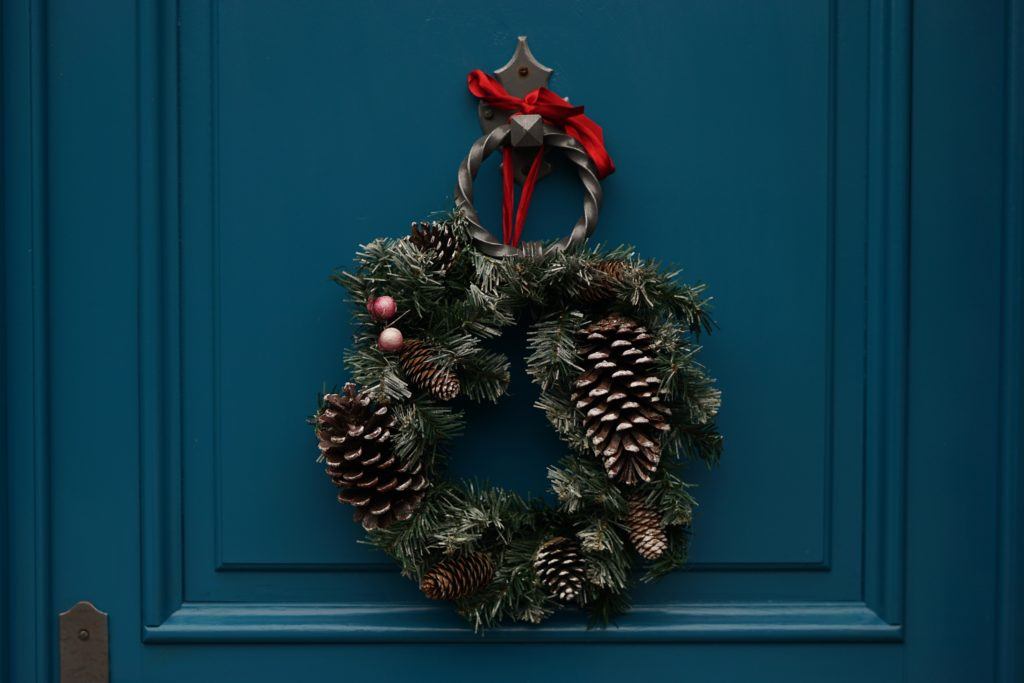
Christmas
Now we have the classic Christmas wreath! You’ll find synthetic and natural varieties alike on sale in most stores, but nothing beats a customized, hand-crafted one. So, how do you make a Christmas wreath?
Unlike the spring and summer versions, the main component of Christmas wreath making is the twigs. Branches from trees of the winter season, like pine twigs and holly foliage, conjure an ideal aesthetic.
Here is a great example of a Christmas wreath From Love the Garden, should you need some design inspiration.
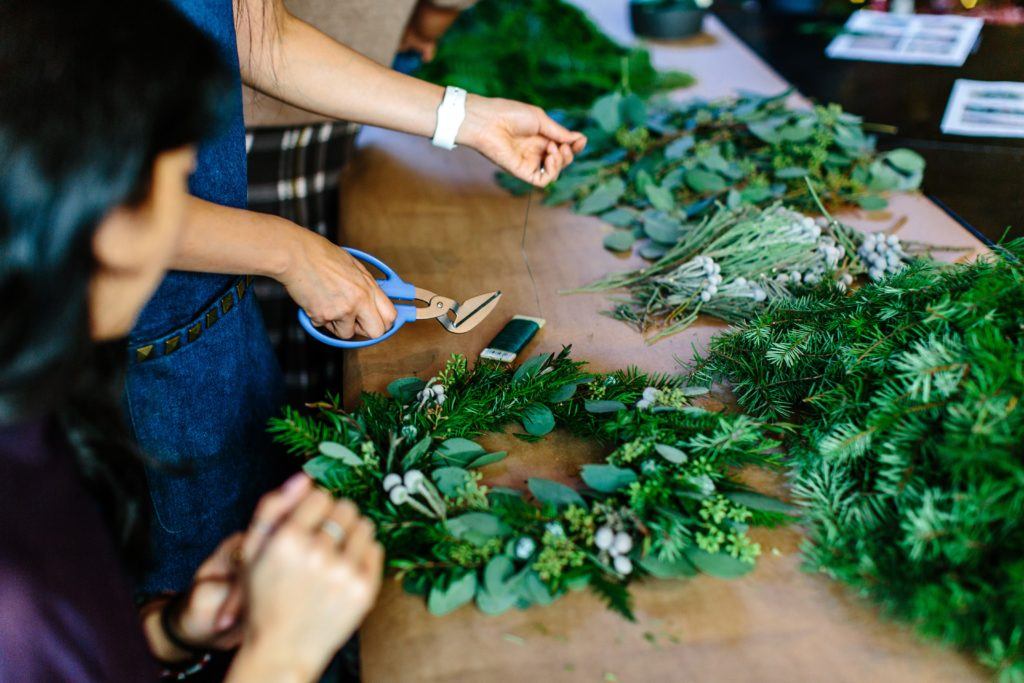
How to Make a Wreath
Now that you’re filled with ideas, let’s talk about how to make a wreath first-hand. This craft can be grouped into three steps.
Prepare Your Tools
Because wreaths tend to involve many components, it’s always a good idea to prepare your tools in advance.
Before gluing anything, you should also map out your design in a rough sketch, so as to ensure it looks as great in practice as it does in imagination.
This also helps you avoid forgetting a piece while assembling the decorations.
Prepare Your Wreath Form
Your ‘wreath form’ will act as the base of your wreath, so that you can add embellishments and decorations.
You can buy these pre-made, and The Spruce Crafts recommends scouring craft stores during the start of the season to get the best deals. Nonetheless, crafting your own is very simple and allows you more customization.
When making a basic wreath, start out with a decent number of twigs. These twigs should all be similar in thickness, without any serious cracks or frays.
You will then group these twigs together using wire and glue. Depending on your desired thickness for the wreath, this can be an intensive process, as you will need to layer them.
Once they’ve been layered to create that ideal thickness, begin developing a circle of them. If they’re not long enough to do this in one go, then overlap the tips of one layered collection with another, and tie them together.
Add some glue to reinforce this bond, and continue, until they’re all attached in a proper, circular wreath shape.
Add Your Embellishments
Now for the fun part: adding embellishments. If you want to add pieces with stems, like leaves or flowers, you will have to wrap them using floral wire and attach that to the wreath itself.
For other embellishments, you can glue or wire them on, though it’s recommended to choose wire whenever possible, as it achieves a more natural look.
Wreaths for Every Occasion
Once you have the wreath form, you can dismantle it as often as you please, updating it with fresh flowers and leaves, or adding bells and ribbons to suit a new occasion.
Whether it’s for Christmas or the start of spring, a wreath adds that touch of flair to your living room, front door, or even kitchen that really helps your décor shine.
What’s your favorite DIY wreath?


