
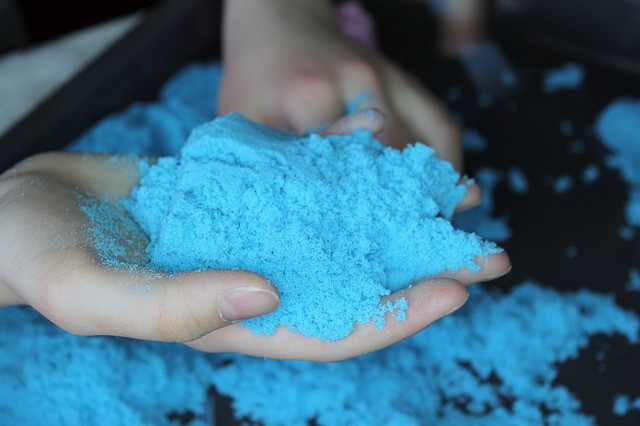
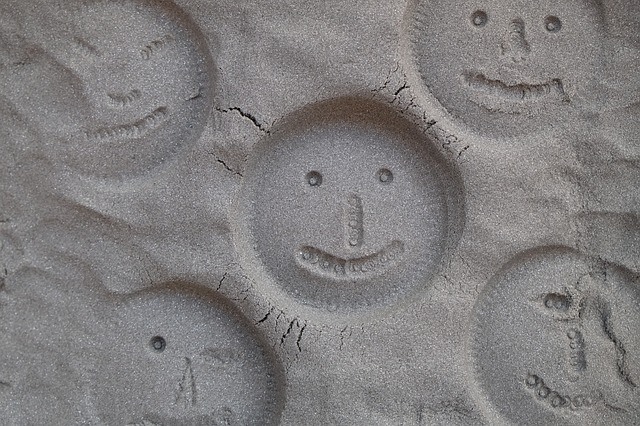
Kinetic sand is a rather interesting substance, having the physics of wet sand while staying dry. Great for kids, or enjoying yourself (admit it, you will be), it’s a fantastic tool for passing the time.
At first glance, it may seem difficult to make, but with the help of this step-by-step article, you will learn a few different ways to make your own!
Contents
Varieties of Kinetic Sand, and the Type of Sand Needed
There are many different ways to create kinetic sand.
While some versions obviously require actual playground sand, others do not, though they result in a more powdered-snow texture than the spongy, fluffy texture inherent in most store-bought varieties.
The best thing to do is experiment; this will give you different styles to enjoy while the kids (or you) find their favorite one.
This article will teach you how to make a few different versions, but all (except one) of them will require at least five pounds of playground sand, very fine grain so as to better absorb the liquid.
You will be able to get this from any Walmart or other such superstore.
Cornstarch and Dish Soap Kinetic Sand Recipe
Ingredients
- Sand
- Cornstarch
- Water
- Regular liquid soap.
- Food coloring of your choice.
Directions
This recipe will provide the closest texture to the store-bought variety, but with one catch. You will need to add water periodically in order to keep it hydrated.
- Begin by prepping the sand itself. You will want to bake it in the oven for between four and five hours to get all the moisture out. That will allow for the sand to have a more consistent texture and provide for a more even absorption of the liquid.
- As for the liquid, mix together a teaspoon of dish soap for every cup of water.
- Once all that is done, add cornstarch to the now dry sand and mix evenly.
- Slowly begin adding the water and soap mixture, stirring until it is completely mixed, adding water until it reaches the desired consistency. This will result in very moldable sand that most closely resembles the store-bought version.
- The last step, once you have reached the texture you want: mix in the food coloring of your choice to make it whatever color you desire.
Here’s a video showing an example of how to make kinetic sand using the above method.
DIY Kinetic Sand Using Glue and Starch
Ingredients
- Sand
- 1 bottle of clear glue.
- 1 cup of unscented liquid starch.
- Food coloring of your choice.
Directions
This one is a little easier to make, and a little thicker as well which is perfect for molding.
- You will want to start in the same way you started the previous recipe: baking the sand until it is completely dry. Once again, this is to dry it out and allow it to better absorb the liquid, as well as be a more even mixture.
- After this is done, let the sand cool while you mix the glue and starch. The resulting mixture will be a bit on the runny side in order to mix properly, so if it seems too stiff, add more of the starch.
- Finally, add in the solution one spoonful at a time until the desired consistency is reached, but avoid using all the slime. Too much and the sand will not behave properly. The goal is to make a fluffy consistency that is easily moldable.
- Once you have reached the desired texture, it will be ready! All that’s left is to mix in the food coloring of your choice.
Kinetic Sand Using Baking Soda, Baking Powder, and Dishwashing Liquid
Ingredients
- No sand! (Surprising, right?)
- Baking soda.
- Baking powder.
- Dishwashing liquid.
- Food coloring of your choice.
Directions
Here’s a complicated, but one of the most fun, recipes!
- In a mixing bowl, mix together two parts baking soda to every one part baking powder, and add in one part dishwashing liquid.
- Stir until it forms a sandy, doughy consistency – if it seems too wet, add in baking powder.
- Eventually it will seem too thick to stir with a spoon. Once it has reached that point, begin kneading with your hands until it has all come together in a homogenous mixture.
- You may have to add more baking powder to make it fluffier, but by this point, it will be complete!
- It’s a rather pretty white, but should you want, you can add in some food coloring.
Conclusion
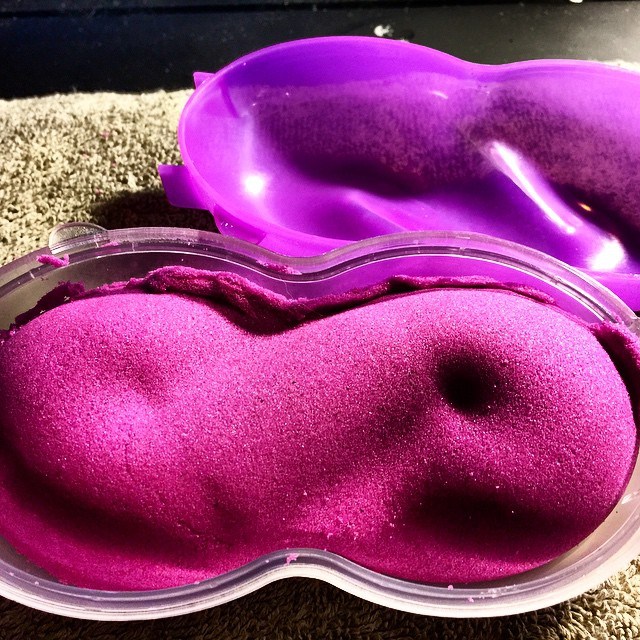
To store these mixtures, you will need to place them somewhere warm and dry, such as a pantry or other such cabinet, in an airtight Tupperware container.
You will occasionally want to add water to keep it all from drying out, but by following these instructions, you will have made your very own kinetic sand!
This will offer a fun project for any age, and is a great way to spend time with your kids!
Have you tried DIY kinetic sand?


