
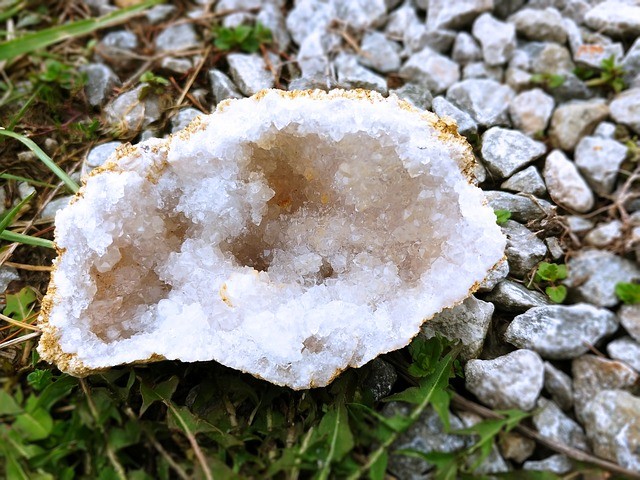
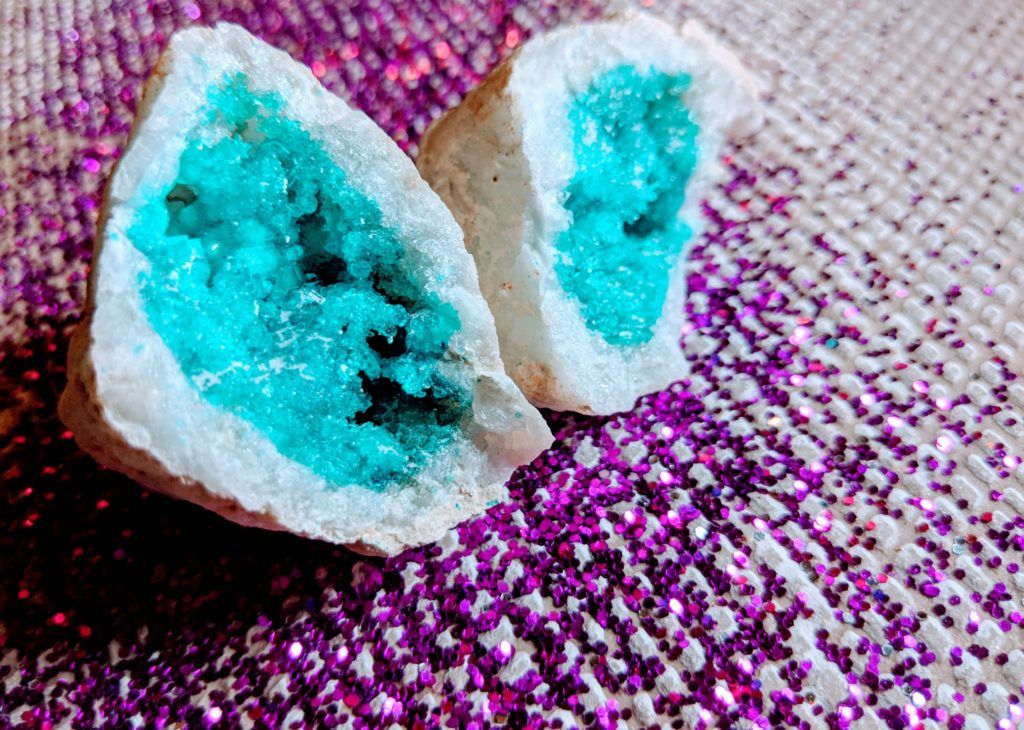
In nature, geodes are spherical or aspherical rock formations that look like normal, boring stones on the outside. However, once you crack them open, you find that they are filled with colorful crystals in a variety of patterns or shapes.
According to geology. com, geodes can be formed in a variety of ways, but the most popular ones are formed around active volcanoes.
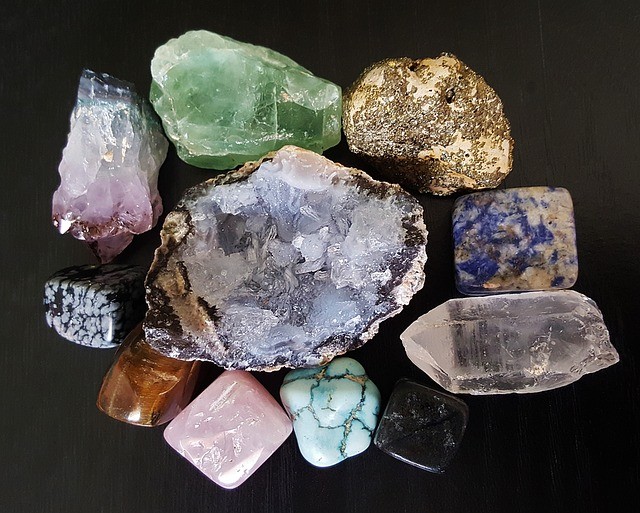
Naturally occurring geodes are highly sought after, as many people use them to make jewelry or other ornate pieces.
DIY geodes are also a big hit among school-aged kids. Many teachers use this popular borax craft to tie in a little chemistry to their art lessons.
It is very easy to grow your own geodes at home or in the classroom; all you need are a few household items.
Keep reading for a step-by-step guide on how to grow your own geode at home!
Contents
How to Make a Geode
Ingredients
While you may not have these supplies readily available at home, they’re easy to find at most craft stores:
- A beaker (though a typical pot will suffice if necessary).
- Borax.
- Pipe cleaner.
- Hot water.
- A bamboo skewer.
- String.
- Food coloring.
Directions for Making Geodes
Once you’ve gathered all of your items together, it’s time to assemble them.
First, you should add about a liter of water to the beaker, and then boil it over a hot plate. After this, remove the beaker from the heat source, and add between 1 – 1 ½ cups of borax.
You should then stir until the blend has become saturated, which means the water has dissolved as much of the borax as possible.
There should be excess borax collecting at the bottom of the beaker, and this is a sign that you’re ready to move onto the next step.
Before you can grow your own geode, you need something to suspend it from. This is where the bamboo skewer and pipe cleaner comes in.
The pipe cleaner is the structure that your crystal will grow around. To prep it, you should take the pipe cleaner and fold it inward on itself, until you’ve made a circular structure. Then you should attach it to the bamboo skewer with your string.
Dyeing Geode Rocks
If you plan to dye your geode, then now is the time to add food coloring.
You can, of course, grow your geodes without the addition of food coloring, but most people enjoy turning their structures into colorful objects.
The amount of food coloring that you add will depend on how dark or light you want your finished geode to be.
Remember, you can always add in more dye if your solution is too light, but it will be impossible to remove the dye if you add too much.
After you incorporate the food coloring, you should make sure to give the solution (which should still be warm) a good stir.
Growing the Geode
Once you’ve added the food coloring to the solution, it’s time to dunk the pipe cleaner, which will now be attached to the bamboo skewer.
After you have submerged the pipe cleaner in the solution, you should cover the beaker with a piece of paper or cardboard, and allow it to sit overnight.
It can take anywhere from eight to twelve hours for the borax solution to crystallize. During this time, it’s important that you do not disturb the solution. Otherwise, you may not end up with your intended result.
When you return the next morning, uncover the beaker and gently raise your pipe cleaner from the solution. If you followed the steps correctly, then you should have your own DIY geode attached to the pipe cleaner.
If you would like to recreate the results and grow your own geode again, then you will already have a great base for it, with the remaining, non-crystallized solution in the beaker.
Growing the Second Geode
To make the second geode, all you have to do is reheat the remaining solution.
The heat will increase the solution’s ability to dissolve the borax, so you will have to add more borax until it reaches the point of saturation again.
Once the solution is saturated, you can, once again, add a little more food coloring to the solution. This step is not required, but may result in prettier geodes!
After that, you should suspend another pipe cleaner into the solution, and wait another eight to twelve hours.
At this point, if you want to make more geodes, you should probably start from scratch, with fresh water, borax, and food coloring to get the best results.
Here’s a video showing an example of DIY geode rocks.
Final Thoughts
As stated above, this popular borax craft is a big hit with teachers and kids because of the ease of this project, as well as the affordability of the supplies involved.
Please note that it takes a substantial amount of time to make the geodes grow, however.
So, if you’re planning on making geodes for a birthday party or other fun outing, the finished product probably won’t be ready in time.


