
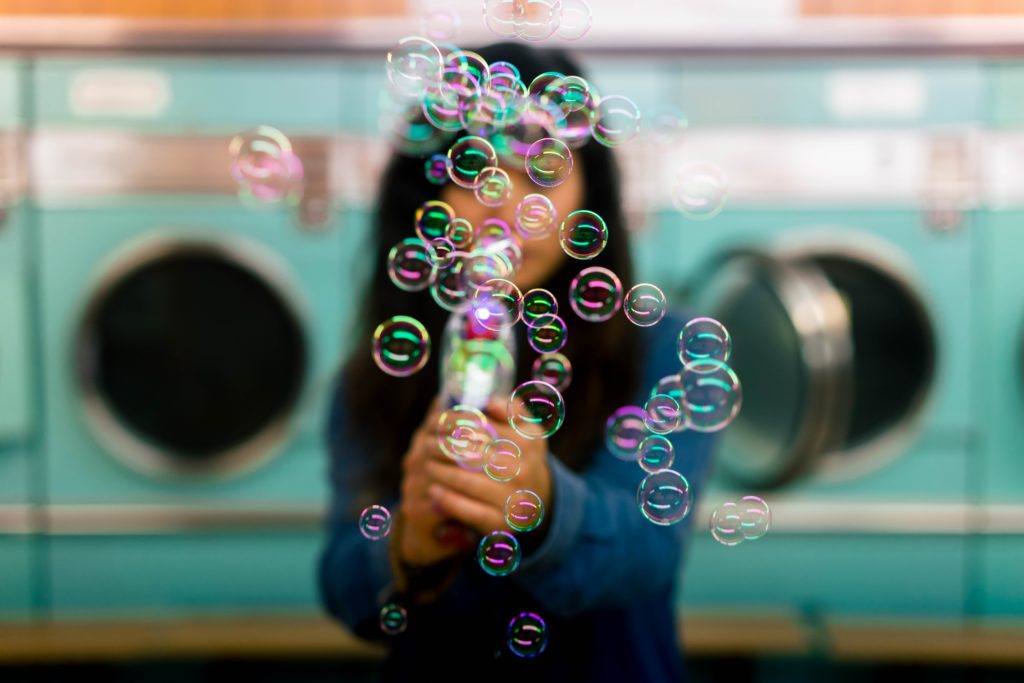
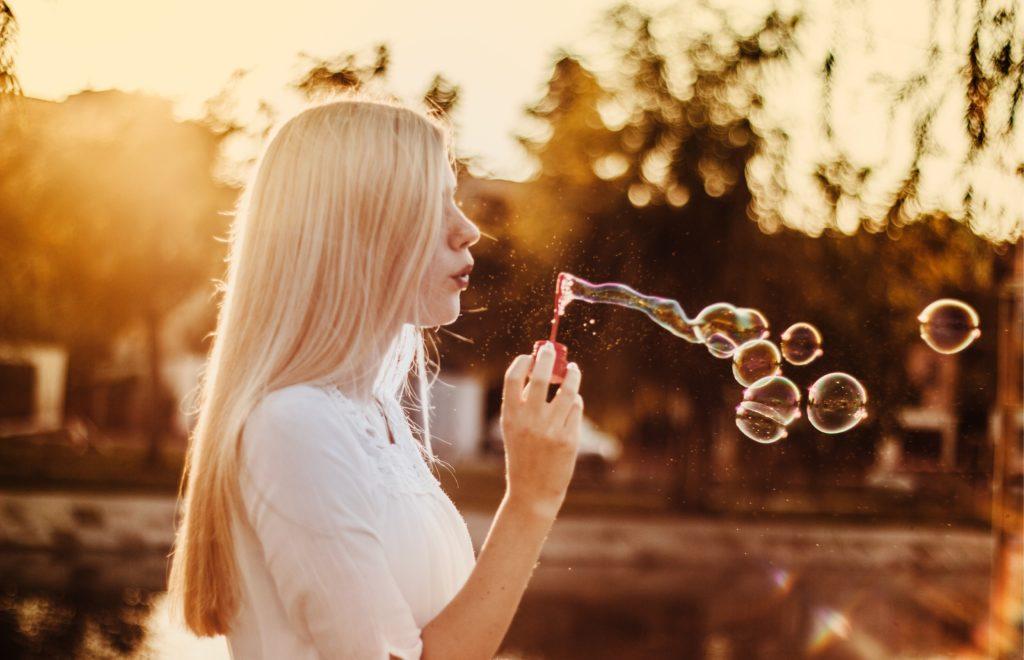
It’s the summer months, and it’s the best time to frolic in the grass and soak up the sun. But what better way to spend time in the outdoors than with a bottle of homemade bubbles?
Bubbles are a wonderful activity, especially for toddlers. It gives them a fun reason to stay outdoors, providing them with the opportunity to get their vitamin D and breathe in fresh air, all while giving their little limbs the exercise that they need.
But, you may ask, how do you make bubbles? Sure, many parents would simply mix dish soap and water, but these homemade bubbles tend to pop too early. Thankfully, it’s easy to make bubbles that last longer, providing more fun for both you and your kids.
A bubble recipe for hours of outdoor fun doesn’t have to break the bank and uses ingredients that you can easily find online and in stores.
All you need are four simple ingredients and some mixing, and you’re ready to go!
Contents
How to Make Bubbles
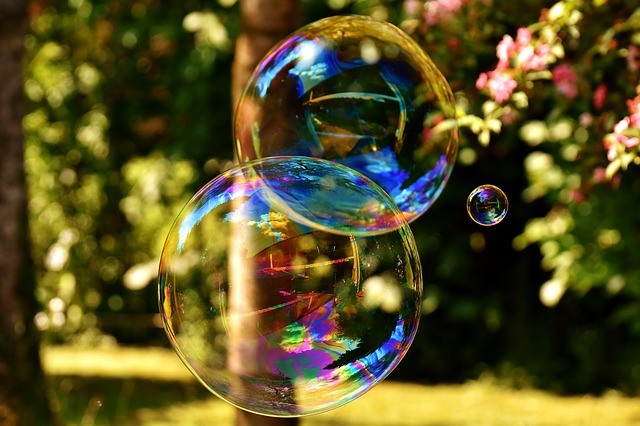
Learning how to make bubbles is also a great opportunity to talk about science. The science behind bubbles is simple: a bubble is composed of trapped air. This ‘trap’ is made of three thin layers: soap, water, and another layer of soap.
Bubbles pop when the layer of water evaporates and the air escapes. The secret of creating longer-lasting bubbles lies in the soap layer; the better we can make the soap layer, the longer our bubbles last.
We achieve this by adding two special ingredients into our mix: baking powder and glycerin.
Homemade Bubbles Ingredients
Water
Of course, water is one of the most important ingredients in making bubbles. But the question is: should you use tap water or distilled water? The short answer is: it depends.
The minerals present in tap water differ from place to place. If you’re not too particular about your bubbles, either is fine.
However, you might want to create a batch of bubbles using tap water and another using diluted water, to see any difference between the two.
Detergent
The second most important ingredient is, of course, detergent. Almost all commercial detergents work well, but Dawn and Joy tend to work best.
The amount of detergent you use will depend on the brand you’re using; about one-part detergent for ten-parts of water should do the trick.
Baking Powder
The reason why some bubbles last longer than others is because of their acidity, or pH level. There hasn’t been a lot of studies determining why this is the case, but, generally speaking, a pH of 7 creates longer-lasting bubbles.
The common reason why bubbles are often of a higher pH (say, 8 to 9) is because of carbon dioxide. Baking powder removes the carbon dioxide present in your bubble mixture.
Adding about a teaspoon of baking powder per gallon of water should do the trick. Alternatively, you can use baking soda and half a teaspoon of citric acid.
Sugar or Glycerin
Have you noticed that sugar tends to make things stickier? Sugar and glycerin both work the same way, due to their molecular structure.
Glycerin can make a much more cost-effective substitute. It can be found in the health section of your grocery store, as well as pharmacies and drug stores.
Alternatively, you could also find it alongside other baking supplies. You can also buy glycerin online for cheap prices.
The amount you need may vary; about one-part sugar per eight-parts water is a good amount.
How to Make Bubble Solution
Dissolve the Sugar and Baking Soda
To make sure that the sugar dissolves well, it would be best to use a whisk.
Make sure that the solids dissolve well before moving on to the next step.
Add Soap and Glycerin
Add the detergent. Try not to create pockets of air in the mixture by mixing slowly, in one direction.
This is to ensure that less carbon dioxide is added into your mixture; as previously mentioned, you don’t want your mix to be too acidic.
Let it Sit
This step can be helpful, but not necessary. After all, a patient toddler can be quite rare! Letting your recipe sit for a few hours (or better yet, overnight) can help your mixture settle, giving you enhanced bubbles.
If your mixture has a bit of air in it, this step would also be helpful to make sure that you get rid of all air pockets for stronger, better bubbles.
The Perfect Bubbling Environment
While bubbles are perfect for the summer months, temperatures that are too high can make bubble blowing a bit of a challenge. This is because a higher temperature means water evaporates faster.
Early morning and night are perfect conditions for bubble blowing. Also, try to make sure that wind is kept to a minimum.
Now, take your bubble solution outdoors, and have fun!
Here’s a video showing an example of how to make bubble solution.
Have you tried making your own homemade bubbles?


