
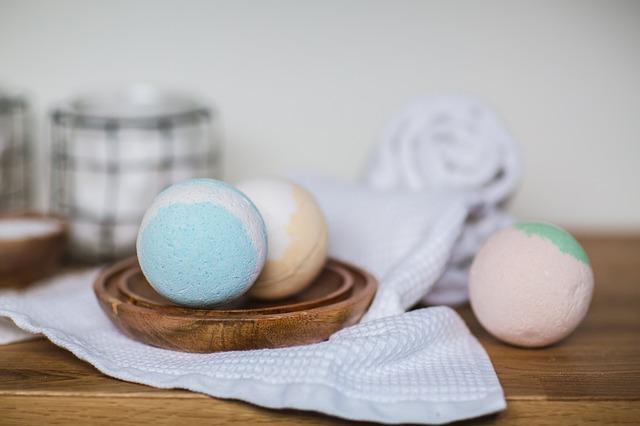
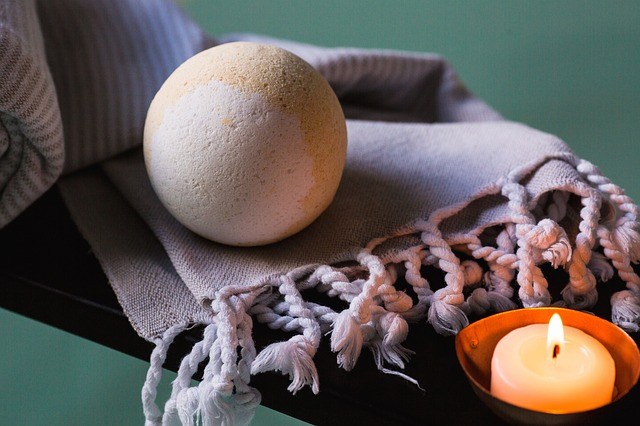
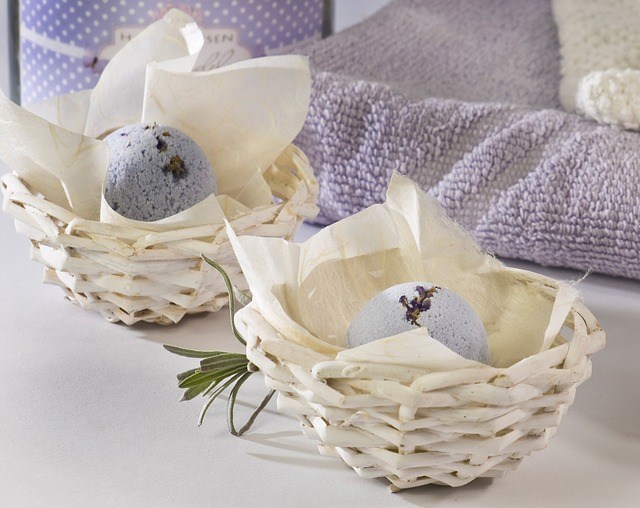
Bath bombs are all the rage in the soaps and fragrance world. And for good reason; second only to a glass of wine, a nice bath is the best way to unwind after a stressful day.
What could be better than dropping a sphere of fragrant fizziness in the rising warmth of bath water, seeing the colors flow out, and sinking into your own personal watercolor spa?
Bath bombs aren’t a particularly new invention, but across social media and stores the globe over, we’re falling in love with them again.
These items are featured with a seemingly endless array of designs and fragrances. They dissolve in your tub water, allowing you to hop right in and soak ‘n’ scrub.
And here’s a little secret: they are quite simple to make at home, and can be rather inexpensive.
Learning how to make your own bath bombs only requires following some simple instructions and gathering a few ingredients. That’s why we’re here today!
How to Make Your Own Bath Bombs:
The first things to know about making bath bombs is that there are a variety of ways to add your own touch to the finished product.
Different colors, shapes, sizes, scents, and lather are all variable and up to your discretion.
Your core ingredients are:
- 4 oz. Baking Soda
- 2 oz. Corn starch
- 2 oz. Epsom Salt
- 2 oz. Citric Acid
- 1 ¼ teaspoon oil (like coconut or olive oil. We prefer coconut)
- 1 ½ teaspoons water
Optional:
- 1-2 drops food coloring of your choice
- 5-10 drops essential oils of your choice
- Biodegradable glitter
Note: One ingredient you may not have on hand is the citric acid. It may not sound like the most common of things, but it’s a more typical component than you may think.
On top of that, some people are allergic to citrus acid. Topical exposure to the substance can irritate skin and create rashes; kind of the opposite of the relaxation we’re hoping to create with our homemade bath bombs.
So, if you’re looking for how to make bath bombs without citric acid, look no further than right here with us.
It’s rather simple really: cream of tartar! Cream of tartar is simply an acidic byproduct that’s used in baking. It’s white and powdery, able to serve as a dry ingredient substitute for citric acid.
Instructions
First, begin with mixing the dry ingredients (corn starch, baking soda, Epsom salt, citric acid/cream of tartar, and glitter) into a large bowl.
You want the ingredients to be blended evenly and clump-free, so we recommend a whisk for the easiest route.
Baking soda, the household essential of infinite uses, is one of the main ingredients in creating the bath bomb “explosion” we so love.
(Think back to the famous baking soda/vinegar volcano science experiments we’ve all seen at one point.)
This is also the time to mix in any glitter, if you want it. We recommend using a biodegradable glitter.
Biodegradable glitter may be a couple dollars more expensive, but it saves cleanup and, more importantly, saves our aquatic friends in the oceans.
Next, it’s time for your wet ingredients. If you are using coconut oil, you can toss it in the microwave for a few seconds to bring it to its liquid state. This is now the time to decide on your colors and fragrances of choice.
You can mix any variety of fragrances or essential oils together, as long as their combined amount isn’t above what the recipe calls for (in this one, four teaspoons).
The same rules apply to any food coloring you choose to include. Bring all the wet ingredients together in your mason jar or water bottle, screw the lid tight, and shake it!
Now comes the portion where we combine our dry and wet ingredients. However, we want to take the time to stress that this portion of the process should be done SLOWLY.
We’re talking “a teaspoon and a prayer at a time” slow.
The reason for this is adding too much of the wet ingredients can cause the dry mixture to begin fizzing prematurely.
So, while spooning portions of the wet mixture into the dry, be sure to whisk and blend the two together. Doing this at a measured pace allows you evenly disperse the two and not over-whisk any one part.
At the end, you should have a lump of aromatic goodness that’s slightly clumpy like damp sand.
Moving on quickly, begin placing your bath bombs-to-be in your chosen molds. Leaving the unfinished lump out can cause it to dry quickly, so have enough molds on hand to use up all of your bath bomb mixture.
This next step is the most difficult: waiting.
After sectioning all of the bath bomb molds off, place them somewhere safe to dry for about eight hours or so.
Some prefer to toss their bath bombs in the refrigerator to make the process faster, but we’ve found it can dry out the product too much in some instances, and the fragrance they leave behind can stick around for a few weeks.
Finally, after checking on the bath bombs to be sure they are ready, gently remove them from their molds. Resist the urge to hop in the bath that very moment, and bag those fragrant pieces of heaven for later.
The video below shows how to make bath bombs with biodegradable glitter.
Don’t worry, we won’t judge if these become your go-to stocking stuffer or gift bag plumper.
Do you have any techniques on how to make bath bombs?


1 Comment
Thanks for sharing this recipe. But can I use Himalayan salt instead of Epsom salt for this recipe. I have heard so much good about this salt and use it i cooking and as bath salt.