
Everybody loves a little DIY! All it takes are a few odds and ends from around the house, some elbow grease, and a bit of know-how, and you can whack out some incredible creations.
There are thousands of DIY tutorials online, showing you how to make everything from decorations to furniture to clothing! The latest DIY trend hitting the blogs are DIY tiki torch tutorials.
Prepping for a party, adding a bit of ambiance in your yard, or keeping those pesky mosquitoes at bay just got a whole lot more fun.
Why should you try making your own tiki torches, you ask? Well, tiki torches, especially when you buy more than one or two, can quickly rack up a few hundred dollars at the checkout. Why not test out your handyman skills and try whipping up a full set of tiki torches personally?
It is fair to say that, in spite of their cost, tiki torches are hugely popular for how drastically they can alter the look of your backyard.
Their added benefit of warding annoying insects away (making them the perfect accessory for outdoor parties) has people giving in and digging their wallets out. Don’t do that just yet!
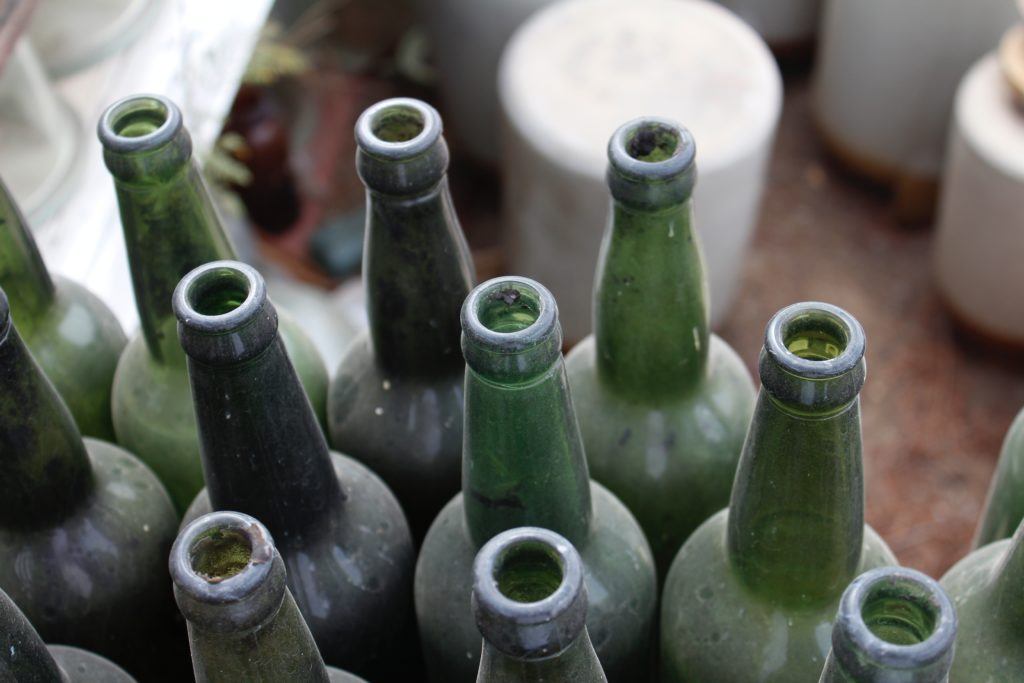
Did you know that you can make your very own tiki torches for little more than pocket-change? So long as you have a few empty wine bottles lying around, you can make your very own wine bottle tiki torch set.
This guide will walk you through all the steps for crafting these custom torches, so now you have the perfect excuse to crack open those dusty bottles of wine!
Fair warning, you will need a few items from the hardware store, although you can probably pick them all up, excluding the citronella oil, for the cost of one pre-made tiki torch.
Contents
How to Make a Wine Bottle Tiki Torch?
If you are wondering how difficult DIY tiki torches are, have no fear. These are a perfect DIY craft for beginners!
You don’t need an extensive knowledge of any trade – just patience and time.
If you have kids restless on school holidays, they can chip in and help with this project too!
What you will need:
- Empty wine bottles.
- ½-inch Teflon tape.
- ½-inch x 3/8 inch copper coupling.
- ½-inch copper cap.
- Tiki replacement wick.
- Tiki fuel or citronella oil.
Now let’s get cracking!
Step One: Prep
It is important, for safety reasons, that you ensure the bottles you are using are clean inside and out.
Break out the suds and give those bottles a good rinsing on the inside (especially if you choose to use bottles that once held spirits).
As for the outside, remove all traces of labels on the neck – these can pose a slight fire hazard on windy days.
Optionally, you can remove the labels stuck to the body. A little bit of rubbing alcohol or nail polish remover will scrub any sticky residue away cleanly – just make sure to wash any flammable liquid away before moving on to the next step.
Should you not wish to go through this step, that is perfectly fine! Labels can offer a truly unique look to your tiki torches, especially if you use a collection of more exotic wines or brands that hold fond memories for you.
Note: Make sure that whatever bottle you use is made of thick glass.
Step Two: Nip and Tuck
Leaving the bottles alone for the moment, scoop up the copper coupling. This is what will hold the wick in place and prevent it from slipping back down into the bottle.
Wrap the wider half of the copper coupling in Teflon tape until it rests snugly inside the bottle opening. Then, wrap it in a few more layers; the idea here is that you are creating a plug to keep the fuel from being contaminated, while also preventing the coupling from moving around.
Once you have thoroughly mummified this part of the coupling, set it aside. Don’t jam it into the bottle just yet!

Step Three: Thread the Needle
Take your tiki wick replacement and thread into the copper coupling, leaving ½ inch of the wick sticking out from the top.
Tempting as it may be to leave a longer section of wick exposed for a more dramatic flame, it is dangerous to do so – in fact, all tikis are carefully safeguarded against this, even store-bought ones!
A longer wick has the chance of curling over and setting the label of the wine bottle alight.
Unlike wax candles, which will snuff out a too-long wick, DIY tiki torches don’t have a pool of melted wax lying around.
Set the wick and coupling aside.
Step Four: Mounting Prep
There are two ways to display your wine bottle torches: mounted to a wall, and as a centrepiece on your table.
If there are kids around, or a livelier crowd is attending your party, then mounting the torches on a wall is the safer option. This keeps the flame well out of reach from curious fingers and clumsy hands.
It is also the better option if you have pets; by electing to not use the classic tiki torch stand, you’re removing a tempting chew toy from your dog’s line of sight.
Cons aside, the pros are quite tempting. As centrepieces for tables, wine bottle lanterns can offer beautiful mood lighting. Plus, having the torches in the middle of the table will keep those dratted gnats and mosquitoes away while you eat dinner.
Centrepieces
For safety reasons, it is best to add a fair bit of weight to your bottles, so as to prevent them from tipping over easily.
Dropping a bag of marbles or small pebbles into the bottle will weigh it down. The displacement provided by the marbles will also ensure you don’t need to pour as much fuel in!
Fill your wine bottle until there is an inch gap between the marbles and the bottom of the wick.
As for cradles to suit your new tiki torches…You can get creative by using actual wine bottle holders to lift your DIY tiki torches!
As long as they are metal and hold the bottle upright securely, using a bottle holder is a great way to keep your torch displayed safety.
Any surface that is flat and sturdy can support a torch, but these tikis should only be used outdoors. No matter how tempting it may be to have strong, romantic lighting indoors, stick to little wax candles for indoor use.
Mounted Wine Bottle Torch
This is the more common way to display your wine bottle torches, even though it does require a bit more work and another handful of bits from the hardware store.

Really, it is the safer option of the two if you have kids, pets, or people that have enjoyed a few too many drinks while ambling around.
In addition to the items needed to make the tiki torch, you will need:
- Two #10 one-inch screws (zinc plated).
- Coppertop plate connector threaded for 3/8-16 thread rod.
- 1-inch split ring hanger.
- Two hex nuts threated for 3/8-16 thread rod.
- 3/8-16 threaded rod (zinc plated).
- You will also need a power drill and an adjustable wrench.
Place the copper top plate against the surface on which the torch will be mounted, and mark where the screws will go.
Drill both screws in part-way first, and once you are sure the plate is still level, drill the screws in the remaining distance.
Screw in the 3/8-16 thread rod until it stops. You do want the actual torch to be mounted a healthy distance from the wall surface to avoid fire hazards, so keep a few inches between the torch and wall surface. This also prevents staining or smoke damage from forming on the wall!
Spin on the nuts. Tighten one all the way down to the plate, and leave the second loose towards the top.
Screw on the ring until the end of the rod is level with the inner edge of the ring. Tighten the second nut to the ring, and you’re done!
(You may need to wrap the neck of the bottle with Teflon to give the ring more gripping power! If you tighten the ring too much, it could shatter the glass, so use a gentle touch when securing the torch into place.)
Step Five: Put It All Together
Fill the bottle with the fuel of your choice (citronella oil is best for repelling mosquitoes) up to the base of the neck.
Insert the wick and copper coupling, being sure to really press the coupling in thoroughly so that the Teflon is nice and snug. Let the wick soak up the fuel for at least ten minutes before lighting.
Light it, and enjoy your DIY tiki torch!
Keep the copper lid that came with the coupling. Use it to keep the exposed wick dry when not in use.
It is also important to store these torches in a safe place when not in use. Leaving the wall mountings in place is fine, but be sure to remove the bottles, and pop that cap on the wick to prevent nasty accidents or spills.
Here’s a video showing an example of how to make a wine bottle tiki torch.
What Else Works for a DIY Tiki Torch?
Wine bottles aren’t the only thing you can turn into a tiki torch! Any glass bottle with thick walls as well as a sturdy base and neck will do, including bottles for spirits and beer – just make sure to give them a good scrub first!
And that’s a wrap! DIY tiki torches may seem like a tricky project, but their core ingredients are rather simple, making it a great project to take on in an afternoon. Try one out for yourself!
Do you have any tips on making a DIY tiki torch?


