
Dreamcatchers are quickly growing more and more popular in today’s world.
Be it because of their intricate tying or the beautiful feathers, it is becoming somewhat of a staple to use them as decoration for homes.
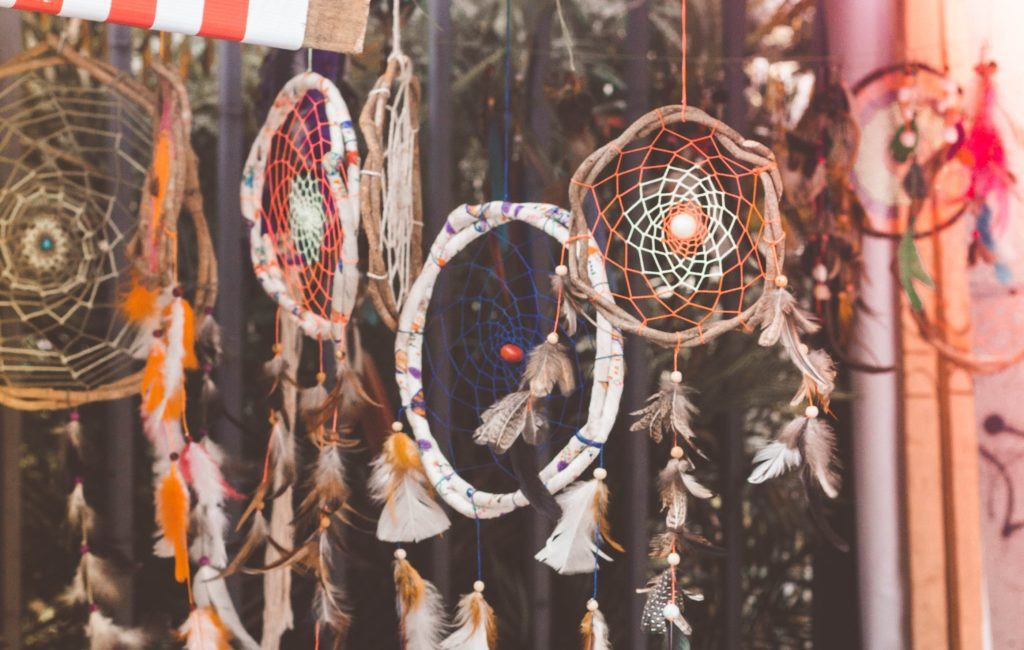
With this article, you will learn how to make your own, as well as a bit of backstory behind these beautiful pieces of art.
Contents
The Origin of Dreamcatchers
Legends about dreamcatchers exist among many Native American tribes, primarily the Ojibwe and Lakota groups.
According to these groups, spiders are symbols of peace and comfort rather than the disgusting creepy crawlies that many of us see them as today.
As the story goes, an entity named “Spider Woman” functions as the spiritual protector of the tribe and defender of the younger tribe members.
As the people began expanding, The Spider Woman found it difficult to protect everybody, and thus created the first dreamcatcher, an extension of herself.
Following this example, mothers and grandmothers would recreate this as a means of protecting their children from afar.
Use of Dreamcatchers
According to the beliefs of the Ojibwe people, the night air is filled with dreams, good and bad.
The web of the Spider Woman’s dreamcatchers was designed to protect those who sleep beneath them from nightmares, causing them to get lost in the intricate weaving while the good dreams follow the path and are guided to the sleeping children’s heads.
As the feathers shift, another good dream has made its way to the dreamer.
What You Need to Make a Dreamcatcher
In order to make a dreamcatcher, a few items are integral for its creation.
First, the hoop. At the very least, you will need one to hold the central pattern; however, you can get several smaller ones to make extra decorations.

Next, you will need hemp cord to form the actual pattern. Any color can work, however white or off-white is the traditional choice.
You will also want fabric to wrap the hoop. This will be one of the most important steps as that fabric will tie the entire rest of the design together.
Finally, you will need a spool of thin string and feathers for the final embellishments at the bottom of the dreamcatcher.
After that, extra decorations that are popular are shells, bones, and beads.
How to Make a Dreamcatcher
Wrapping the Hoop
Now that you have these materials, it’s time to begin building your dreamcatcher.
The first step is to tear the fabric into long, even strips and begin wrapping it tightly around the circumference of the hoop, taking care to leave no gaps.
As each strip runs out, secure it with hot glue, flatten it, and continue until the entirety of the hoop is covered thoroughly.
Weaving the Pattern
Cut at least three feet of the hemp cord and decide where the top of the dreamcatcher will be.
Make a tight but secure knot and measure out around two inches from the top knot to another point on the edge of the hoop.
Continue this pattern, measuring and making a knot, until you have encompassed the entire hoop.
Next, go to the middle of the first knot and make a loop through the first hole between the string and the hoop.
Follow the same pattern of looping and weaving back and forth through the string and hoop. As the circle gets smaller, you may want to pull and tighten the cord to shape it the way you want.
Once the central hole is the size you desire, tie it off and trim the remaining string. Then it’s time to embellish and decorate.
Decorations
The important thing to remember for this is that while there are a few key parts that make it a dreamcatcher, ultimately it is your dreamcatcher and so how it looks is up to you!
Starting with the ribbons, you will likely want something to compliment the color of the fabric used to wrap the hoop. Using different kinds and colors of fabric will help for the overall project to come together as a whole.
Next, you will want to begin working on tying the feather. Taking the string, carefully tie between two and three different colored feathers together.
It’s important that these feathers have nothing in common and that they aren’t pressed too close together, or else they will end up flattened out and look unappealing.
Once you have them tied up, add beads to the string that compliment them and tie them between the ribbons.
Here’s a video showing more details on how to make a dreamcatcher.
Conclusion
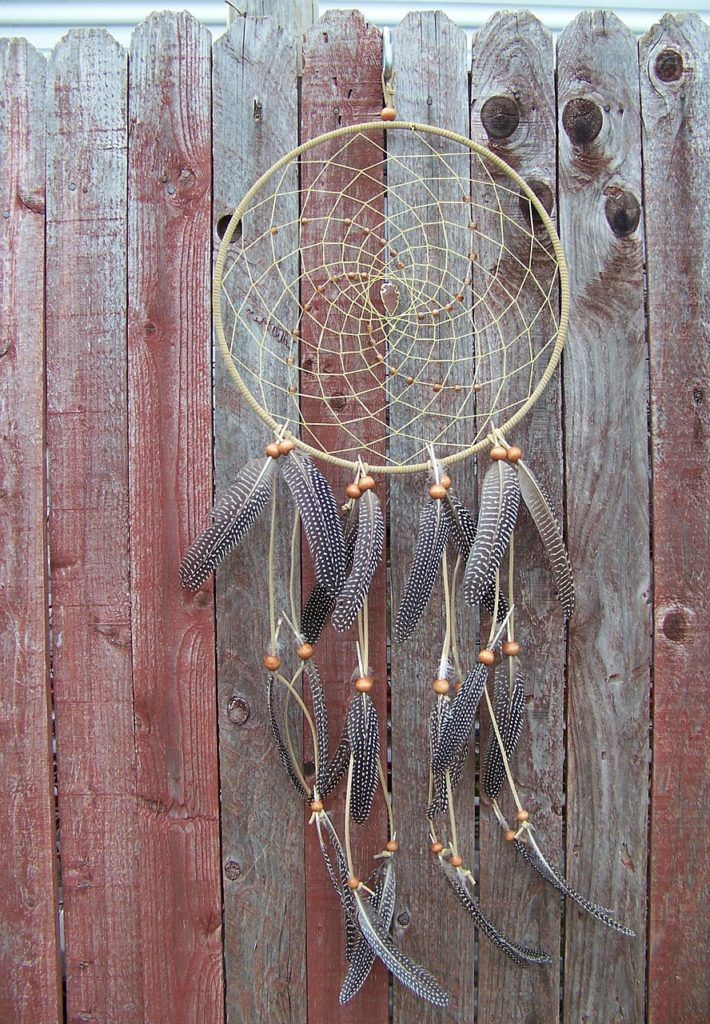
Dreamcatchers are artworks that look incredibly complex, detailed, and beautiful.
They can be an incredible addition to any home, and while it may look daunting, they are surprisingly simple to make and result in something to be proud of.
And you only need a small number of materials in order to create a beautiful piece. It’s a simple craft that, when finished, will look incredible!
Have you tried to make a dreamcatcher?


