
Chalkboards are often a fun and generally stress-free way of creating great works of art that are also easy to clean, provided you have the proper supplies.
This article will help you to learn how to make just that: erasers for your chalkboard.
Contents
What You Need for a DIY Chalkboard Eraser
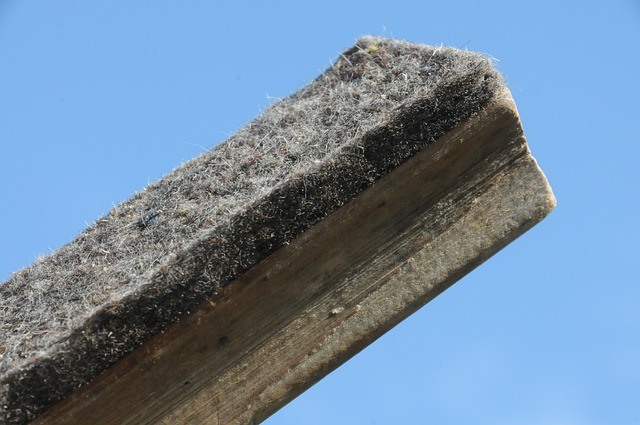
A chalkboard eraser is a simple thing, only consisting of a few pieces that allow it to function: a piece of cloth (such as carpet or felt), glue, and a handle.
However, it’s the kind of glue, the variety of cloth, and what you use for the handle that can make an eraser better or worse.
With this understood, it is time to begin crafting!
Simple Chalkboard Eraser
Supplies
- 1 4×4 inch piece of wood.
- 1 4×6 inch piece of felt.
- 1 stapler or hot glue gun.
- Sandpaper.
Instructions
- Start by sanding down the wood until it’s completely smooth. If it’s rough, it’ll be rather uncomfortable to use, and if you’re planning on giving this to younger children, it can cause a few cuts or slivers. So sand it well!
- Once the wood is perfectly smooth, place the cloth over it so that two inches stick out over the edge. This allows you to easily glue or staple the fabric onto the wood securely, ensuring that the eraser lasts as long as possible.
- Taking the stapler or the hot glue, adhere the cloth to the wood, making sure it’s on tight. If it’s loose, it can cause wear and tear, which will result in the eraser falling apart.
Advanced Chalkboard Eraser
Although the basic eraser is the easiest to make, you may want to try something a bit more interesting.
This variety will allow you to not only erase the chalkboard but also store your chalk easily.
Furthermore, because it’s made of recycled materials, it’s also good for the environment!
Supplies
These are much easier to build, as they will not require any sanding of the wood.
In fact, it won’t require wood at all, though that’s not entirely out of the question – you’re welcome to experiment once the process is familiar.
- 2 Altoid tins or other boxes of that shape and size.
- A piece of cloth, 4 x 10 inches.
- Two-part epoxy glue, or other such glue designed to bind pieces of metal together (as well as bind cloth to metal).
- Paint of your choice in color. Don’t use tempera paint, however, as that can rub off on your hands.
- A few inches of wire or twine.
- Pliers.
- Scissors.
- A wire scrubbing brush.
- An X-ACTO knife.
- A needle and thread.
Directions
First and foremost, any shape and size will work. However, the reason Altoid tins are preferred is due to how well the chalk fits inside them.
It is small and compact enough to be stored anywhere, yet large enough to store any pieces you have.
With that out of the way, it is time to begin building!
- Start by unhinging the tins. Use pliers to pry open their hinges and separate them from each other.
- Next, you will want to use the steel wool to remove paint from the tins. You won’t need both of the bottoms, so remove the paint from only one of those and discard the other.
- The next step will be to glue the lids to each other, with the open sides facing out. Make sure to get the hinges aligned with one another, so as to prevent it from leaking or being off center.
- Paint the base however you please, from designs to a label. This part is entirely up to artistic interpretation!
- Next, you will want to prepare the trim of the eraser bed. Cut a strip of paper and glue it to the lid, covering the seam before painting it.
- Attach a piece of electrical wire or twine to the hinges and form a small handle.
- Using the glue, adhere the piece of cloth to one of the open sides of the eraser. This will form the actual eraser and will give it the ability to function.
- The last step is to add the base. Fix the remaining base to the open side that doesn’t contain the eraser. You may choose to reattach the hinges, but that is fully optional. You may also choose to line this part with felt to reduce the chalk’s movement, therefore preventing them from breaking.
Conclusion
Now that you have these instructions, you can create unique erasers for your chalkboard, perfect for any household applications.
It’s an excellent and simple way of getting chalkboard erasers for much cheaper than could be bought normally – and allows you to add a touch of personalization.
Tinker with it, experiment with different varieties of cloth, and adjust the paints you use. It’s entirely up to your imagination!


