
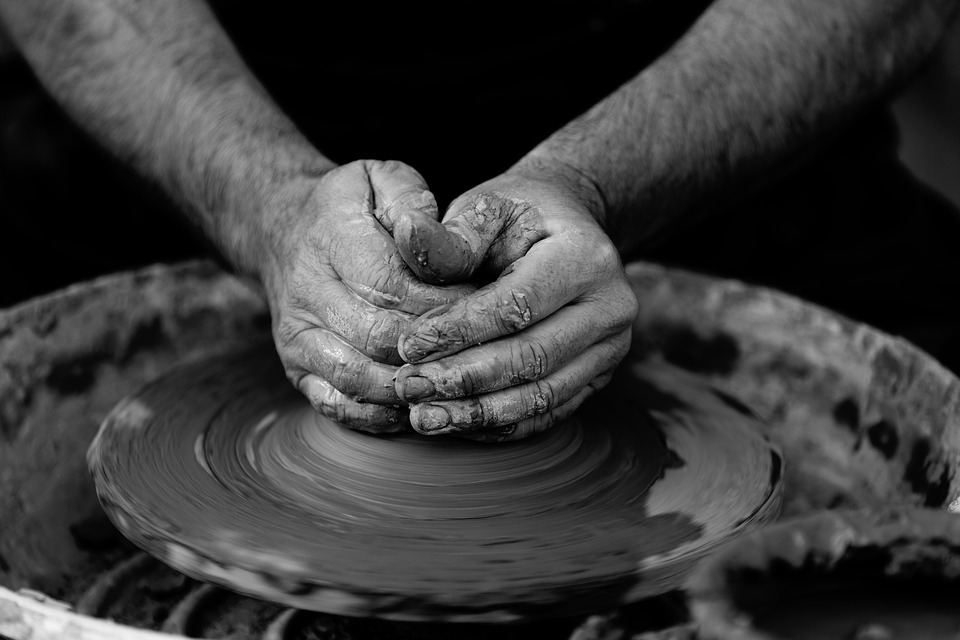
Forever immortalized in that scene from Ghost, pottery is an exciting, creative, practical, and hugely rewarding hobby, and while Patrick Swayze may not be hovering seductively over your shoulder, working with clay is certainly never boring.
The sheer joy and sense of accomplishment of successfully throwing a pot for the first time is a real thrill.
It’s a hobby that can be pleasing to anyone, with any skill level.
From making simple hand built coil pots to experimenting with complex glazes and firing methods — it’s up to you how complicated you want your pottery hobby to get.
It’s true that when it comes to making pottery at home there are a lot of things to consider, and it can all be a little overwhelming.
If you are just starting out, it’s a good idea to get a taste of what pottery is all about by joining up to a beginner’s class, or you could just start slow and experiment at home with some basic kit.
Whichever way you want to get started, this super comprehensive guide to everything you need to know about making pottery at home is just what you need to help you take the plunge and dive into the wonderful world of ceramics.
So buckle up and prepare yourself for a journey that will reveal all the important stuff you need to know, including explaining the differences between different clays and their uses, a rundown of all the essential equipment you need, to a step by step tutorial on how to throw your very first pot, plus much more…
It’s time to get your hands dirty and have some fun!
Contents
What is Pottery?
Pottery is one of our oldest handicrafts, and it is still used just as much today as in prehistoric times when men and women first discovered that wet clay left out in the sun dried and became hard.
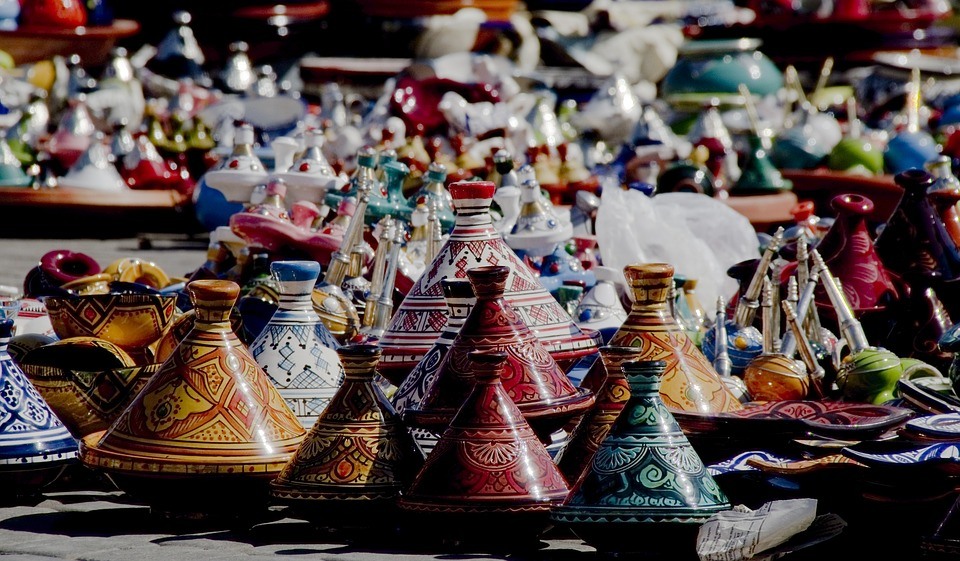
This discovery led to a boom in pottery production, and by around 400BC, earthenware pots, bowls, jugs and decorative objects were being produced on a huge scale.

It was the enigmatic Egyptians who invented kilns to fire their clay pots, and this method was adopted all over the world. They also created the first glaze, a blue-green mix of minerals that gave the pots a hard, colorful coating after firing.
Skip forward to more modern times and we are still using very similar processes to create ceramics.
As well as being eminently practical, pottery has become a form of high art, with traditional and contemporary artists creating incredible works which inspire millions of budding potters all over the world.
And now, you can do pottery at home — no studio required!
Types of Pottery Clay
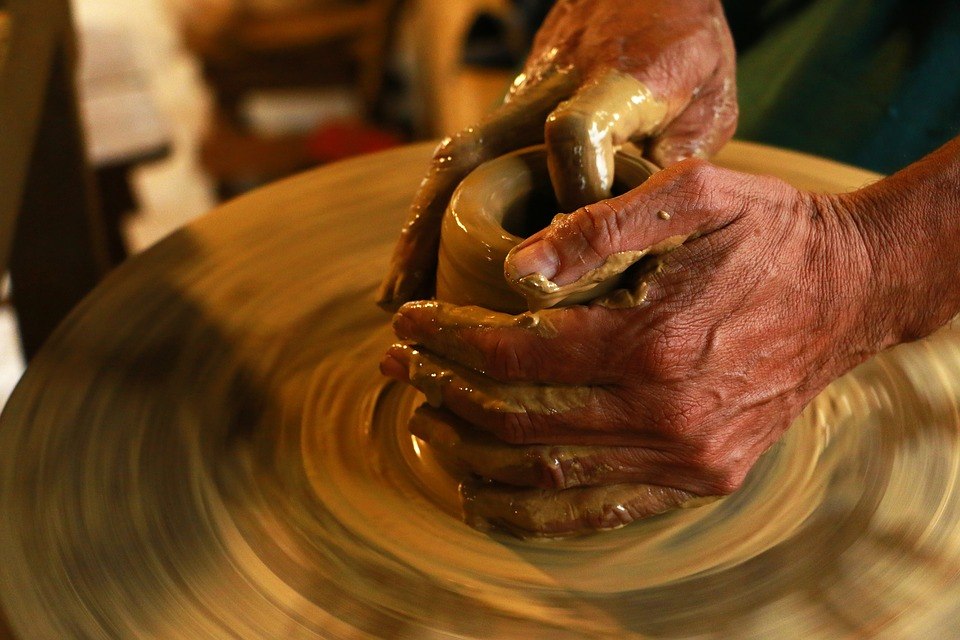
Clay is at the heart of the pottery process.
It comes from the ground, usually in areas where streams or rivers once flowed. It is made from minerals, plant life, and animals — all the ingredients of soil.
Made up from decomposing rocks, and rich with minerals and organic remains of plants and animals that have been broken down by water pressure into super fine particles over time, it is slick and cool to the touch.
There are several different clays used in pottery making, each one containing a different mix of minerals and other elements that give them different properties and make them suitable for different applications.
Often, different clays are mixed together, or other things are added to make the clay stronger, or finer, to change its color, or to give it more plasticity.

When clay is mixed like this and used to form objects, it is called a ‘clay body’.
Different clay bodies ‘mature’ (meaning the point at which the clay is formulated to go hard) at different temperatures.
As a general rule the higher the temperature the clay matures at, the less absorbent it is once firing is completed. This is important as if clay absorbs water after firing and then freezes, the force of the water as it swells can break apart the clay.
Here’s our rundown of the main clay types…
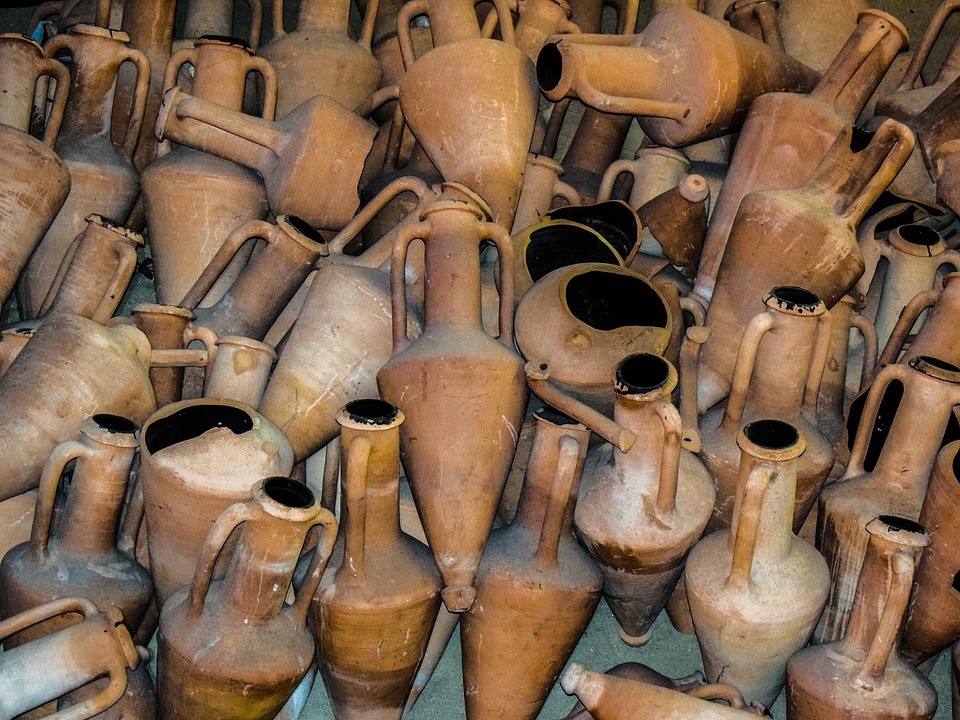
Earthenware clays
This is the clay which was used by the earliest potters to create pots to carry water.
Earthenware typically contains a large amount of minerals such as iron which give it a rich red, orange or brown color. This distinctive color has led to it also being called by the familiar name ‘terracotta’, which translates as ‘baked earth’.
It’s a sticky clay which is easy to work with and holds its shape well.
Earthenware is fired at low temperatures (between 1745°F and 2012°F), and can be more porous and fragile than other clays.
This makes it a good choice when used as a container for things that need small amounts of air to circulate — like potted plants.
However, less durable earthenware clay bodies are also susceptible to freezing and cracking in cold climates, so may need to be brought indoors over the winter.
Equally, due to its fragility, earthenware may not be the best choice for other applications where a more resilient clay is required.
Stoneware clays
The name ‘stoneware’ makes reference to the dense, rock like nature of stoneware clay bodies after firing.
It’s extremely tough with practically no absorption properties, but is known to be a little brittle, hence it is often mixed with more plastic clays.
Colors of stoneware clays vary from a sandy brown or dark brown color, to shades of gray.
There are two different categories of stoneware clays: mid range (those that mature at a firing temperature of 2150°F to 2260°F), and high range (those that mature at a higher temperature of 2200°F to 2336°F).
Depending on which group they fall into will affect the resulting color after firing, and those fired at a higher temperature will be much more robust — ideal for utility ware.
Porcelain Clays
Porcelain ceramics are well known for their fine quality and delicacy, and white color.
This is due to their extremely fine grained nature, and also their high kaolin content (a white colored mineral with a low expansion when wet, and low retraction when dry) and relative lack of other impurities which could cause discoloration.
However this means they are also quite inelastic, and they have the reputation of being tricky to work with, so porcelain clay bodies are rarely pure porcelain, instead they often contain a mix of other clays to stabilize them and make them more workable.
When moist, they will be light grey and shades of white after firing range from a delicate light gray to an almost pure white.
Porcelain clays are always high fired (around 3272°F) and as well as being beautiful, this makes them durable, hard and gives them a glossy sheen.
Ball Clays
These sedimentary clays have highly variable compositions, and are significantly more rare than earthenware or stoneware clays.
They are grained with ultra fine particles, and have a high level of plasticity.
If used on their own, ball clays are not a practical choice as they shrink excessively, but when mixed with other types of clay, they act as a binder that makes the clay body more elastic, easier to work with, and much stronger (they are often combined with porcelain clays).
Another plus which makes them a popular choice with potters is that despite their dark grey color when moist, when fired (they fire to their mature hardness at about 2336°F) ball clays take on a pleasing, high quality white color.
They are commonly used to make white ware and sanitary ware.
Types of Pottery Glaze
Glazes are applied to the surface of a ceramic object with a brush, or a spray, or by dipping, before your creation gets fired in the kiln.
Available in a whole host of colors and textures, glazes can enhance not only the beauty of your finished object, but also the durability.
They can be applied in many different ways and fired at a range of temperatures to give a wide range of exciting results.
When a glaze is heated at high temperatures it melts and adheres to the clay surface, creating a hard, glass like surface which seals the object to protect it from breakage, and making it stain resistant.
In their unfired state, glazes have a liquid yet creamy consistency, and the color of the glaze at this point is often very different to the final color after firing.
The different colors are the result of a mixture of minerals and inorganic compounds within the glaze, for example iron oxides (which give red tones), and cobalt oxide (which gives a blue color).
Glazes are either made from natural and synthetic compounds such as quartz and clays which oxidize when fired, or from pieces of glass that have been previously melted down.
Just like different types of clay have their own ideal temperature at which they need to be fired, different glazes melt at different temperatures too. The heat at which a glaze is fired determines many of the final characteristics of the ceramic glaze.
As a general rule, glazes that fire well at low temperatures produce very vivid colors, and high fire glazes are mostly delicate in color and may require repeat applications and firings to get the desired result.
Glazing can be a fun — but messy — business, so if possible you’ll need to dedicate a space just for this purpose.
Glazes often start life as a powder which needs to be mixed, and you’ll need large buckets with lids in which to mix them. You’ll need a sturdy surface area at a comfortable height for you to work on to minimize lifting the heavy buckets.
Here’s a quick introduction to the different basic types of glazes you might like to try…
Transparent Glaze
Glazes that have a transparent appearance after firing.
They can be clear; letting the original surface color shine through but giving it a darkened tint, or colored; which add an additional semi-transparent color over the top of the original surface color.
Opaque Glaze
These are glazes which give an object a solid color thanks to either tiny particles or trapped air bubbles contained within the glaze itself. In addition, different minerals can sometimes cause opacity.
Glossy Glaze
Glossy glazes are super smooth, and reflect light enough that you can see your own reflection in them once they are fired. Glossy glazes are often bright and showy.
Matte Glaze
The opposite to gloss glazes, matte glazes nevertheless have their own charm, giving either an understated elegant simplicity or rustic appeal to an object. A matte glaze on a surface has no shine and absorbs light with no reflection.
Flowing Glaze
When a flowing glaze is fired and begins to melt it becomes very runny and bleeds into any glaze next to it.
This can produce some interesting and unexpected finished glazes.
Stiff Glaze
Likewise a stiff glaze does not move from where it has been applied during the firing process, making it ideal for ‘painted’ glaze designs.
| o |
How to Make Pottery at Home
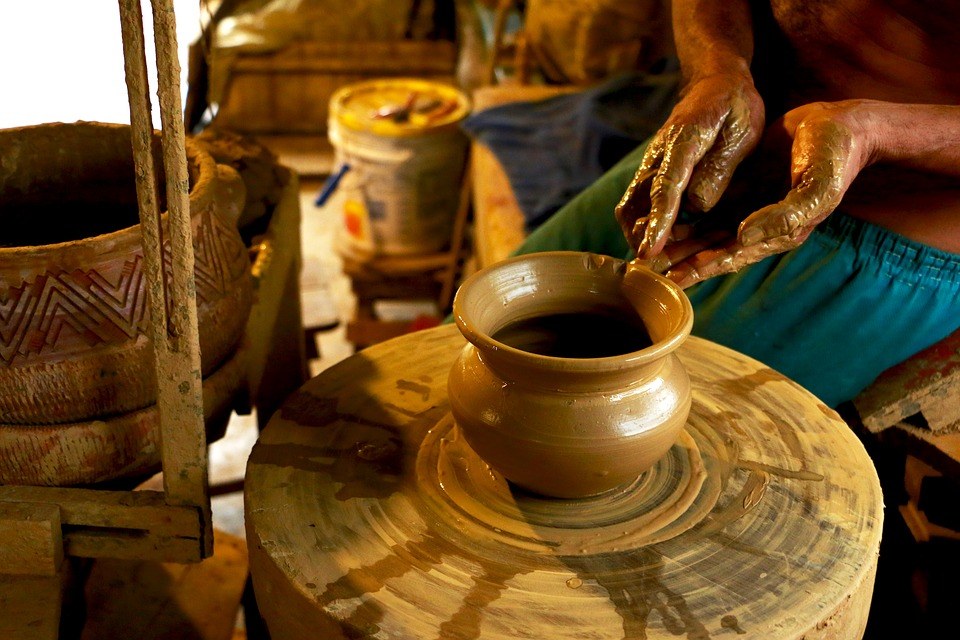
How to Throw a Basic Pot
So now you’re more clued up about the different aspects of pottery making, you must be impatient to get started!
We’d recommend starting to experiment by creating a pinch or coil pot (these are pots made on a flat surface) just so you can get used to the feel of the clay.
Or if you’re feeling confident you could just jump straight in at the deep end and throw your very first pot!
Here’s our fail-safe guide to ensure your first pot throwing experience is fun and hassle free…
What You’ll Need
Here’s a list of essential tools for this tutorial. The most important of which we’ll look at in more detail next…
- Clay
- Plaster slab
- Potter’s wheel
- A large bowl of water
- Throwing rib
- Potter’s needle
- Sponge
- Cutting wire
Potter’s Wheels
Choosing the right wheel for you is perhaps the most important decision you will make when you start making pottery at home.
Wheels vary in size and will take up space, so make sure you have enough room to use the size of wheel you choose. If you need to move your wheel about, you’ll need to consider weight.
Electric wheels are the lightest and most portable, and the throwing speed is also faster, but as they use electricity they are less economical and may spin too quickly for beginners.
Kick wheels on the other hand are much heavier and not very portable, and require manual effort (many are foot powered) to make them revolve.
That said, there is usually more control over the spin speed and they are great for both left-handed and right-handed throwing because it easily allows for both counter-clockwise and clockwise rotation of the wheel.
Throwing Rib
Used when throwing pots, throwing ribs help shape and smooth pots as they are being formed on the wheel, and are particularly useful for hollowing out the center of a pot.
Throwing ribs are available in an assortment of shapes and can be made from wood, rubber, or metal.
Potter’s Needle
These strong, pointed needles are one of the most important tools a potter can have in their arsenal.
They are set into handles to make them comfortable to use, and are useful for a wide variety of purposes, including trimming the top edges of pots on the wheel.
Cutting Wire
A cutting wire is a super fine wire (think cheese wire) stretched between two handles. It is used for cutting the bases of objects neatly away from the wheel.
Basic Pot Throwing Method
- Grab a couple of handfuls of clay — not too much as a smaller quantity will be easier to handle — and mold it into a ball shape.
- This step is a great way to work out your stress! Throw the ball of clay repeatedly against a hard, flat slab of plaster. This kneads the clay and gets rid of any air bubbles or extra moisture that might affect the centre of gravity of your clay once it’s on the wheel.
- When finished, roll the clay back into a ball.
- Make sure your body is centered over the wheel and legs are planted firmly on the ground.
- Start spinning your wheel at a fairly fast speed, and with a decent amount of force throw your ball of clay into the center.
- Wet your hands in the bowl of water and cup the clay in your hands, keeping your arms firmly in position and pressed into your thighs.
- Squeeze the clay into a high cone shape.
- Keeping your hands wet and the wheel spinning, push down on the center of the cone. This will flatten it out and keep everything rotating evenly.
- Don’t worry that excess clay and water are sliding from your hands and off the wheel.
- Repeat this process three or four times until you are satisfied that your clay is well balanced and well positioned in the center of the wheel without wobbling.
- Once you feel your clay is ready, you are all set to start sculpting! Make a hole in the centre of your pot by pushing your forefinger down into the center of the clay and using your other hand to cup the outside of the clay to keep it stable and give it some shape at the same time.
- Gradually ease your finger out of the hole
- To make the hole in your pot bigger, reinsert your forefinger, and with your other hand stabilizing the outside, gently pull your finger towards your body until the sides are around two inches thick.
- Once you are satisfied, gently take the pressure off and remove your finger.
- Next you need to take your throwing rib and take out all the off-center clay from the around the base of your pot. Remember to use one hand to keep the pot stable at all times.
- Now your pot is really beginning to take shape. To make the sides of the pot thinner, place your fingertips of the first hand against the inside wall toward the bottom, with the your thumb braced to keep everything in place without slipping.
- Then using the fingertips of your other hand, hold your small sponge and place it on the exterior side of the pot exactly opposite the position of your fingers on the inside.
- Gently apply pressure as if you were bringing the fingers of your two hands to meet each other through the side of your pot, and slowly raise them. This pressure squeezes the clay upwards, creating a thin wall.
- Repeat this process several times until you are happy that the sides of your pot are thin enough without losing their shape.
- Remember to keep your pot moist. Use the sponge to control the strength and moisture level of the clay.
- You’re nearly finished. Take your potter’s needle and whilst supporting the sides of your clay, press it into the clay where you want to level it off. This will cut it evenly all the way round, and once the excess clay is cut you can just lift it off.
- Gradually decrease the speed of the wheel until it slows to a stop.
- Take your cutting wire and place it on the surface of the wheel, positioned behind your pot. Keeping a downward pressure on the wire, run it all the way through the base of your pot from back to front, keeping it tight and straight at all times.
- Your pot can now be removed from the wheel.
If you’re more of a visual learner, take a look at this amazing video by Danielle The Clay Lady on how to throw a pot:
The Drying Process
‘Greenware’ is the term for unfired pottery.
It is very fragile in this state, and needs to be dried before being fired in a kiln and transformed from raw clay to finished, hard ceramic.
You’re going to need somewhere out of the way to store your greenware whilst it goes through the drying stages: from obviously damp, through leather hard, to bone dry.
This drying process is critical as greenware mustn’t be fired before achieving the final state of bone dry, as it will distort its shape or even crack completely in the kiln.
Bone dry greenware is extremely brittle and can shatter extremely easily, so care must be taken when handling it.
A good way to test if greenware is bone dry is to touch it to see if it is at room temperature and not cool to the touch.
Drying should take place naturally, in a safe place, on a stable set of shelves or racks that allow air to circulate all the way round the greenware — if you’re tight on space, try drilling holes in regular wall mounted wooden shelves to allow air flow.
At this stage it’s also important to protect your greenware from dust and dirt.
All individual pieces of greenware should be dried separately, so if you’ve made a pot with a lid, don’t be tempted to dry the pot with the lid still on or they may end up being stuck together.
Before greenware reaches the bone dry stage, it is still possible to manipulate it. This is a good moment to add handles, carve patterns onto the surface, or decorate it with an underglaze.
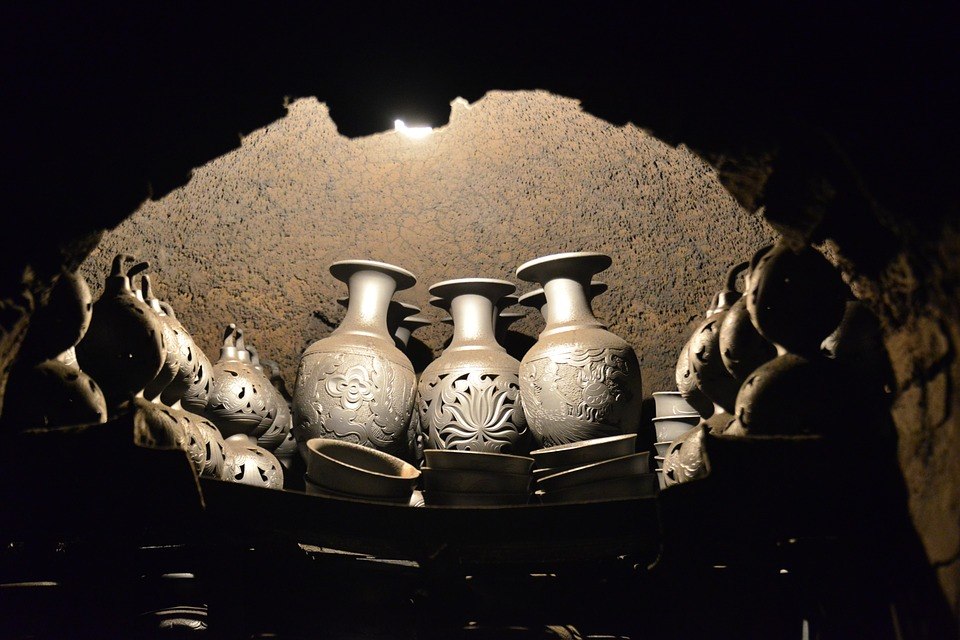
The Firing Process
Firing clay transforms it from moist mud to strong ceramic.
Firing takes place in a kiln, a special type of oven which produces the extremely high temperatures necessary to mature the different types of clay (i.e. fuse the molecules together).
Sadly, your home oven just can’t get hot enough, so you’ll either need to make or buy your own kiln, or find somewhere close by where you can get your greenware fired for you in an appropriate kiln.
Types of kiln vary. Each type has its own ‘atmosphere’, and different types of firing produce different end results.
The most basic type of firing is oxidation firing, which allows air to circulate freely throughout the firing process, and can be performed in any type of kiln.
Reduction firing is another popular but more complex method which requires a fuel burning kiln and restricted oxygen levels to produce certain special glaze effects.
Firing is a slow process and can take many hours or even days — but it’s worth the wait!
There are two main firing methods. Single firing, and the more commonly used ‘Biscuit’, or ‘Bisque’ firing.
Biscuit Firing
This is a two step method which is widely regarded as the most sure fire, easy way of getting a good result that won’t damage your work.
Step One
This is when the greenware is fired for the first time. The purpose is to make it robust enough to handle being glazed.
For this stage, clay is typically fired at between 1,800 to 2,000°F.
Always take great care when loading your greenware into the kiln as it is extremely delicate.
It’s imperative that the kiln is heated slowly throughout this stage, as too much heat too soon can turn the remaining water in the clay to steam, resulting in shattered clay.
Once the desired temperature has been reached, the kiln needs to gradually cool down before opening, as if the inside cools too quickly it can cause pots to break.
At the end of this first firing, your greenware has become transformed into a strong ceramic which remains porous enough to accept a glaze.
Step Two
It’s time to add some color and extra strength to your clay creation by adding a glaze.
Glazes must dry thoroughly and then pots can be gently loaded into the kiln for the final firing.
Make sure that there is enough space in between each individual piece to avoid them fusing together as the glaze melts.
As in step one, the kiln is gently heated up to the appropriate temperature.
The correct temperature with both fully mature the clay and the glaze. Once the kiln has cooled down your handiwork is finished and can be removed and enjoyed.
Single Glaze Firing
This is a single step method that involves glazing your greenware, and firing it directly.
Usually, a glaze is applied to the greenware when it is at the ‘leather hard’ stage.
This is a commonly used firing method which is less time consuming that bisque firing, and it also means that you only have to fire up your kiln once.
There are however certain drawbacks to single glaze firing. It is a riskier business.
Handling the greenware so much when bone dry is a delicate process as it is fragile, and objects in the kiln are more likely to crack or shatter when in the kiln than when using the biscuit firing method.
Glazes are also trickier to get right, and are more likely to crack or flake off. Perhaps save this until you’ve mastered how to make pottery at home.
How Expensive is it to Make Pottery at Home?
By far the biggest investment you’re going to make for making pottery at home is a potter’s wheel.
There are a huge variety of wheels on the market, ranging vastly in terms of quality and price.
As with most things it often doesn’t represent good value for money in terms of quality and durability to just go out and buy the cheapest wheel available.
Expect to pay anything from a few hundred dollar to over a thousand for a decent wheel. Likewise, the price for home kilns ranges from around $300 up to a staggering $4,000.
On the bright side, other pottery accessories and equipment are relatively cheap.
For example, cutting wires, potter’s needles and throwing ribs can all be purchased for under five dollars, and other tools can be picked up equally cheaply.
Clay and glazes are also inexpensive, with small amounts of glaze available at around five dollars.
Where to Buy Pottery Tools
We always recommend Amazon for craft supplies — they have a huge selection available, and you can often find tools for much cheaper than in more specialist stores.
Plus, it’s much more convenient to buy all your things from one store!
The Big Ceramic Store was the first ceramic supplier on the internet in 1999, and there are now over 12,000 different pottery products available on the site at reasonable prices, plus free shipping on most equipment.
There’s an extensive range of clay and glazes categorized by type and by firing temperature, a superb selection of kilns and wheels, and a huge range of other tools and supplies.
There is also a team of ceramics experts on hand to answer any questions you may have about home pottery.
Tucker’s carry some of the best brands of pottery wheels, Cone Art electric kilns, gas kilns, slab rollers, extruders, pugmills, and clay mixers.
Additionally they manufacture their own range of clays and glazes.
Also, in the online store you’ll find an excellent choice of studio equipment, tools, brushes and sponges, glazes and underglazes, and decorating and finishing equipment.
At Clay King you’ll find a blog with handy ‘how to’s’ for home potters, as well as a wide variety of pottery tools and equipment including kilns and kiln accessories, wheels, glazes, sculpting tools, bisque ware ready for glazing, and of course, clays.
Based on the sunny north Florida coast, Atlantic Pottery Supply features everything you need to get your home pottery studio up and running and well kitted out.
Everything including useful books, wheels and accessories, clays, glazes, tools, moulds, brushes, kilns and dry materials are available in the comprehensive online store.
Aardvark is a comprehensive supplier for the ceramicist.
The online store offers a complete line of ceramic materials, equipment, and supplies; including clays, glazes, kilns, potter’s wheels, tools, slips, underglazes, frits, stains, chemicals, refractories, books, and gift certificates.
Have you tried making pottery at home yet?


2 Comments
I always enjoyed your presentation.
My father has very bad eyesight. Other than that he is healthy for his age. He has always been an active person but can no longer do the things he used to in order to stay active. I thought learning to make pottery might be a good activity. However, I do not really know anything about the process. Do you think it would be a good hobby for someone who can barely see? If so, how do you recommend proceeding?
Your suggestions will be greatly appreciated.