
Pom poms are delightful balls of fluff that look good on almost anything! Large ones can be shaken during sporting events and small ones can serve as adorable accessories.
In any case, these decorations can be a fun DIY project! Should you make your own pom poms?
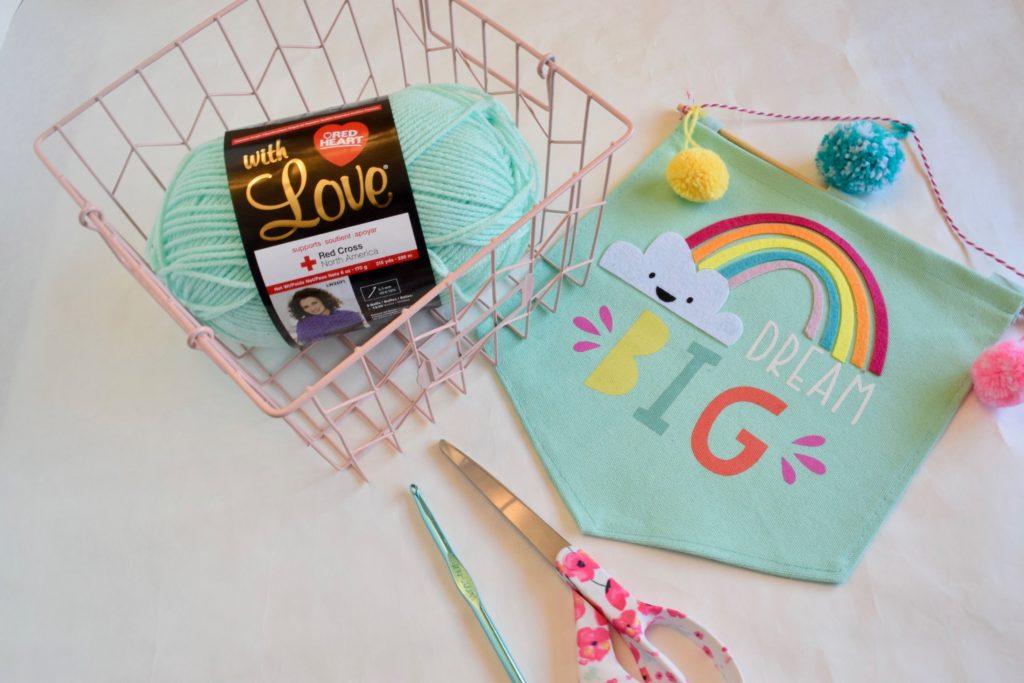
Let’s take a look at what pom poms are, what projects you can put them on, and how to make them!
Contents
What Are Pom Poms?
A pom pom (also spelled as pom-pon, pompom, or pompon) is a decorative ball or tuft. The word “pom pom” is said to have originated from the French word “pompon” in the 18th century.
They come in many different colors and sizes, and can be developed from all kinds of materials. Large pom poms are usually shaken by cheerleaders, dance teams, and sports fans during a sporting event.
What Can You Put Pom Poms On?
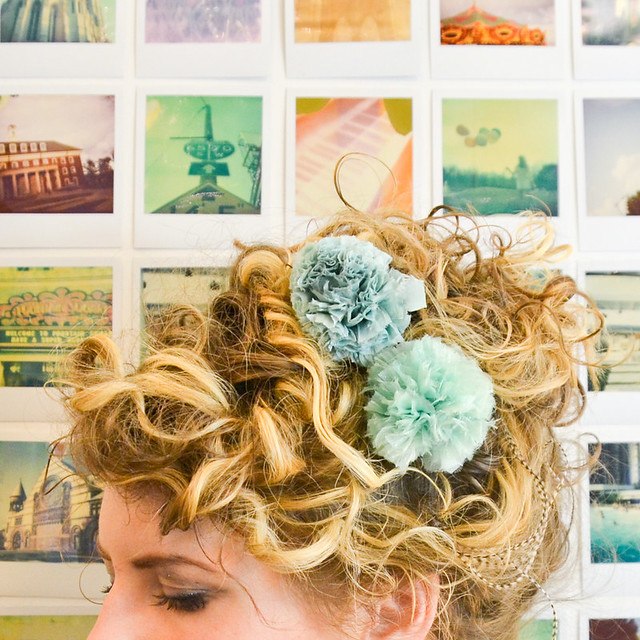
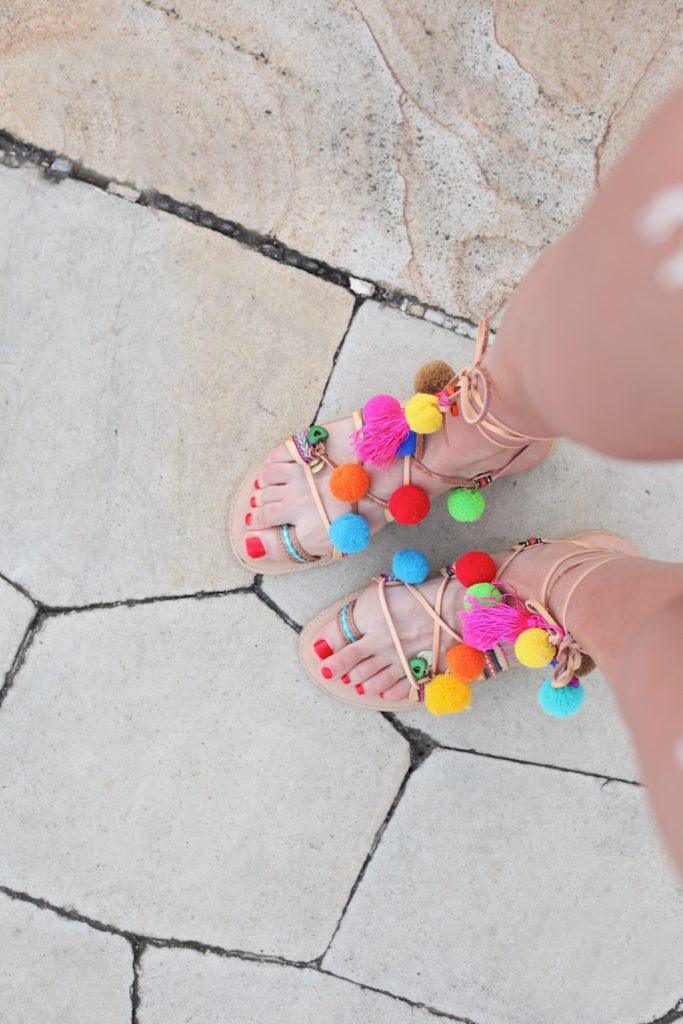
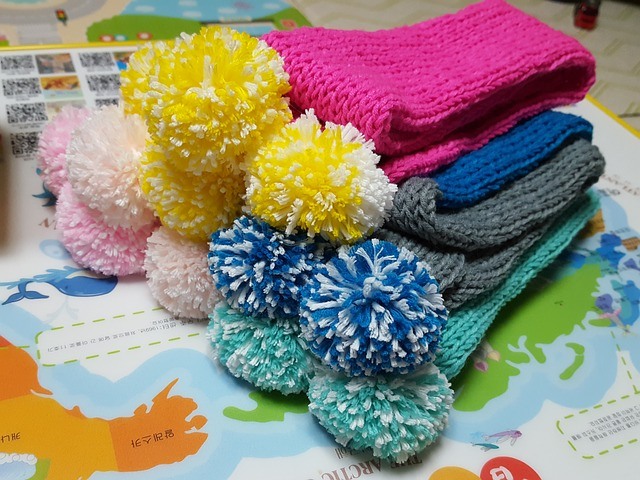
But what about the small variety? These pom poms are used to adorn hats, socks, fringed dresses, scarves, and other kinds of clothing.
They can add a fun dash of color to any of your knitting projects, and are also a good way to use any leftover material.
How to Make Pom Poms
There are many different ways to make pom poms.
Of course, the easiest way is to buy pom pom makers at your local craft store, but where’s the fun in that?
Here are a few methods to make your own handmade pom poms at home!
Tissue Paper Pom Poms
Materials
- Tissue paper.
- 24-gauge, white, cloth-covered floral wire.
- Scissors.
Method
- Stack eight sheets of 20 x 30-inch tissue paper together.
- Make accordion folds that measure 1 1/2-inch wide, creasing the paper with each fold.
- Fold an 18-inch piece of floral wire in half, slip it over the center of your folded tissue, and twist.
- Trim the ends of your tissue pom poms until they are as round or as pointy as you like.
- Pull the layers away from the center, one fold at a time.
- Tie some monofilament to your floral wire if you want to hang your pom poms.
Now that you know how to make tissue paper pom poms, let’s look at what other materials you can make pom poms out of.
By Stacie (Creative Commons Attribution-Share Alike 2.0 licence)
Cardboard Yarn Pom Poms
Materials
- Yarn.
- Cardboard.
- Scissors.
- Pencil.
Cardboard Method
- Cut your cardboard into a donut shape, so you can wrap your yarn around it. Try not to make the cardboard donut too big or too small. If the hole is too small, you’ll struggle to wrap yarn around it, and if it’s too big, the pom pom might have too much space in the middle when tied.
- Make one cut through the donut and fold the ends of the cut upwards. These folds are handy for securing your yarn as it is being wound, and can also keep your yarn pieces from falling off later.
- Wrap the yarn around two donuts as evenly as possible. If you create any bulges on accident, the result will be longer pieces that you’ll need to trim off later.
- Cut any long pieces of yarn still sticking out of the cardboard.
- Take another piece of yarn and wrap it around your pom pom. Make sure you weave it in between the two pieces of cardboard.
- Tie two knots on one side of the pom pom, then wrap the yarn around to the other side and tie two more knots.
- Trim off any excess yarn and make it as circular as possible. Don’t worry if it looks a bit uneven! That just adds to the charm.
- Your finished pom pom should be the same diameter as your cardboard circles.
Flower Yarn Pom Poms
Materials
You’ll need omegacryl yarn or wool yarn with these specifications:
- Base color: Beige.
- Middle of flower: Canary yellow.
- Leaves: Flag green.
- Petals: Bougainvillea, coral, light salmon, rose, light pink (or whichever colors you like best).
After that, you’ll need:
- Pom pom maker.
- Waxed linen cord.
- Scissors.
Method
If you’ve never used a pom pom maker before, just know that it’s constructed of two main parts: two sets of arms. Similar to the cardboard method above, you will wrap your yarn of choice around these arms.
- Pull out one set of arms and start wrapping yarn close to the two ends. Wrap your yellow yarn around the arm around four to six times each. Trim the extra yarn off once you’re done.
- Use your petal yarn to wrap around the left side of the yellow, then the right side, and finally around the middle of it – seven to ten times each. Make sure the yellow section is completely covered before you trim the excess off.
- Repeat these steps with the second yellow middle part, using a different color of yarn.
- Wrap your green yarn three to four times around the left and right of each flower. This creates the leaves.
- Wrap the entire arm with two to three even layers of your base color yarn. Though the materials call for beige, you can choose any color that is lighter in contrast to your flowers, so they’ll stick out.
- Once that is done, you may add a third flower in between the first and second flowers. Wrap a differently colored petal layer in this spot about seven to ten times.
- After you create a wide petal section, overlay the yellow middle on top of it, wrapping this yarn around it about four to six times.
- Wrap another petal layer on top of that to finish off that flower. If you want, you can add even more petals to your pom pom. There should be an empty space at the far left and far right ends of your set of arms for these extra flowers. Repeat petal steps 6 and 7 again.
- Add your remaining leaves. Not all flowers need leaves on both sides, so don’t stress out if you can’t fit two on either side. Whether or not you add leaves to these extra flowers is up to you.
- Wrap your base color yarn around the entire thing evenly, and then close that set of arms when you’re done. The closed set of arms should feel tight.
- Repeat the above steps for the other set of arms.
- Once both sides are closed, insert your scissors into the middle and cut along the entire yarn circle.
- Use 12 inches of your waxed linen cord to tie off the pom pom. Slip the cord into the middle, between the two sections.
- Turn your pom pom maker around, pull the cord tight (so as to ensure the pom pom won’t fall apart on you), and then tie the cord into a knot. Turn the pom pom maker over again and tie the remaining cord into a tight double knot.
- Open the arms one at time and pull the two sections apart slowly, so you don’t tear your new pom pom.
Here’s a video showing an example of how to make pom pom flowers.
DIY Pom Pom Tips
When Using Cardboard
If you use the cardboard method, it helps to fold down the little tabs when you start cutting around it. That way, the yarn pieces won’t escape through the opening.
It also helps to hold as much of your pom pom as you can while cutting it. The more you cut, the more the pieces will hold themselves in place for you.
Hanging Pom Poms
If you want to hang your pom poms, make sure to use a long enough strand of yarn to tie your pom pom. This can be used to hang the decoration up on your wall or another part of your home.
How to Make Them Super Fluffy
When your pom pom is nearly done, roll it around gently in your hands as if it were dough or a meatball. This fluffs it up and reveals any hidden areas that need to be trimmed.
Trim any excess yarn and repeat this rolling technique as needed. You can use any long yarn pieces to hang up your pom pom or attach it to some other knitting project.
If you want to be really fancy, find an old hairbrush that doesn’t have little nubs at the end of the bristles (or simply cut those nubs off if you don’t have one without them). The nubs can catch on the yarn and ruin all your hard work.
Hold your finished pom pom tightly in one hand and give it a good brush with the other. Make sure you grab it as tight as you can. If you brush the pom pom too hard, you could accidentally tug out some yarn pieces, but this won’t happen if you have a tight grip on it.
Keep rotating the pom pom around and brush it all over until it looks as fluffy as you want it to be. You might notice that the yarn strands are still intact inside the pom pom once you’re done, but the outside should be fluffy.
How to Make Pom Poms Quickly
If the donut-cardboard method above is too tedious for you, a plastic pom pom maker can make pom poms around five times faster!
You can also easily construct your own pom pom maker from extra pieces of paper and cardboard lying around your house.
All you need to do is print out a pom pom template online, and you’ll be good to go!
Materials
- Yarn.
- Cardboard.
- Scissors (the smaller, the better).
- Scotch tape.
- Pom pom template.
- Glue stick.
Method
- Print out a decent pom pom maker template that is the size of the pom pom you want to create. A good template should consist of four horseshoe-shaped pieces that have both solid and dotted lines on them.
- Cut these templates out and glue them onto your cardboard. Allow the glue to dry before cutting out around the template’s solid lines and bending them along the dotted lines.
- Pick up two pom pom maker template pieces and put them together. Wrap the yarn around one end and keep winding evenly around these pieces, back and forth between the two ends, until it is filled out with yarn. Snip the excess off once you are done.
- Repeat steps 2 and 3 with the other two pom pom maker template pieces. The results should be two semi-circular bundles of yarn.
- Put these two bundles together so they form a complete circle. Tape the rectangular tabs together so that the two halves stick to one another.
- Slide your scissors into the slot between the two cardboard layers and snip the yarn all around the templates. This is much easier to do with small scissors because they fit better between the smaller cardboard templates.
- Cut about one foot of yarn to slide in between the thick layers of cardboard. Wrap this piece around the “waist” of the pom pom. The cardboard should form a sort of cross shape inside your pom pom.
- Pull the yarn as tight as you can. Once it feels secure, tie two thorough knots in the yarn to seal it properly.
- Snip off the pieces of scotch tape you used to hold the template halves together and remove all four pieces of your cardboard pom pom maker from the finished pom pom. If the template pieces aren’t too messed up, feel free to reuse them in the future, making even more pom poms.
- Trim around your pom pom to make it a more circular shape.
- Roll the newly-made pom pom around in your hands or use a brush to get it really fluffy.
This video shows another example of what you can do with pom poms.
Conclusion
Pom poms are wonderful fluff balls that add a bit of color to any knitting project or room.
Now that you know how to make both paper pom poms and different kinds of yarn pom poms, you can use them to decorate anything you want! Get creative and have fun.


