
Kombucha is simply fermented black or green tea. However, it’s also more than that.
Due to the number of health benefits that kombucha provides, this tangy, sweet drink has quickly risen in popularity.
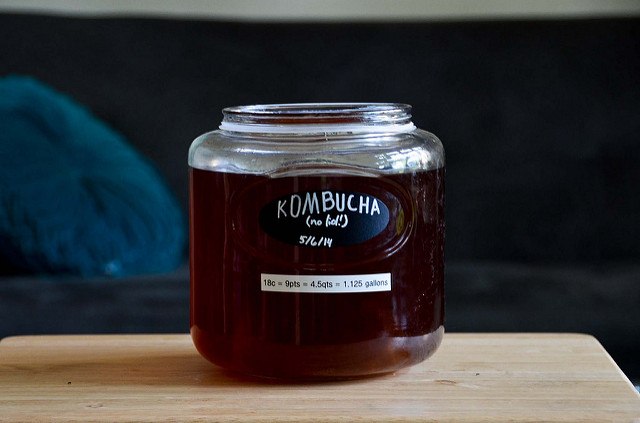
By SK (Creative Commons Attribution-Share Alike 2.0 licence)
Due to its fermented state, kombucha is a probiotic that is considered a functional drink. In other words, it’s usually consumed for its health benefits alone, rather than only taste, as it contains nutrients and vitamins.
But exactly how healthy is a bottle of kombucha?
Contents
Known Health Benefits of Kombucha
It’s worth noting that kombucha has yet to be officially studied, making actual scientific claims rare.
However, since it’s a drink that has been with us for centuries, there’s a strong range of first-hand accounts testifying of its abilities.
Without a doubt, it’s a healthier alternative to other beverages on the market, such as energy drinks and sodas.
Does kombucha make you poop? Due to the presence of probiotic cultures in the drink, kombucha has been known to aid in digestion and gut health.
Otherwise, kombucha’s health benefits include reducing inflammation, helping weight loss, lowering the risk of heart disease, aiding in diabetes management, and helping to prevent cancer.
Kombucha Side Effects
Since it is essentially fermented tea, there are no known side effects when it comes with drinking kombucha.
While skeptics do question how effective the wonder drink may be, there certainly isn’t much to lose if you try a cup or two.
It should be noted, however, that it has a small alcoholic content, but no more than 1%. The volume isn’t enough for it to be classified as an alcoholic drink, but it’s best to keep this in mind for those would rather avoid alcohol completely.
The only real dangers of kombucha are home-made brews that go wrong. Because the fermentation process uses bacteria that can be hard to predict and control, there is the possibility of creating a bad batch that can have adverse effects on the person who consumes it.

However, it should be noted that humans have been drinking kombucha for a very long time. It has been brewed for centuries without the aid of machines to create exact measurements in sterile environments.
As long as you guarantee that your space is clean enough to cook in, and you throw out any batch that smells or looks funny, you should be fine making your own.
Making Your Own Kombucha
Different brands of kombucha exist on the market, but you may want to try your hand at creating your own.
If you’re the DIY type, it can be a rewarding experience—not to mention cheap.
Where to Find Supplies
Getting supplies for brewing kombucha first-hand is easy, as it uses basic kitchen staples that you already have lying around the house.
Here are the ingredients for a gallon of kombucha:
- 3 ½ quarts of water.
- 1 cup of sugar.
- 8 bags of tea (preferably black tea).
- 2 cups of starter tea (kombucha from a store, or a previous batch).
- A glass or plastic jar.
- Optional flavorings.
The most important – and most difficult – ingredient to find is the SCOBY. Thankfully, there are many ways to get one, and you can also easily make your own.
What is a SCOBY?
A SCOBY, short for Symbiotic Culture Of Bacteria and Yeast, is a culture that ferments the sweet tea. Without it, kombucha wouldn’t be kombucha.
It eats the sugar in the mixture, releasing ethanol and acetic acid. This gives the kombucha its distinct sour taste. Without the SCOBY, the kombucha you create is no different from sweetened tea.
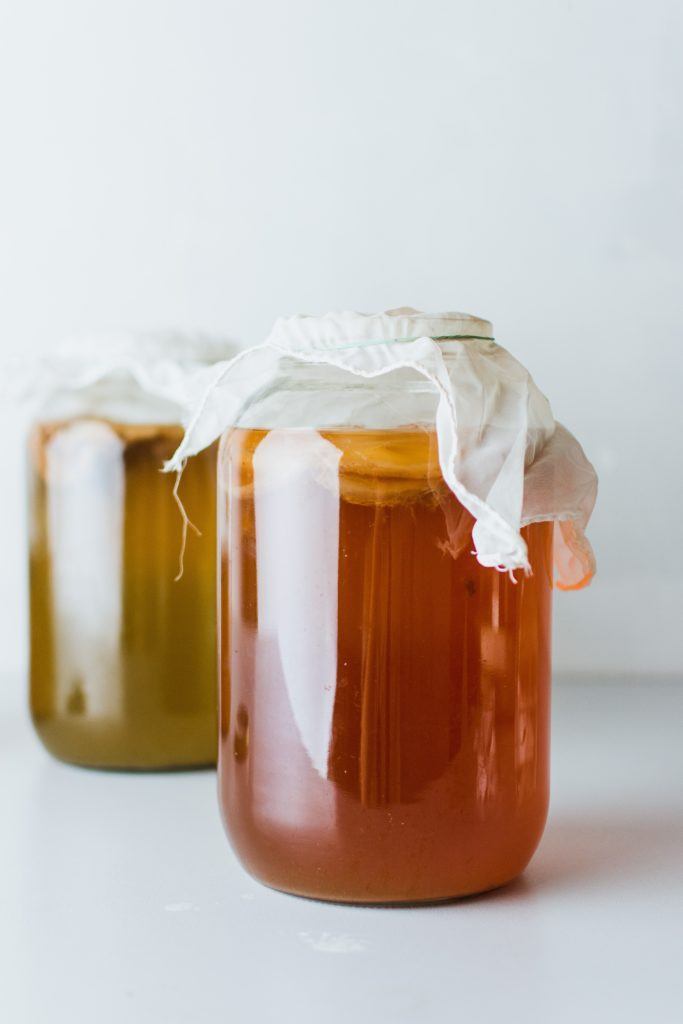
The SCOBY looks like a brownish dough and will be slippery to the touch. You will be able to spot a SCOBY in kombucha that is still undergoing fermentation, as it appears as a solid mass within the mixture itself.
If you’re planning to make your own kombucha, there are three ways for you to obtain a SCOBY culture.
1. Purchase a SCOBY
If there are shops available near you, there are kombucha tea starter cultures (or simply put, SCOBYs) to be found on the market.
Sometimes, this can be part of a kombucha tea starter kit, which comes with all the other ingredients you will need.
2. Ask Other Brewers
If you know people who brew their own kombucha, chances are, they’re more than happy to give you a bit of their SCOBY culture.
There’s also no need to seek out just kombucha lovers; those who ferment their own foods are bound to have one they can give you.
If possible, also request at least a half cup of starter tea (a finished kombucha mixture that you use to make more kombucha). If none of these options are available, you can simply buy kombucha from the store.
3. Grow from Kombucha Tea
If the above two methods aren’t workable, and you’re stuck in your own neck of the woods as the only person who wants to make kombucha, you can easily grow a SCOBY from an already finished bottle of kombucha tea.
Here are the steps on how to make kombucha SCOBY.
- Purchase kombucha from the store and put it into a glass container.
- Cover it with a tightly woven cloth, like a coffee filter or a dish towel. Secure with a rubber band.
- Let it sit in a warm spot, out of direct sunlight, for about a week.
- After this time, you should begin to see a clear film at the surface of the tea. Over time, it should develop to be more opaque and thick.
- Cultures for Health recommends leaving the tea to ferment for about 30 days, or until the SCOBY reaches about ¼ inch thick.
- If you don’t see any sign of the SCOBY developing after three weeks, it means that you should discard the tea and start with a new batch.
Here’s a video explaining more about kombucha and how the SCOBY is used.
How to Make Kombucha
Now that all your ingredients are ready, it’s time to get cooking. Making kombucha can be split into three general steps: brew, ferment, and carbonate.
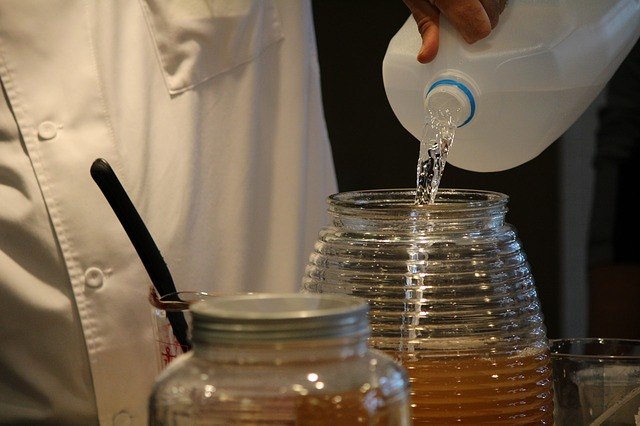
Make the Tea Base
The tea base will be the foundation for your kombucha so that the SCOBY will have an environment in which it can ferment.
Making the tea base is as easy as brewing tea. Steep the tea in boiling water; if you’re making a large batch, this can take a few hours. Then remove the pot, letting it cool.
Add the Starter Tea
After the pot is cool, remove the tea and starter tea. This will acidify the tea base, which ensures that no other strains of bacteria can thrive in the mixture, besides those already present in the SCOBY mixture.
Transfer to Jars
Transfer the mixture into a jar or separate jars. If using multiple jars, split the SCOBY evenly between them.
It doesn’t have to be exact, as the cultures present in the SCOBY can multiply. However, adding in too little can make your kombucha take longer to ferment.
Cover your jars with a tightly woven cloth (coffee filters or paper towels will do) and secure it with a rubber band.
Should you notice that it is attracting insects or flies, use a cloth that is more tightly woven, so as to ensure that the smell doesn’t escape the jar.
Ferment
Leave the mixture in a dry and cool environment at room temperature, making sure that it is out of direct sunlight.
Be sure that it doesn’t get jostled, so that the culture can ferment properly. A good place is at the bottom of a pantry, or some other corner that is out of sight.
It is best to check up on the condition of your mixture, especially the SCOBY, at least once a day. During this time, you may notice the SCOBY changing its placement within the mixture.
The SCOBY may float to the top, to the sides, or even sink to the bottom. This is entirely natural, and a sign that your SCOBY is doing its job.
Movement is due to the presence of gas as a by-product of the fermentation process. On that note, you may also notice the presence of air bubbles around the SCOBY.
Another layer of SCOBY may form on the surface of your mixture. This layer will be a lighter color than the original SCOBY and is usually connected to the original layer.
You may also see stringy bits floating beneath the SCOBY, as well as sediment at the bottom. This is all a natural part of the fermentation process.
Fermentation time can last from 7 to 10 days. The amount of time your kombucha needs to ferment is entirely up to you.
You can check on the flavor at the beginning of the seventh day; if it’s sweet and tangy enough, you can move the mixture into bottles. However, if it lacks flavor, you can close the jar back up and leave it for another day.
Transfer
After you have deemed your batch ready for bottling, it’s time to take out the SCOBY.
With clean hands, remove the SCOBY from your mixture and transfer it on a clean surface. If the SCOBY is too thick, you can remove the bottom layer; this will be used in future batches.
Measure out a small part of your prepared kombucha to be developed into starter tea. You can immediately use the SCOBY and this starter tea to create another batch if you so desire.
Carbonate the Kombucha
You can now bottle your prepared batch of kombucha. Before drinking it or sending it off to friends, however, it should be left alone to carbonate.
The carbonation process just requires you to leave the bottled kombucha in a clean, dry environment at room temperature, preferably the same space where you let the bottle ferment. This may take about one to three days.
You’ll know that your kombucha is done when the bottle feels rock solid. Obviously, this can be hard to determine when using glass.
The Kitchn recommends that new brewers start out with plastic bottles to aid in this step. Once you have more experience up your sleeve, you can estimate the amount of time your kombucha will need to be carbonated.
Refrigerate
After carbonating, your kombucha is now ready to be consumed!
It should be stored in the refrigerator to stop the fermentation and carbonation process. The shelf-life of homemade kombucha is one month.
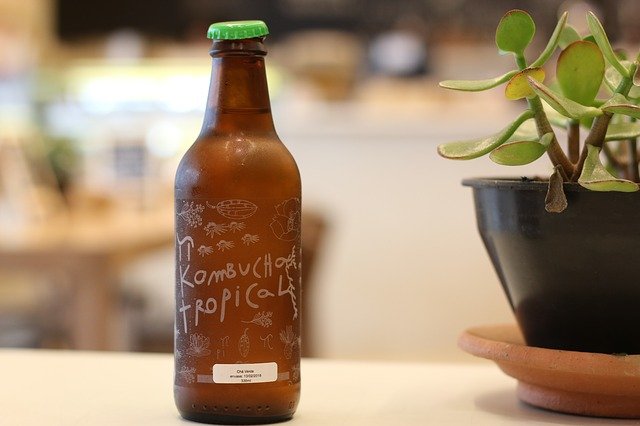
How to Make Flavored Kombucha
If you’re tired of the same kombucha, why not try a different flavor?
Flavored kombucha can make a great personalized gift for a friend, or be a fun way to change up the drinks in your kitchen.
It’s just a matter of adding another step to the process. Here are a few ideas to flavor kombucha:
- Chopped fruits, like strawberries and raspberries.
- Fruit juice, like pineapple juice or coconut water.
- Honey.
- Herbs and spices, like basil and cinnamon.
Add these flavors after the fermentation process. Once the SCOBY is removed, you can add your chosen flavorings to the jar, making sure to leave about half an inch at the top for air. Then refrigerate the mixture.
If you don’t want fruit or spices floating at the bottom of the jar, you can choose to infuse the mixture, so that you can strain the solids while leaving the mixture flavored.
To do this, leave the jar covered for a day or two with the flavorings. Afterward, stain it and then store the drink to begin the carbonation process.
Here’s a video showing an example of how to make kombucha.
Branching Out with Other Teas
Beginners are generally advised to begin with black tea when making kombucha. Why? When it comes to the nutrients that the SCOBY needs to ferment properly, black tea has all that’s necessary.
When you feel more comfortable with your kombucha making, you can branch out to other tea options, like green or white tea.
Herbal teas are fine, so long as you mix them with enough black, green, or white tea. While you have many options to choose from, avoid teas that contain oils, like earl grey and flavored teas.
Kombucha for You
Making your own kombucha can be a long process, but it is definitely worthwhile.
So, strap on your apron, take out your tea bags, and brew that batch of goodness! Your body will thank you.
Have you tried to make your own kombucha?


