
Fondant is a great deal of fun. It can be shaped into nearly anything, and it’s edible too!
While it may take a bit of practice to correctly leverage this decorating ingredient, it can make a cake that is simple and elegant, or vibrant and fun.
In this article, we’re going to be talking all about how to make fondant cake: the different types, making your own, and how to cover your cakes.
Let’s dive in!
Contents
What is Fondant?
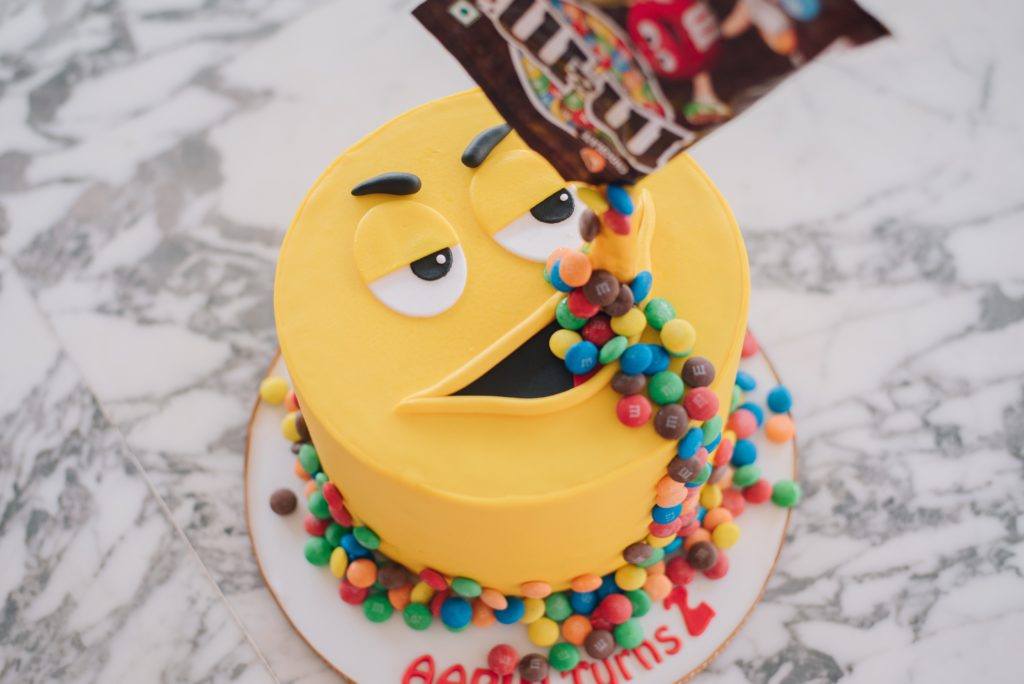
While you may not be familiar with fondant, chances are, you’ve tasted it already. Fondant cake refers to any type of cake that is made with fondant, either as a covering or a filling.
Unlike other icings, fondant creates a smooth, even finish on top of cakes and has a gummy, chewy texture when eaten.
Next to buttercream, fondant is one of the most popular ways to cover a cake.
Buttercream vs. Fondant
Buttercream and fondant are both popular cake coverings, but each is very different – especially when their pros and cons are taken into account.
However, when it comes to cake decorating, fondant is much more flexible of the two.
While there are many ways to use buttercream icing as a cake decoration, your mileage is limited with the piping nozzles you have. You also can’t get colors as vibrant as you could with fondant.
Piping decorations also require a lot of practice. Because fondant can be molded, sculpted, and cut, it is far easier to use as decoration.
Types of Fondant
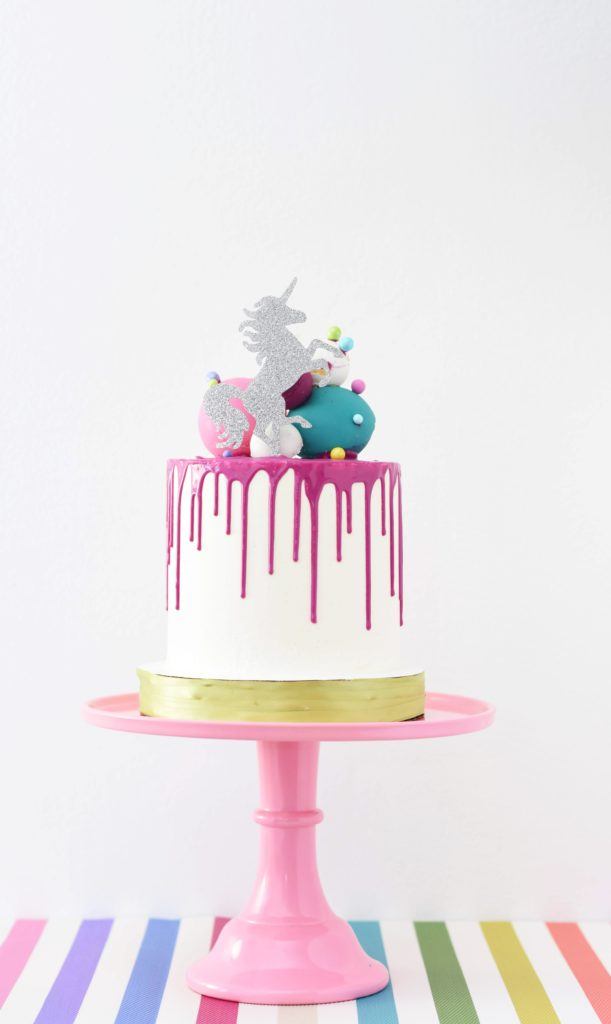
There are two main types of fondant. Rolled fondant is what usually comes to mind when talking about this kitchen ingredient; it is pliable and can be molded or cut.
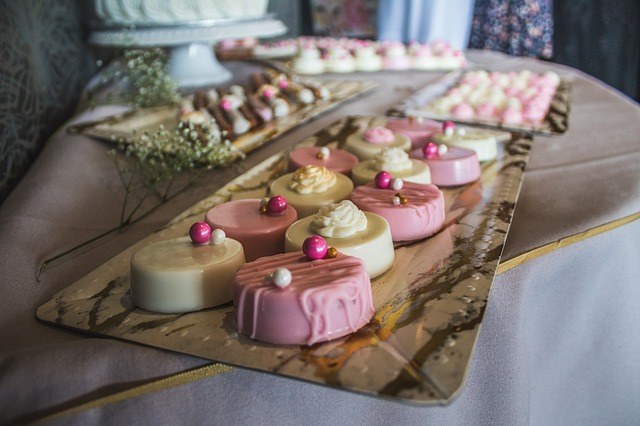
Poured fondant is more common with smaller cakes, like petit fours. Its flavor tends to be more natural than rolled fondant, especially those which are store-bought.
Rolled Fondant
A favorite of professional bakers and cake decorators, rolled fondant has a thick, gummy texture similar to clay.
As its name implies, rolled fondant is thick enough that it can be shaped or rolled like sculpting materials.
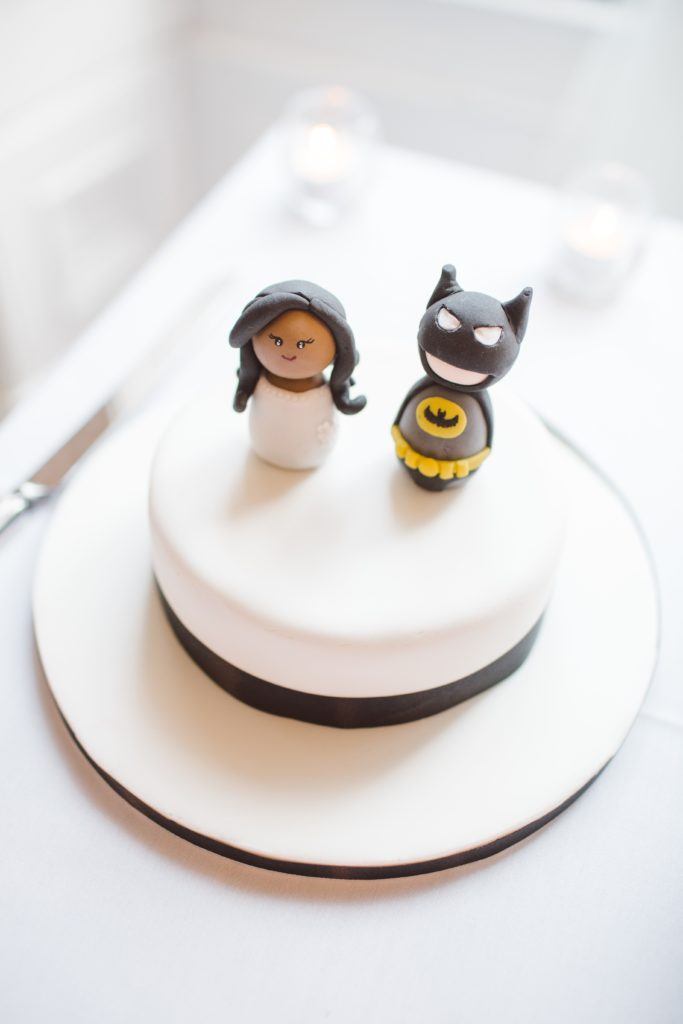
This texture makes it perfect for creating edible cake toppings that can hold their shape, but which are still soft enough to be chewed.
Rolled fondant is commonly made from sugar, water, gelatin, vegetable fat or shortening, and glycerol.
Poured Fondant
Poured fondant gains its name from the way it’s poured on top of a cake.
Unlike rolled fondant, poured fondant has a thick, sticky texture. Because of this, it is much easier to apply than rolled fondant. However, it cannot be shaped and sculpted.
In its basic form, poured fondant is a mixture of water and sugar, stabilized with gelatin or glycerin. Poured fondant can also be used as a cake filling.
In this article, we will be talking about how to make both rolled and poured fondant, so that you can pick the best technique for your cake.
How to Make Fondant – Marshmallow Fondant Recipe
There are many brands of fondant that you can find in most stores. However, if you have suddenly run out of fondant in the middle of a recipe, or you just can’t find a store to buy from, you can always make your own.
Marshmallow fondant is an easy type that you can make yourself from common kitchen ingredients. It leverages marshmallows to give it a sticky, kneadable texture, all while providing a slight vanilla flavor.
This recipe is a simple, beginner-friendly method to get you on the road to a tasty cake.
Ingredients
- 10 ounces of marshmallows (mini, or chopped).
- 2-3 tablespoons of water.
- 4 cups of powdered sugar.
- Flavorless oil. (Good examples include sunflower, canola, or vegetable oil.)
Procedure
- Put the water and marshmallows in a bowl and melt in a double boiler. Alternatively, marshmallows can also be melted in the microwave for 30-second bursts.
- Using a kitchen mixer, add a ¾ cup of the powdered sugar into the mixing bowl. Then, add the melted marshmallows. Mix on a low speed until the sugar has been fully incorporated. (If you do not have a kitchen mixer, you could simply mix a ¾ cup of sugar into the marshmallows by hand.) At this point, the dough must be slightly tacky, but not sticky. If it’s sticky, add more powdered sugar until the dough stops adhering to the sides of the bowl.
- Grease your hands and the counter with oil. Then, move the dough to the counter and knead. While kneading, add the rest of the powdered sugar in increments. Keep kneading until the dough is soft and shiny. This should take about seven minutes. If the dough starts to dry out, add half a teaspoon of water until it becomes pliable.
- If your fondant needs to be colored, do it at this step. Add a few drops of color and knead until it has been fully incorporated.
Storing Marshmallow Fondant
To store your fondant, grease the outside of your dough and wrap it in plastic wrap. Place it in a ziplock to keep the moisture.
Marshmallow fondant will last a few weeks when stored in an airtight container.
This video shows how to make marshmallow fondant.
How to Cover a Cake with Fondant
While using fondant may look easy, there are a lot of things that could go wrong when using this cake decoration.
Your fondant may crack, dry, have air bubbles, be too sticky, or be uneven; the list is endless. Not to mention, it gets even harder when your cake has sharp edges.
Here are different methods you can use to cover a cake with fondant while avoiding mishaps.
Traditional Method
This method is a favorite of professional bakers and cake decorators. It requires you to lay the whole sheet of fondant from the top of the cake, working down.
The cake is covered by stretching the bottom edges of the fondant while smoothing down the top surface. As such, it’s the fastest method to apply but may take a bit of practice.
Ingredients and Materials
- Buttercream.
- Confectioner’s sugar or cornstarch.
- Fondant.
- Fondant smoothing tool.
- Knife.
- Rolling pin.
- Ruler or measuring tape.
- Brush for applying the sugar or cornstarch.
Method
- Prepare Your Buttercream
While you’ll be using fondant to cover your cake, you will still need a thin layer of buttercream to make your fondant properly stick.
The amount of buttercream you will need will depend on the size of your cake; this will usually be indicated in the recipe you’re using.
After making your buttercream, leave it to cool in the refrigerator. A colder buttercream will lessen the chances of your fondant cracking and drying.
- Determine the Amount of Fondant Needed
You will need to determine the surface area of your cake. Measure out the greatest width of the top of your cake (for example, in square cakes, this will be one corner to the opposite corner).
Then add the height. For cakes with multiple tiers, create separate measurements and separate fondant cuttings for each tier.
- Prepare Your Cake
Put a thin layer of buttercream on your cake. Try to make it as even as you can, as bumps will show on your fondant.
For cakes that are uneven, like those with holes or cracks, fill this with buttercream as well. Afterward, refrigerate your cake for at least half an hour to make sure that the buttercream hardens.
- Roll Out Your Fondant
While waiting for your cake to chill, prepare the fondant. Dust your work surface with cornstarch or powdered sugar.
Then, shape your fondant to a circular shape for circular cakes, and a rectangular shape for rectangle or square-shaped cakes.
Begin rolling the fondant, making sure that its thickness is even. Be sure not to roll it any thinner than 1/8 of an inch.
Try not to add too much powdered sugar or cornstarch on the surface of your fondant, as this will lessen its chances of sticking to your cake; just add enough that it doesn’t stick to your rolling pin.
Then, using the measurements you took earlier, measure out the amount of fondant you need, adding a few extra inches for leeway.
- Cover the Cake
To pick up your fondant, you will need to use your rolling pin. Place it on one end of your rolled fondant, and roll it towards the opposite end.
Then, beginning from one end of the cake, unroll your fondant from the rolling pin. Smooth it with your hands as you go.
Should your fondant stick, just lightly brush the sticky part with some powdered sugar or cornstarch.
- Smooth Out the Surface
Finally, make sure that your cake is completely smooth by going over with a flat-sided tool.
A fondant smoothing tool will also be helpful. Cut out the excess fondant with a knife or a pizza cutter.
Wrapping Method
The traditional method is great for round cakes, but you may wonder about how to put fondant on a cake that is not circular or too tall for the traditional method.
For these cakes, there is the wrapping method. This method requires you to line up two edges of fondant to create crisp, sharp edges.
This method is also a great alternative to people who have trouble with the traditional method. It can be an easier way to cover cakes regardless of shape. However, this method creates a ‘seam’ where the two edges meet.
This can be hidden easier in cakes with sharp edges; in round cakes, this seam can be more obvious. Read on to learn how to fondant a cake with sharp edges.
Ingredients and Materials
- Cornstarch or confectioner’s sugar.
- Cake decorator’s alcohol, vodka, or water.
- Fondant.
- Ruler.
- Knife.
- Pizza cutter (optional).
- Fondant smoother.
- Brush for applying cornstarch or sugar.
- Non-slip mat (cut smaller than the cake).
- Wax paper.
- Cake boards.
Method
- Cover your cake board with wax paper, taping the sides of the paper down to the board. The top of your cake will be flush to this board; the smoother you can make this surface, the smoother the top of your fondant cake will be.
- Measure how much of the cake you will need to wrap (this will not include the top.) Add a few inches to the circumference and the height of the cake. Create a template with these measurements in your wax paper.
- Take a bit of fondant for the top of your cake. Knead, and then roll out the fondant to at least 1/8 of an inch, thinner if possible. Brush the top of your cake with your liquid, be it vodka, water, or cake decorator’s alcohol. Cover the top of the fondant; do not worry about the rest of the cake at this step. Just make sure that your top is smooth and even.
- Then, put the cake board on top of the cake, and flip it. Cut off the excess fondant.
- Dust your bench with cornstarch. Knead the rest of the fondant and flatten it out. Lay the template that you created earlier from the wax paper on top of the fondant and cut out the fondant that you need. Make sure that one of the longer edges has a clean, straight cut. This will be the edge that meets the fondant on the top of your cake; a clean edge is key for a less obvious seam.
- Pick up the fondant with your rolling pin, and unroll it along the sides of your cake, smoothing it with your hand as you go.
- When you’ve gone around the cake, overlap the edges. Cut away the fondant from the middle of the overlap, making sure to include the back as well. Smooth out this seam.
- Trim the excess fondant.
- Place a non-slip mat on the cake, followed by the board your cake was originally resting on. Then, flip your cake.
- Connect the seams. If there is space between the edges, moisten it with the liquid you used earlier, and smooth it with your fingers or a fondant smoother.
Here’s a video showing an example of how to cover a cake with fondant.
And there you have it! Fondant can be hard to use for beginners, but with enough practice, you will soon have the seasoned hands of experienced bakers.
You’ll be able to fondant a cake in minutes!
What’s your favorite cake decorating fondant method?


