
Looking to expand your creative horizons by trying cake decorating?
As dedicated crafters, we normally focus all of our spare time and energy on creations in our craft room. But recently, we’ve been exploring the world of cake craft…
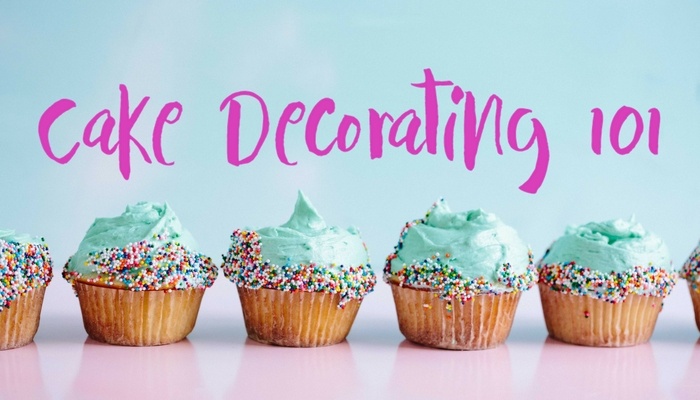
And we’re LOVING it.
Most craft stores, and even some grocery stores, have space on their aisles with lots of tools and treats designed to get you into the full swing of cake decorating, but it can be overwhelming at first.
Where to start?
Never fear — this guide covers all the tools you’ll need to get started with cake decorating, as well as some of the basic techniques that will help you decorate like a pro.
Let’s get into it…
Contents
Cake Decorating Supplies: Tools of the Trade
Strolling down an aisle, surrounded on every side by cake decorating tools, can be a little bit intimidating.
But there are a few basics you’ll want to have on hand as you decorate:
- Several Pastry Bags – You can buy either reusable bags or bags that are intended for a single use. Reusable bags tend to be a bit more heavy duty. We prefer the silicone ones.
- Decorating Tips – These are the small nozzles that are used with the pastry bags. They usually come in a set of 4 or more and are made out of metal or plastic.
- Offset Spatula – It’s perfect for spreading frosting evenly on your cake.
- Gel Food Coloring – If you can’t find gel food colors, liquid colors will work, but gels tend to spread a bit better and give a better overall color. Just get the basic colors, as you can combine them to make different shades.
- A Turntable – This tool isn’t essential, but it will make the process of decorating a cake a lot easier.
Cake Decorating Ideas
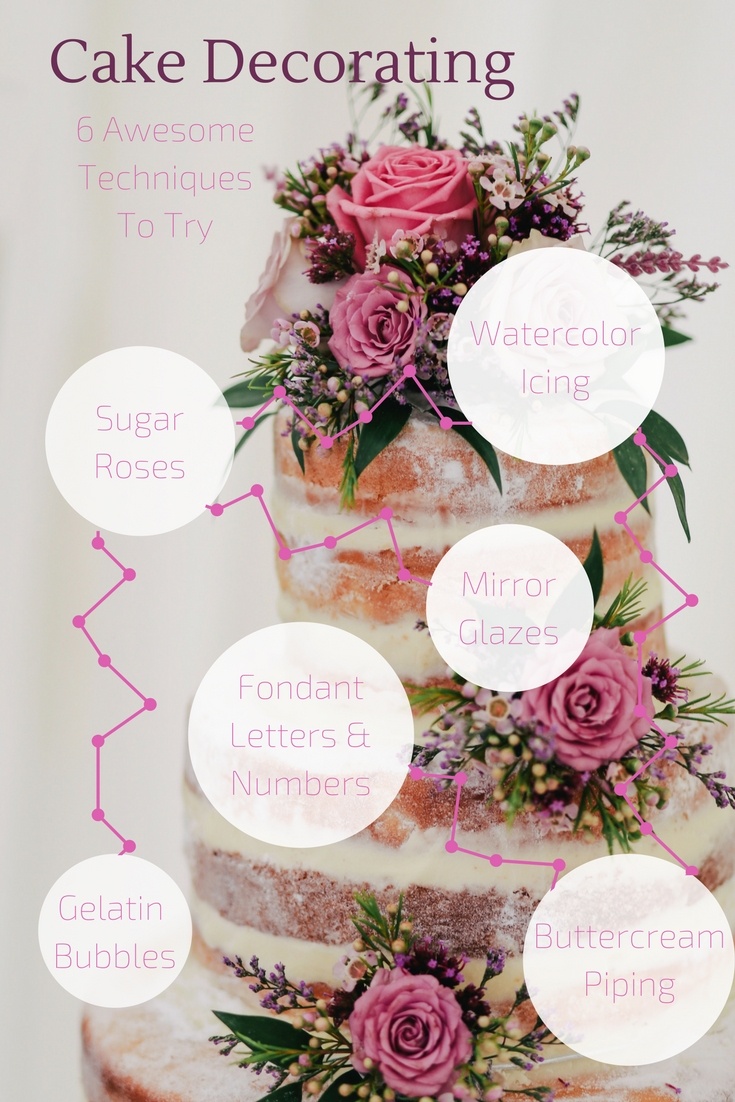
Sugar Roses and Other Basic Decorating Shapes
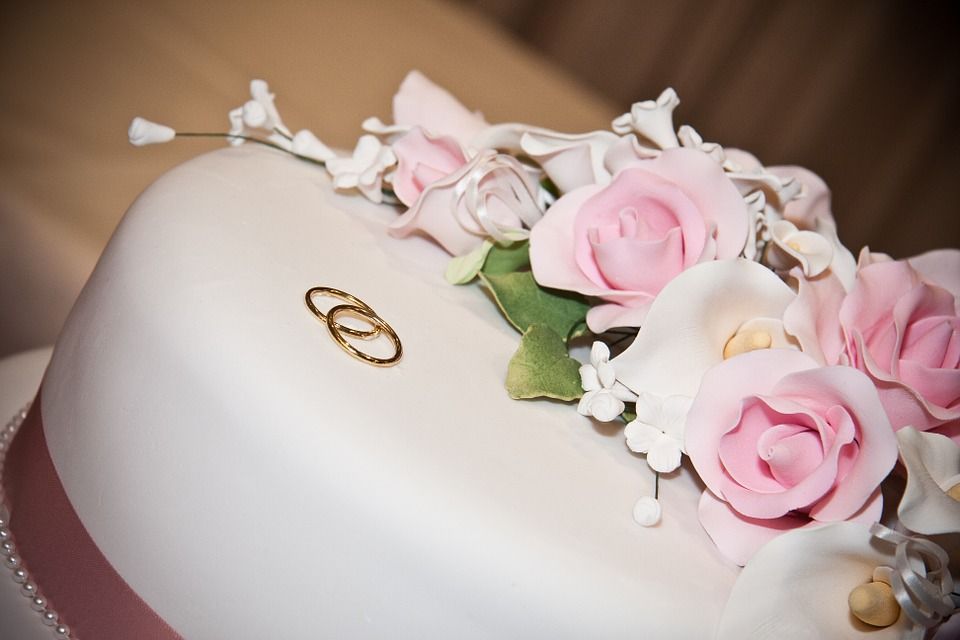
Sugar roses are usually made out of gum paste, which has a similar feel to fondant but they’re not quite the same thing.
Fondant will remain soft to the touch after being shaped, while gum paste actually hardens once it’s dried.
This makes it a great substance for stand-alone decorations like sugar flowers.
Tools You’ll Need
- A rolling pin
- A decorating tip (the wide end will be used like a cookie cutter)
- Parchment paper
- A bit of cornstarch
- A small bowl of water
- Toothpicks
To make the rose, first you will want to lay down a small piece of parchment paper on a flat surface. This will give you an area to work on.
Then, roll out the gum paste, using the rolling pin to create an even layer of paste.
From there, use the decorating tip to cut out several small circles. These will be the petals of your rose.
You’ll use it just like you would a cookie cutter, by pressing the wide end of the tip into the gum paste.
Next, you’ll make the base of your rose. Just take a bit of gum paste and use your fingers to roll it into a small cone shape. This is going to be the “bud” or the center of your rose.
Dip your finger into the bowl of water and put a drop or two at the base of the cone. The water will work like glue.
Pick up one of the little circles and wrap it around the cone, so that the base of the cone and the bottom of the circle are even.
Now that you have that started, it’s just a matter of repeating the process and shaping the petals around the cone base. Keep going until your rose looks full, and then all you have to do is leave it to dry for a bit.
You can use this process to make many different shapes and objects, because gum paste can be worked like thin layers of clay.
Take a look at this brilliant video to take your sugar roses to the next level:
Mirror Glazes
These glazes are a fun new trend you might have seen on Pinterest. A mirror glaze gives a cake a glossy, bright-colored look, so it can be used to create cool effects.
Tools You’ll Need:
- Food coloring
- Ingredients to make the glaze: Gelatin powder, water, sugar, glucose or corn syrup, condensed milk, chocolate
You can find different glaze recipes on the internet, so we’ll just provide you with some tips to make things easier.
You will need to make and frost your cake before you add the glaze over the top.
To make sure your frosting stays firm when you pour the glaze over the top of it, freeze the cake for a day or so before you add the glaze.
Set up your cake in a pan before you start glazing; this will catch the excess glaze and save you time on clean up.
These glazes are great if you want to play with colors. Simply divide up the glaze and color each batch separately, then pour them on one by one, swirl them, or drip the glaze so that some colors stand out more than others.
Beautiful!
Take a look at the mirror glaze in action:
Fondant Letters and Numbers
Fondant works like gum paste, but it does not become stiff or hard when it dries.
It is very moldable and soft, which is perfect for covering cakes or making edible decorations.
By Janet (CC BY 2.0 licence)
Tools You’ll Need:
- A rolling pin
- A sharp knife or Xacto knife
- Toothpicks
- Parchment paper
- Optional: Cookie cutter with number or letter shapes
Just like the gum paste, the first thing you’ll want to do is roll your fondant out on top of some parchment paper.
If you want your fondant to be more firm, then let it dry for a few hours to create a sturdier feel.
From there, you can use your knife or the toothpicks to draw the shapes, letters, or numbers into the fondant.
You can also use cookie cutters, but drawing by hand gives you the freedom to customize your own font styles.
Buttercream Piping
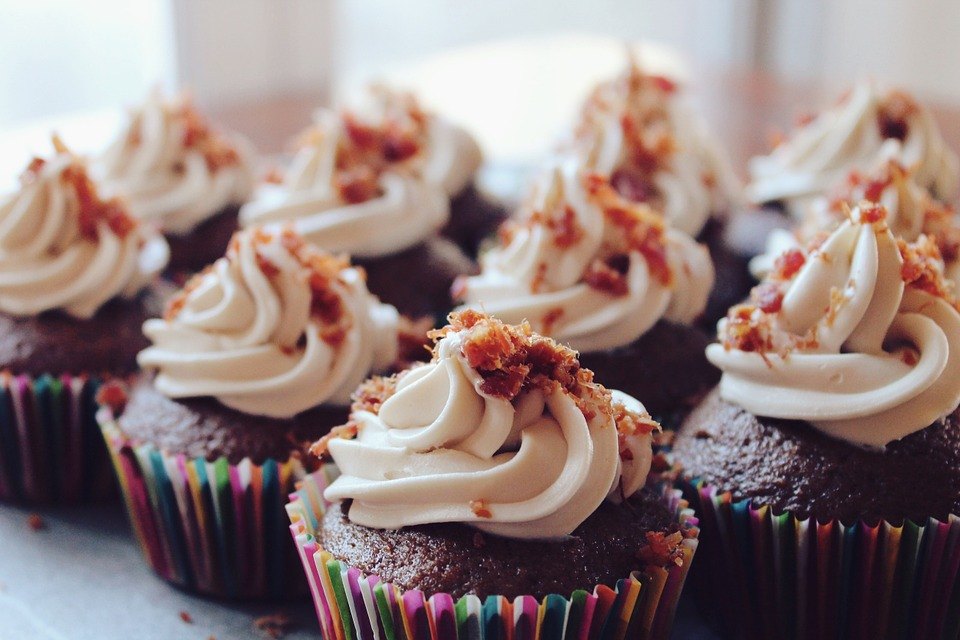
Buttercream frosting is known for its light and airy texture, which makes it exceptional for creating accents.
You can use it around the rim of a cake, on the outer edge, or on top, because is it not weighty and will stay in place.
Tools You’ll Need:
- Decorating tips
- Pastry bags
- Parchment paper – mostly just to practice with.
Piping can be used to make fun designs, from simple lines to flowers and other shapes.
All it takes to get started? Set up your pastry bag with the decorating tip and fill the bag with buttercream frosting.
Pro tip: Put the bag into a large cup and fold the ends inside-out over the rim of the cup. This will make loading frosting into the bag a little bit easier.
After that? All you have to do is squeeze. The frosting should come out in an even layer as long as you provide consistent pressure.
Decorating tips can be difficult to maneuver at first, but it simply takes practice.
For your first batch, try a few lines or designs on the parchment paper, so you can scrape up the frosting and reuse once your hands are steadier.
After you’ve determined how much pressure should be applied and what kind of shapes you’re comfortable making, it’s time to use this technique on your cake, and have fun.
Gelatin Bubbles
These pretty little bubbles are the latest and greatest craze in cake decorating.
If you’re hoping for balloons or gorgeous globes to accent your cake, this is the perfect way to do it.
They will be hard to the touch and add a beautiful effect.
Tools You’ll Need:
- Water balloons or small balloons
- Toothpicks
- Unflavored powdered gelatin
- Scissors
- Spoons and a cup
- Gloves
- Food coloring
- Optional: Luster dust – for a shimmering effect
First things first, blow up your little balloons and make sure they are the ideal size for your desired bubble.
You then need to stick the toothpick through the end of the balloon that is tied off – just be careful not to stick it through the blown-up part of the balloon.
The toothpick gives you stability and a spot to hold the balloon, when you dip it into the gelatin.
From there, you’ll make your gelatin. You will need two (2) parts cold water for one (1) part unflavored gelatin, and you’ll start by putting the cold water in a microwave-safe bowl.
Next, add the luster dust or food coloring to the water, and then finally, add the gelatin.
Stir it all together and allow it to sit for about five minutes, so it can thicken.
Once it’s ready, you can dip your water balloon into the gelatin substance.
Make sure it has an even coat and then set it to dry. Be sure to position it so the sides of the bubble aren’t touching anything.
Give the bubble 24 hours to dry. The outer shell of the bubble should harden, which will allow you to pop the balloon with scissors, and voila!
Remove the balloon and you have a beautiful bubble.
We love this video of an Inside Out themed cake with mirror bubbles:
Watercolor Icing
This is the perfect cake decorating technique if you want gradual or soft colors on your cake.
Just like watercolor painting, watercolor icing has a very elegant and poised look to it when done correctly.
Tools You’ll Need:
- Gel food coloring
- Clear vanilla extract
- Sponges
- Paint brushes
OR
- Gel food coloring
- Buttercream frosting
- Offset spatula
- Icing smoother
There are actually two ways to achieve the watercolor look. The first is by actually painting a cleanly frosted cake. To do this, you will need to create your paint by adding a small amount of food coloring to ¼ teaspoon clear vanilla extract.
This combination will act as your paint and you can use your paintbrush or sponge to gently “paint” the watercolors onto your cake.
The second option is done with colored portions of buttercream frosting.
You start by smudging the clumps of the colored frosting onto an already frosted cake, which usually has a white or light-colored base frosting.
The watercolor effect is created by using an icing smoother than your watercolors, which creates the watercolor-like look, because it blends the added color with the base color of the cake (usually white).
Try this watercolor buttercream cake for starters:
Conclusion
To get more cake decorating ideas, check out our board on Pinterest:
And there you go! Now you’re up to date on some of the best basic decorating techniques as well as some of the hottest trends in cake decorating.
What will you be trying first?


