
Thinking about dipping your toes into the world of jewelry making?
Here are three trendy necklace styles you can design on your own, whether you’re a beginner or an expert.
Contents
How to Make a Necklace
All You Need to Get Started
- Seashells
- Needle-nose pliers
- A power rotary tool
- A lobster clasp
- A necklace chain.
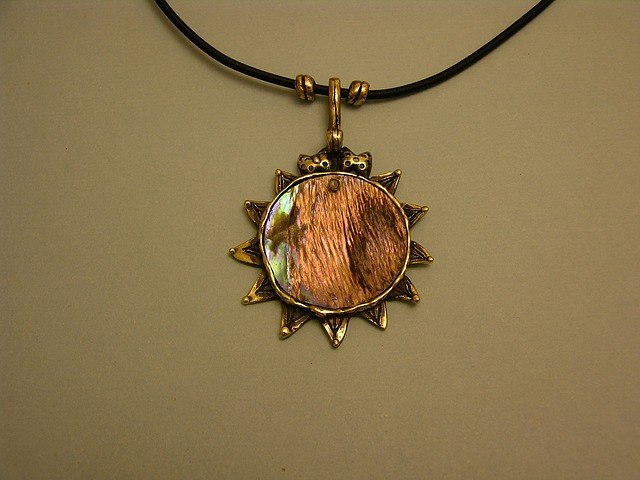
- First, find seashells (or a single seashell) that are complementary or match the style you are going for. You want shells that are the same type or at least in the same color scheme. Sprawl them on a flat surface to picture how they will look as a finished jewelry piece before using your power rotary tool to drill them.
- Next, hold your seashell firmly to the desk or flat surface. Have a few identical seashells handy in case you need to first practice with the rotary tool. Drill a small hole, large enough for your jump ring. This ring will connect the seashell to your necklace chain of choice. If you accidentally drill too hard and chip your shell, grab the identical seashell and try again.
- Your final step is to bend your jump ring with the needle-nose pliers so that it opens wide enough to fit the shell. Use the pliers to pull and bend the ring closed. Now loop your chain into the jump ring, connecting your seashell. Continue to string any additional charms, beads, or ornaments to your necklace along the chain. If your necklace chain does not come with a fixture to close it, add the lobster clasp to the remaining chain end with the same method used to connect the jump ring with pliers. Before you know it, you’ll have a stylish seashell necklace ready to wear!
Here’s a video showing other varieties of seashell necklaces.
How to Make a Choker Necklace
All You Need to Get Started
- A jump ring
- Beads or charms
- A waxed cord
- Pliers
- A tape measure
- An extender chain
- A lobster clasp.
- It is important to first find the perfect fit for your choker. Use the tape measure around your neck to determine how long your choker should be. Add two inches of slack to the measured length and cut your waxed cord accordingly. If you want to play it safe and make the choker adjustable, add an extender chain. This way, you will have enough slack to add knots or play around with your look in case you want to loosen it on different occasions.
- Now you can string on any beads, charms, or pendants to make it stylish. When all your charms are in place, loop each end of the cord into a jump ring and knot each end inside their respective rings. Trim off the frayed excess wax cord so that the ends look as neat as possible.
- Your final step is to attach an extender chain to one of the jump rings. On the other end of the waxed cord, attach the lobster clasp to the remaining ring. Now your choker can be clasped shut and ready to wear.

How to Make Beaded Necklaces
All You Need to Get Started
- A wire cutter
- Beads
- Beading thread
- Needle-nose pliers
- A crimping plier
- Jump rings
- A lobster claw closure.
- It is important to first decide on the style and length of your beaded necklace. Do you want an opera-length necklace which reaches down to your chest? Or do you want the standard collar-length necklace? Keep in mind that a collar necklace is usually 12-13 inches, whereas an opera necklace is usually 45 inches.
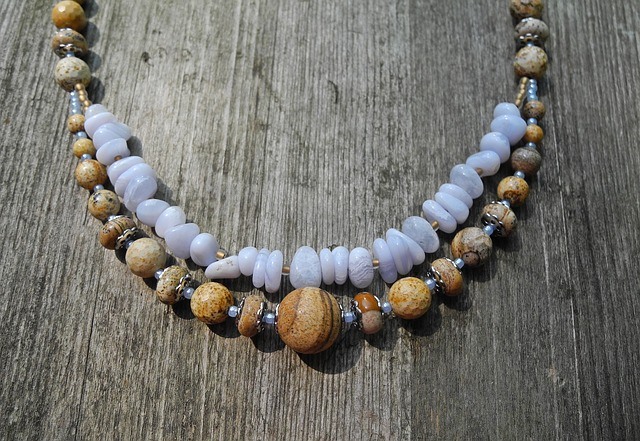
- Once you find your desired length, measure your string and beading wire accordingly. Then, add around six inches of slack before cutting your wire. Now it is time to map out your necklace. Before actually stringing your design onto the chain, lay out the beads and charms to get a clear picture of what it will look like. This will save you the trouble of removing beads in case the order is not to your liking. Don’t be afraid to play around with the order and design. This is the best time to explore your options.
- String the beads onto the beading thread, then onto your necklace in the correct pattern. When all the beads are placed on the thread, hold the necklace around your neck to check its length. If it is too long, remove beads; if it is too short, add a few more beads.
- Next, grab one end of the beaded necklace and crimp the tube bead to create a closure. You can do this by bending the necklace wire and fastening a tube bead over it, creating a loop on the other end. Use the crimping plier to fold it, securing the necklace end and creating a loop. Do this to the other end of the necklace so that there are two loops.
- Finally, attach a jump ring to one loop. Complete this by using your needle-nose pliers to grab the jump ring and bend it open. Wrap the ring around the loop and bend it closed again. Apply the same method to attach the lobster clasp. Now your necklace is ready to wear!
The most novel thing about do-it-yourself jewelry is you can make stunning pieces fit for your personal style.
Try these three necklace designs today to achieve the statement piece you’ve always wanted.
Do you have any of your own tips on how to make necklaces?


