
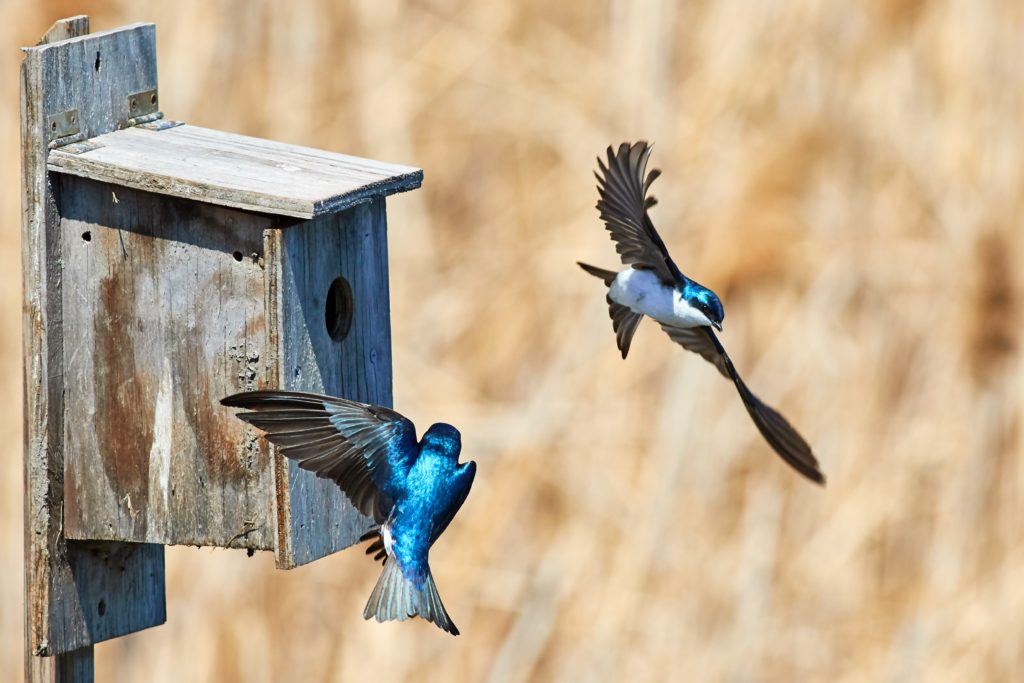
Ever catch a fleeting glimpse of the birds in your neighborhood and wish that they could just stop for a moment longer, so you could get a proper look at them?
Well, why not construct a birdhouse to do just that?
Birdhouses are amazingly simple to build, and even more fun to watch!
Contents
What is a Birdhouse?
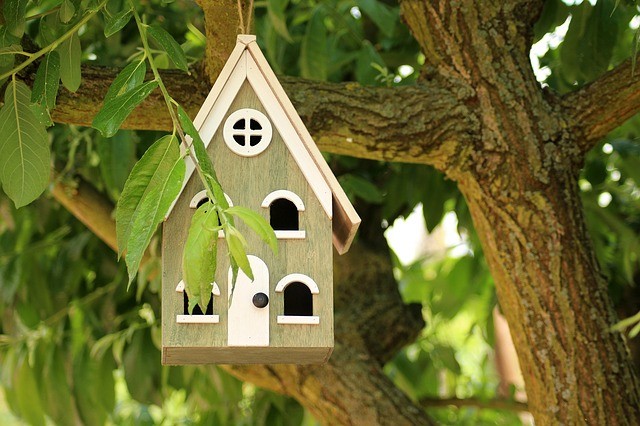
A birdhouse is a man-made habitat for birds to create their nest in.
Thanks to the small entryway and enclosed box shape, these houses are actually much safer for birds than traditional nests. They better protect eggs or hatchlings from the elements and from prying predators alike.
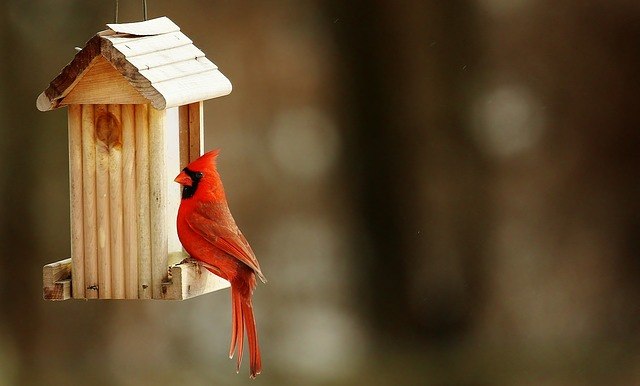
They serve a different function than bird feeders, which, as their name implies, primarily serve to feed birds in your area rather than house them.
Birdhouses can be placed almost anywhere, including in school areas, parks, cities, and even in your own backyard!
Where to Find Bird House Plans Online
Nestwatch.org’s plans are organized by difficulty level, bird species, and if the project is kid-friendly or not.
They also go into what materials are the best to use, what sort of birdhouse attracts which type of bird, and they provide a ton of other information about its placement and maintenance that will help you create the very best birdhouses.
The site is run by Cornell University’s Lab of Ornithology, so you know these birdhouse plans are research-tested and approved!
AllCrafts.net is a crafting site that hosts even more creative birdhouse plans and bird feeder plans for you to try out. Their site is a self-proclaimed curation of more-overlooked craft ideas because they believe in sharing creative ideas that are often overshadowed on the Internet.
Morningchores.com is a hub of trusty lifestyle guides that may help you become more self-sufficient and attuned to the natural world around you.
Their fun birdhouse plans are sure to attract all kinds of birds to your home for you to watch and admire.
The Spruce is a fantastic site that offers many practical tips and DIY tutorials for free. Their crafting section is constantly expanding, with more and more creative content and DIY plans being added to it every day.
Here is their list of free DIY wooden bird feeder plans that are sure to keep you and your children busy!
How to Make a Birdhouse
The sites we listed above will give you any number of birdhouse designs, but, if you are a beginner just wanting to learn the ropes, this basic plan will work just fine.
Materials
- A single 1×6-inch plank of wood, 5-feet long.
- 1 5/8 galvanized deck screws.
- 2-inch galvanized nails.
- Power drill.
- Spade bit.
- Hand saw.
A Note About Materials
You should use a hardy, weather-resistant wood such as oak or beech. This is to prevent the house from collapsing in on itself or blowing away in harsh weather conditions.
Similarly, untreated and unpainted wood will ensure that the birds won’t be exposed to toxic materials that can harm them or their eggs.
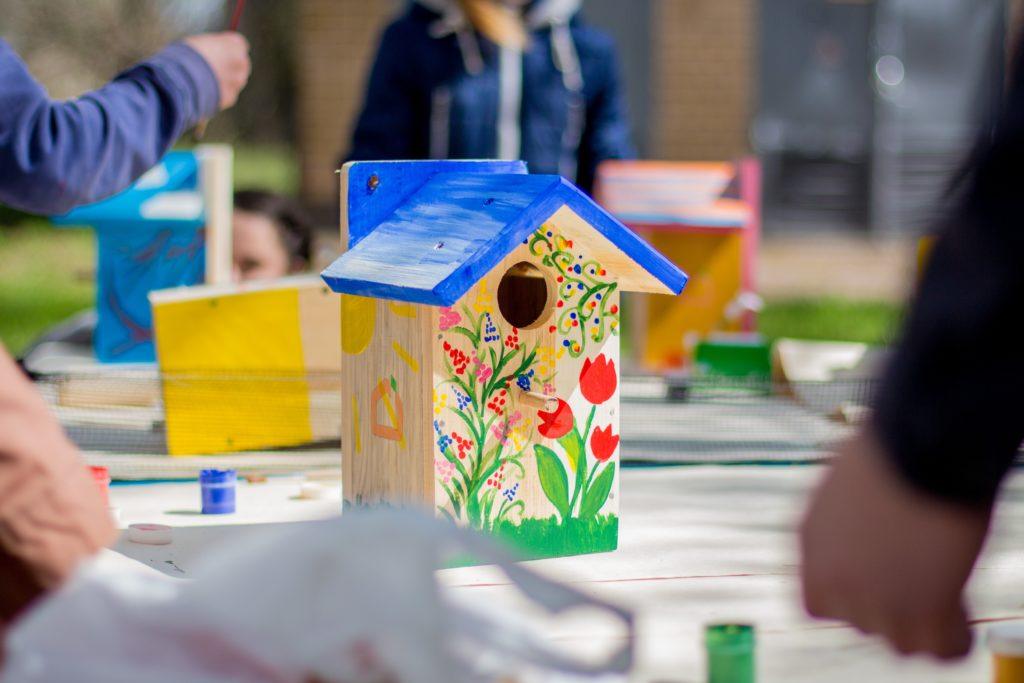
This does not mean you cannot paint your birdhouse at all. Just be sure you use non-toxic paints that are a natural color.
Even if bright colors may seem fun, they could actually scare off birds from using your new house. Make sure to not paint the inside portions at all, as the birds may peck at the walls and accidentally ingest some paint.
At your hardware store, you can request that a wooden plank be cut specifically for you at the measurements listed above.
The 1×6-inch measurement refers to the width and thickness of the plank, while the 5-feet measurement refers to the length. If you want, you can also have your wooden board pre-cut to the measurements below to save on time.
Instructions
Cutting the Wood
First, you will need to cut your board into each piece of the house you will need.
Draw marks along your wood before cutting, so you can get the measurements down correctly.
- The front portion and roof of your birdhouse should each be 10 inches long.
- The back section of your birdhouse should be 7 3/4 inches long.
- Because the roof will lay back at a decline, your sides will need to be cut accordingly. Both sides should measure 8 inches across on one end and 10 inches across on the other. Make sure you cut into the board diagonally in the middle, so that each side piece will be relatively even.
- The floor should measure 4 inches long.
You will have about 10 3/4 inches of extra wood, so if you mess up one section, you at least have this cushion to use – just in case!
Make sure to sand your pieces so they are smooth to the touch.
Drilling the Entryway
You will need to drill a hole into the front piece so that the birds can access this house. The hole itself should rest 7 inches above the bottom of your piece.
Typically, smaller entryways will attract smaller birds, while larger ones will attract larger birds.
A 1 ½-inch entryway will attract birds such as finches, while an entryway that has a diameter of 6 inches will attract crows or jackdaws.
Be sure to sand the hole once you are done to prevent any jagged edges from harming the birds.
Assembly
- Attach your front to both sides of the birdhouse with your deck screws. The screws should fit all four corners of the front piece and through to the side pieces. Make sure the 10-inch sides of your side pieces are facing the front piece before screwing the deck screws in. These screws also make it easier for you to clean your birdhouse once nesting season ends.
- Nail your back piece into the house, ensuring the nails fit into your side pieces and do not poke into the house itself.
- Cut about ½-inch of the corners of the floor to use for drainage purposes.
- Recess the floor 1/4 inch from the bottom of the house, then attach the floor with two galvanized nails from the sides and back portions. Do not nail through the front, as this would make it difficult for you to open the birdhouse again for cleaning.
- Attach the roof to the sides with your screws.
- Put up your birdhouse at least five feet above the ground in a stable place and enjoy!
Here’s a video showing another example of how to make a standard birdhouse.
Alternative Birdhouse Designs
Not all birdhouse designs are made solely out of wood. There are plans made of other materials that you may not even think to use!
How to Make a Gourd Birdhouse
Materials
- One hard-shell gourd (also known as a bottle gourd or birdhouse gourd).
- Bleach.
- Water.
- Fine steel wool.
- Wood preservative.
- Plastic-coated copper wire, 24-inches long.
- Power drill.
- Hole saw.
- Oil-based primer.
- Oil-based paints.
Instructions
- It may take a few months to harvest your own gourd for this project, but it is well worth the effort.
- Make sure you harvest the gourd after the vine has withered, and cut the stem with pruning shears so you do not bruise the gourd. Wash your gourd thoroughly with water, then rinse in a solution that is 1 part bleach and 10 parts water. Dry it with a towel.
- Hang your gourd in a sunny place or a warm, dry area for three to six months. If your gourd is lying on its side, make sure to turn it every day. Do not throw out your gourd if it begins to mold! This is just a part of the curing process. When you do see mold, simply wipe it off with the bleach-water solution given above. The only time you should throw out your gourd is if it becomes soft or wrinkly. This process should be making your gourd harder, not softer.
- You will know when your gourd is dry enough to use when you can shake it and hear the seeds rattle around inside. Once you are certain it is ready, soak the gourd for 15 minutes in hot soapy water, then scrape away the outer skin and mold with a knife. Finally, scrub your gourd with the fine steel wool, rinse once more, and let it dry.
- Drill in the entryway by holding the gourd by the stem and finding a good center point on the bottom where the gourd curves out most. Make sure the hole faces straight out. It is best to cut the hole while it is still wet. The entryway should have a 2 1/8-inch diameter.
- Drill in seven drainage holes along the bottom, two inches apart from one another, with a 5/16 drill bit. Drill another two holes at the gourd’s neck at about two inches from the top. These holes will be for hanging it up and for ventilation purposes.
- Remove the seeds and membrane with a spoon through the entryway. Make sure you wear a face mask when doing this. Soak the gourd in water for several hours if you have trouble removing anything, but also keep in mind that this gourd does not have to be 100% clean.
- Dip your gourd in wood preservative for 15 minutes. Hang it up to dry for several days.
- Sand your gourd out and then coat it in primer. Let it dry, and then feel free to paint it whatever colors you wish. Just be sure that the paints you use are oil-based.
How to Make a Birdfeeder Out of Popsicle Sticks
Admittedly, this plan describes how to build a bird feeder out of wood rather than a birdhouse, but it is still just as fun!
This is a great accompanying project to your birdhouse, allowing the new residents to grab a snack all in one handy place.
Materials
- Popsicle sticks.
- Hot glue gun.
- Rope.
- Bird seed.
Instructions
- For the base and walls, line up 12 popsicle sticks vertically, then lay a line of hot glue across the top and bottom of these sticks.
- Place two popsicle sticks at the top and bottom, horizontally, so they adhere to the glue. Then lay hot glue along the left and right sides. Put two popsicle sticks there as well, vertically, over the last two sticks.
- Put dots of hot glue on the corners and continuously place more popsicle sticks on top in this horizontal-then-vertical fashion. This will result in your birdfeeder’s walls slowly rising!
- Once your walls have risen high enough, put hot glue on the top and bottom of four popsicle sticks and secure them to the front and back sides. This will create posts to hold up the roof.
- Line up two sets of twelve popsicle sticks each. Draw a line of hot glue on the bottom and top of each set, then place a popsicle stick on each of these areas.
- Place hot glue on both sides of one popsicle stick. Stick your two sets of popsicle sticks to this one stick, making sure they angle downward like a roof. Hold these pieces together until they dry.
- Hot glue the top of each post and stick the roof on top. Let it dry before putting a rope through the top and tying a knot to let it hang.
- Place your bird seed in and watch birds flock to your new bird feeder!
Now, here’s a video showing how to make a birdhouse out of sticks.
How to Make a Birdhouse Out of a Shoebox
Materials
- One shoebox.
- Two rectangular cardboard pieces.
- Wrapping paper.
- Scissors.
- Scotch tape.
Instructions
- Draw a circle on the top flap of the box and cut it out with scissors. See entryway measurements from the basic plan above if you want to attract certain types of birds.
- Using scotch tape, tape the top of your shoebox to the bottom.
- Wrap your shoebox in wrapping paper, leaving the entryway open.
- Bend your cardboard pieces in half to create a triangular shape. Place one at the top of your birdhouse and enclose that in wrapping paper. Use the other piece as your roof and tape it securely to the birdhouse.
- Sprinkle birdseeds inside and enjoy!
Conclusion
The birdhouse projects listed above might sound complicated, but once birds start flocking to your area, you will see that the effort is well worth it.
Birdhouses are simple but fun projects for you and your kids to try out, especially if you love bird watching!
What are your favorite birdhouse projects?


