
All quilters need to know how to sew bindings on a quilt. The process is lengthy and can be a challenge to novice quilters, but it remains essential, as bindings ensure that your quilt will remain secure through its many uses.
Understanding how quilt binding works will enable you to better decide how you want to bind specific projects, or how the differing details of binding might impact your work.
We explore the many details that go into the binding process here and lay out the steps you’ll need to take in order to secure your latest project.
Quilters, on your mark – get set – sew!
Contents
What is Quilt Binding?
You will have finished your quilting by the time you look into binding. The edges of your quilt should be straight, and you should be content with your work to the point where you feel you can bring the entire piece together.
You then bind your quilt in order to cover up the raw edges of the fabric you’ve used; this makes the quilt look neater and more carefully made.
Binding also ensures that your quilt top stays in place over the batting and backing.
Before You Start
Even though the bulk of your quilt will be finished, there are still some questions you will want to consider when you prepare to bind.
What direction do you intend to bind in? Which way will you fold up your binding? How wide do you want to cut your binding fabric?
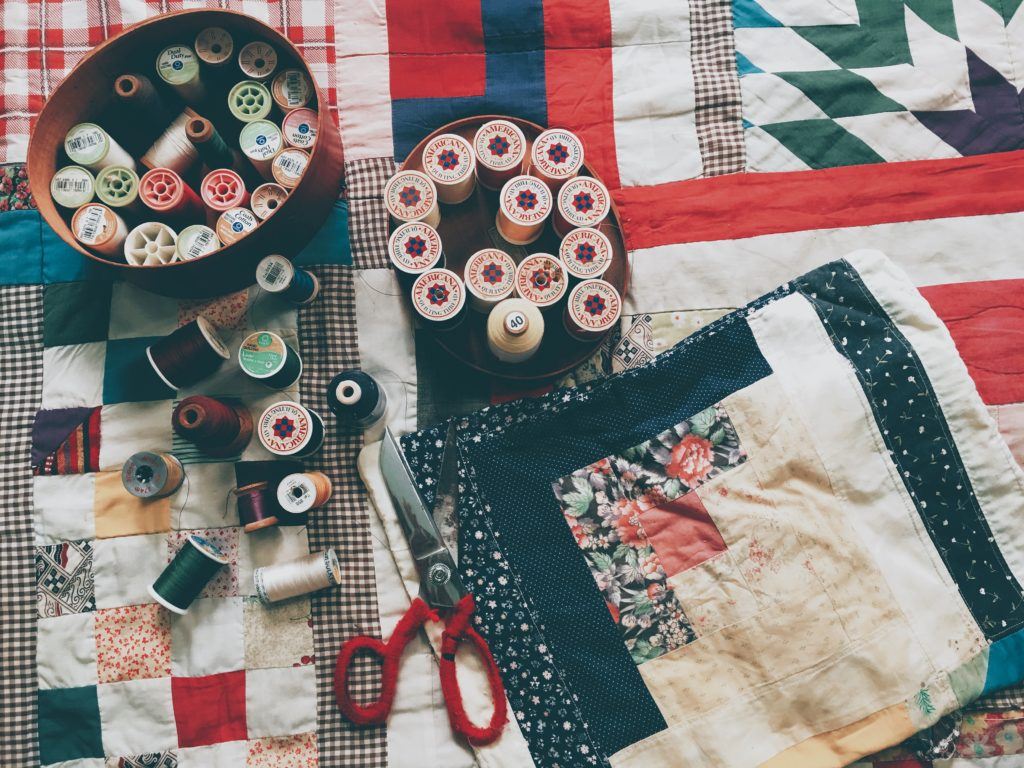
Start with your binding fabric. It’s recommended that you cut your strips of fabric between 2 ¼ and 2 ½ inches wide. You can make your strips wider, if you like – just so long as you have enough fabric to adequately cover your quilt’s edges.
A note, too: the width of your strips should be uniform, but their length may not be. Make sure that you cut long enough binding strips to frame the whole of your work.
You’ll want to decide, too, when preparing your binding fabric, which direction to cut it in. You have some options, depending on how complicated you want the process to be; as such, you can cut a straight binding or a biased binding.
Straight bindings flow with the fabric, whereas biased bindings are cut at a 45-degree angle from the selvage or the edge of the fabric.
Connecting the Binding Strips
Once you’ve cut all of your binding strips, you can bring them together into a uniform strip of fabric. Use the following steps, and take your time!
- Once you’ve cut all of your strips of fabric, take each, separately, in hand.
- Use a felt pen or similar tool to mark a short line from one corner of your binding fabric to the opposite side of the strip. You want this mark to be made at a 45-degree angle.
- Lay this strip down on top of another strip, forming a right angle with the strips’ corners.
- With your sewing machine, sew across the line you drew in Step 2.
- If the match looks well done, cut a quarter inch (¼ inch) of fabric off of the bindings from outside of the line you previously marked.
- Repeat this process until you have a line of strips long enough to frame your entire quilt.
This initial prep work is essential to understand when you’re learning how to make quilt binding.
Don’t worry if you have to start over during this stage. Mistakes are a part of learning, and it’s best to address them early as opposed to later in the binding process, when you’ll need to reach for the seam ripper.
Folding the Strips
Once your bindings have been sewn together, you’ll want to decide how to fold them. Folding your bindings can improve the strength and look of your quilt.
In fact, your available folding options depend on what kind of work you want your bindings to be doing.
A single fold of your binding is reasonably straightforward: you fold both edges of the strip of fabric in towards the center, ensuring that you only have to work with one layer of fabric while you bind.
Alternatively, there is the double fold. When working with a double fold, all you have to do is fold your binding fabric in half.
The double fold will prove sturdier, in the long run, but it does require you to work with two layers of fabric instead of the lone one that a single layer provides.
How to Bind a Quilt
With all of the basics set up, you can then move on to the actual task of quilt binding. You proceed with the binding process as follows:
Making Your Quilt Sandwich
Before you start properly sewing, you’ll want to ensure that all three layers of your quilt are aligned the way you want them to be.
Start with your quilt backing, the wrong side up. Follow this with the batting. Then, conclude with the quilt topping, right side up.
Make sure you have lots of space to work with or at least space into which you can fit the whole of your quilt without unnecessarily bunching any fabric up.
Squaring Up
You will also want to ensure, once your layers are lined up, that there isn’t any excess batting or backing peeking out from beneath the quilt top.
Use your own discretion – or a square ruler – to trim any extra fabric away.
Pairing the Raw Edges
Open one end of your folded binding before placing it on top of your quilt. Trim one end of this particular strip at a 45-degree angle.
Fold this edge back down so that it covers the rest of the strip by a quarter inch. Iron this quarter inch of fabric down. Then, line up the raw edges of your binding strips with the raw edges of your quilt.
Once your strips are lined up appropriately, move your sewing machine – with its binding foot attached – to the edge of the strip you most recently trimmed.
Place this opened edge onto the quilt and stitch forward an inch. At this point, fold the binding back over into your double or single fold.
Leave Yourself a Pocket
Move your sewing machine foot forward, roughly two inches past the opening you’ve left. You will return to this pocket once your binding process is nearly complete.
For now, begin sewing your binding, and continue to do so until you come to the nearest corner. It’s recommended that you keep your stitches ¼ of an inch away from the raw edges of the quilt.
Mitered Corners
Stop sewing once you’re about ¼ inch away from the corner of your binding strip and the quilt. Take the folded binding and lift it so you form a right triangle with it and the rest of the strip.
To do this, lift the binding up above the quilt so that it is no longer touching any other fabric. Then, without angling the fabric, fold the binding strip back down so its raw edges are aligned with those on the new, unsewn side of your quilt.
Your corner should be layered, and you can sew it down the new side of the quilt in order to secure it. This is a mitered corner, and it adds an extra layer of security to your quilt and the bindings.
Repetition, Repetition, Repetition
Much of the process, from here on out, will be repeating the aforementioned steps. Take your time; when you’re learning how to bind a quilt, you’ll want to be careful.
“Careful” does not mean “nervous,” though, and the repetition that binding a quilt requires will ensure that you get tons of practice learning this unique skill.
Joining the Ends
When you come to the place where you started attaching your binding, take care to remember the pocket you left earlier in this process.
Tuck the remaining tail of your binding strip into this pocket. Then, proceed with your sewing as normal until you’ve reached the first stitches you laid down.
Turn and Secure
At this point, you’ve completed half of the binding process.
Flip your binding over the layers of the quilt. You won’t have sewn the whole of the strip down; by staying a ¼ inch away from the raw edges, you’ll have left yourself plenty of material to work with at this stage.
Cover those edges and repeat the sewing process, stitching the remaining binding fabric down to the quilt backing.
Once you’ve made it back around the quilt, you’ll have completed the binding process – and your quilt!
Here’s a video showing you more details on quilt binding.
Tips and Tricks for Binding a Quilt
There are different ways to ensure stability over the course of the binding process; those which you use depend on your confidence and level of skill.
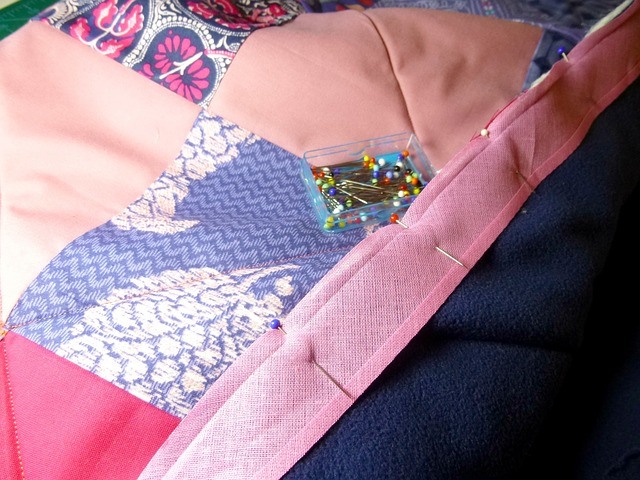
It’s highly recommended that you secure the binding strips to the rest of your quilt with pins or clips before you begin sewing the fabrics together.
If you’d like, though, you can use washable glue in order to gently adjust your bindings over the course of the binding process.
Glue that remains wet is more malleable than pins; you will be able to readjust your work more readily, whereas the use of pins means you will have to unpin and re-pin every time you want to adjust your work.
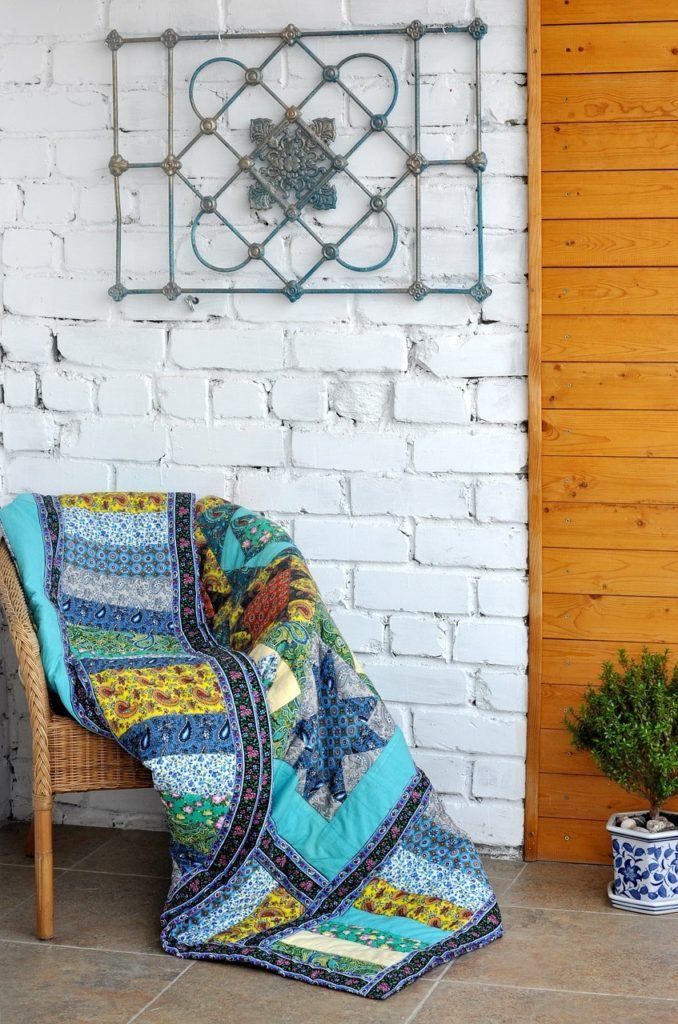
Binding makes your quilts look more professional and ensures that they are more secure. It is through this finishing step that you’ll be able to wrap up a long-term project and enjoy the satisfaction that comes with sleeping under your new quilt or sharing it with someone else.
Do you have any tips on quilt binding?


