
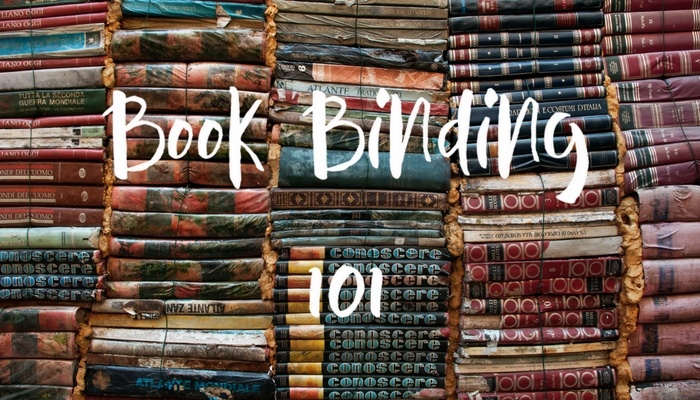
If you want to add a personal touch to a journal, photo album, or even your own piece of writing, handmade book binding is a great way to make your book — or any book — into a work of art.
But the best part? You get to decide the look, inside and out.
If you’re a literature-loving crafter, you’re going to want to dive right in…
Contents
What is Book Binding?
DIY book binding is a traditional craft with a long history, but recently it has become a great deal more popular.
Before there were machines to bind books, each book had to be hand-bound.
This meant that the pages had to be assembled, ordered carefully, folded, and attached to the cover. These pages can be printed, handwritten, or even blank, and there are several different techniques that can be used – meaning you can easily find a way that meets your personal aesthetic.
Though this is a very old craft, a lot of the tools and techniques are still the same as they were way back when.
Book Binding Techniques
Picking out the right binding technique can be a huge part of making sure your final book looks the way you envision. Before you dive into the craft, you should get a feel for these techniques to find which fits your personal style.
Here are a few of the basics:
Section Sewn or Smyth Sewn
With this technique, the pages are hand sewn together using needle and thread, and then they are bound to the cover of the book.
Adhesive and fabric are often used to reinforce the bond between the cover and the pages.
Japanese Binding
This technique works for books with either a soft or hard cover, because it uses stitching along the outside of the spine to bind the pages and book together.
It requires a larger margin than most of the other techniques, but it provides a really beautiful and elegant look that has been characterized in Japanese tradition for centuries.
Spiral Coil Binding
For this technique, you will likely have to purchase a book binding machine.
This machine will help you compile full sheet pages, by cutting a series of holes along the edge of the paper and then weaving a spiral coil through it.
Book Binding Tools and Supplies
To get started, you’ll need the following tools:
- Paper – One sheet for every two pages
- A Cover – The kind of cover will depend on the technique you use, but it can be as simple as a piece of thick cardstock
- Thread – Waxed linen, craft or upholstery thread are probably your best bets
- Needle – Pick a needle with a blunt tip; you will use the awl to create holes, not the needle itself
- Binders’ awl – A tool used to create the holes for thread
- Book binding glue or white glue – Elmer’s will usually work
- A heavy stack of books or something even but weighty
- (Optional) X-acto knife
Depending on the technique you plan to try out, you may want to purchase a few additional tools, which will be listed with other guides you find online.
DIY Book Binding
If you’ve never tried book binding before, here are some of the basic steps with a bit more detail.
When most people think of book binding by hand, they think of the “Section Sewing” or Side Sewn techniques, which involve hand-sewing the pages together once they are assembled.
A great number of the other techniques involve either sewing the pages or gluing them.
The first few steps look pretty similar, no matter which technique you use.
To start, you’ll want to get your pages in order. If your pages are printed or handwritten, you will want to make sure they’re arranged properly, and this can get a little tricky, as they have to be specially collated. For example, while it should read “page one, page two, etc.” in proper reading order when finished, when binding, the “first page” and “last page” will be on the same sheet of paper – like you see on a newspaper.
If your pages are blank, they don’t need to be ordered, so it’s a bit easier.
Once your pages are in order, you can fold them and put them together.
From there, you will have to determine what kind of technique you want to use to bind your book.
If you are using a sewn technique, your next step is to use the awl to poke holes in the pages so they can be sewn together and then glued to the cover.
If you are planning to use a technique that involves only book binding glue or another type of glue, and no sewing, this would be the point where you glue all the pages to the cover.
Once you have your book fully assembled, you can use a stack of books or something flat and heavy to ensure the glue dries flat.
There are so many ways to make a beautiful book, so don’t be afraid to play and experiment with techniques to find out which you enjoy the most!
Take a look at our book binding board on Pinterest to get some inspiration:
Have you tried bookbinding yet?


