
Origami is a traditional Japanese art form that involves folding a single sheet of paper into beautiful shapes.
Many times these shapes are inspired by nature, such as owls, flowers, and cranes. And that’s exactly what we’re going to teach you today!
Ideally, these shapes are folded from a single sheet of paper and are created without cutting the paper or using any glue, tape, or other adhesives.
But how can you pick up this fantastic art form yourself?
Let’s get started…
Contents
Getting Started with Origami – What You Need
No material is needed for these projects other than a square sheet of paper.
If you don’t have one, you can use a rectangular shape — like an A4 piece of printing paper — and transform it as follows:
Take the top right corner of the sheet and fold it down across the front, making sure that the top right corner is creased right at the tip.
You should have a triangle with one point at the top right of the sheet, another point about ⅔ down the sheet of paper, and then a rectangular strip of paper below the triangle.
Cut off the rectangular strip of paper. The triangle will remain.
Unfold the triangle and you will have a square sheet of paper perfect for origami.
Another tip to creating beautiful origami is to crease your folds after each step, ensuring crisp corners and edges on the final product.
Origami Owl: Instructions
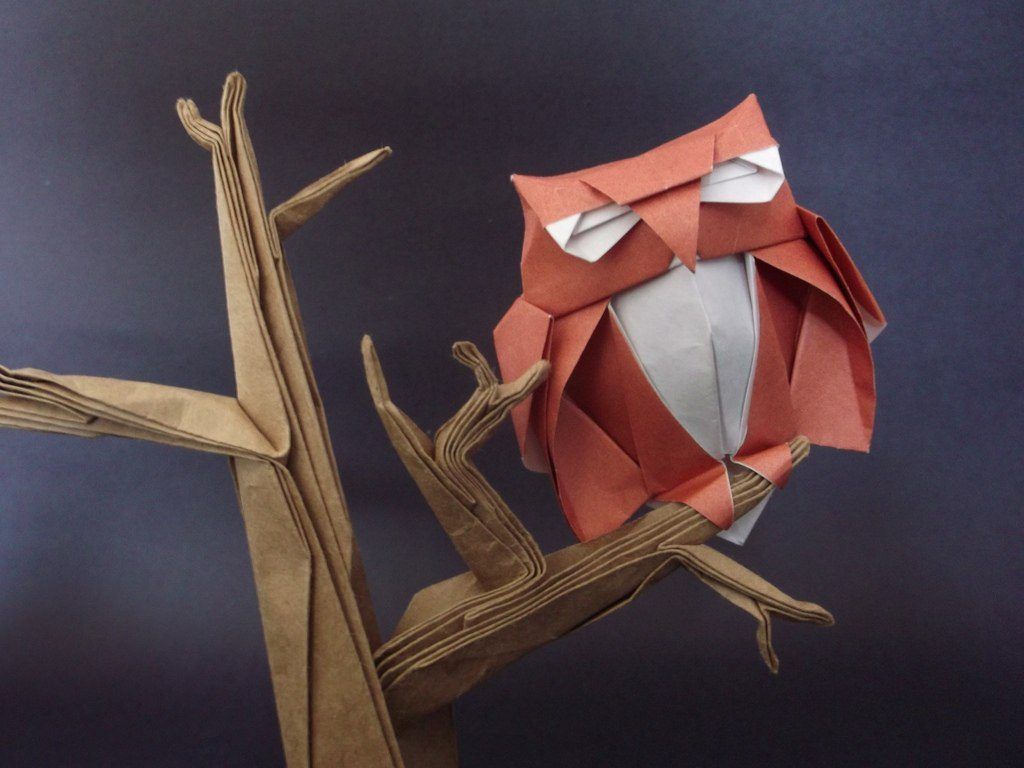
By Arturo Fonseca (CC BY-NC 2.0 licence)
- Start with a square sheet of paper. Place it on the table and orient it so that one corner is facing you and it looks more like a diamond.
- Fold the top corner down to meet the bottom corner so that the diamond is folded in half and is now a triangle.
- Fold the right corner of the triangle over to the left side, resulting in a smaller triangle.
- Open the top of the origami owl, flatten it out, and crease both the right and the left side.
- Repeat on the other side.
- Fold the top layer from both sides over and have them meet in the middle. Make sure to keep creasing the edges.
- Fold down the top triangle.
- Now, unfold that triangle and the two folded over top layers. Open the top layer of the origami owl and fold both sides to meet in the middle.
- Repeat on the other side.
- Take the right and left sides of the top layer and fold them to meet in the middle.
- Repeat on the other side.
- Pull out the right flap from the owl and twist upwards. Repeat for the left side as well. This makes the wings.
- Fold part of the top triangle downwards. Then, fold about ¾ of the folded portion and fold it back on itself.
- Fold the entirely of the upper triangle back down.
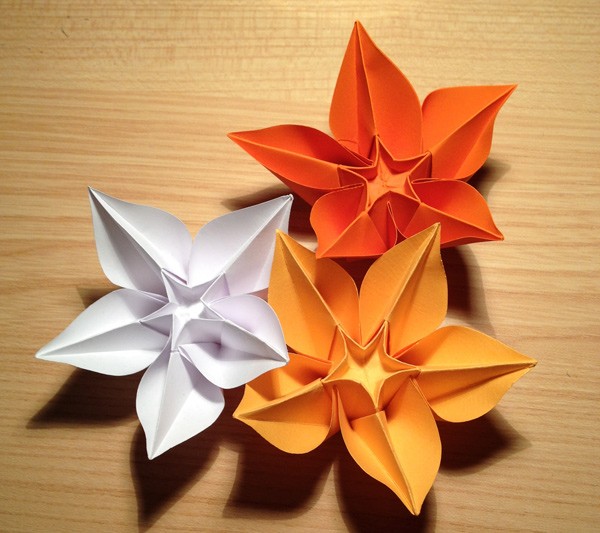
Origami Flower: Instructions
- Start, as before, with a square sheet of paper with the point facing towards you so that it looks like a diamond.
- Fold the paper in half to get a triangle by bringing the top corner to the bottom corner.
- Fold the paper in half again by folding the right corner over to the left corner to get a smaller triangle.
- Open up the top layer and crease the edges, laying it down flat.
- Flip the paper over.
- There will be one long triangular flap. Open it, then flatten it down same as was done in the previous step.
- Rotate the flower so that the side with openings is facing upwards.
- Take the right and left laps from the top layer and fold them down towards the center.
- Flip it over and repeat; fold the flaps towards the center of the flower.
- Fold the bottom corner up towards the top corner. Crease it well, then unfold.
- Open up the petals of the flower.
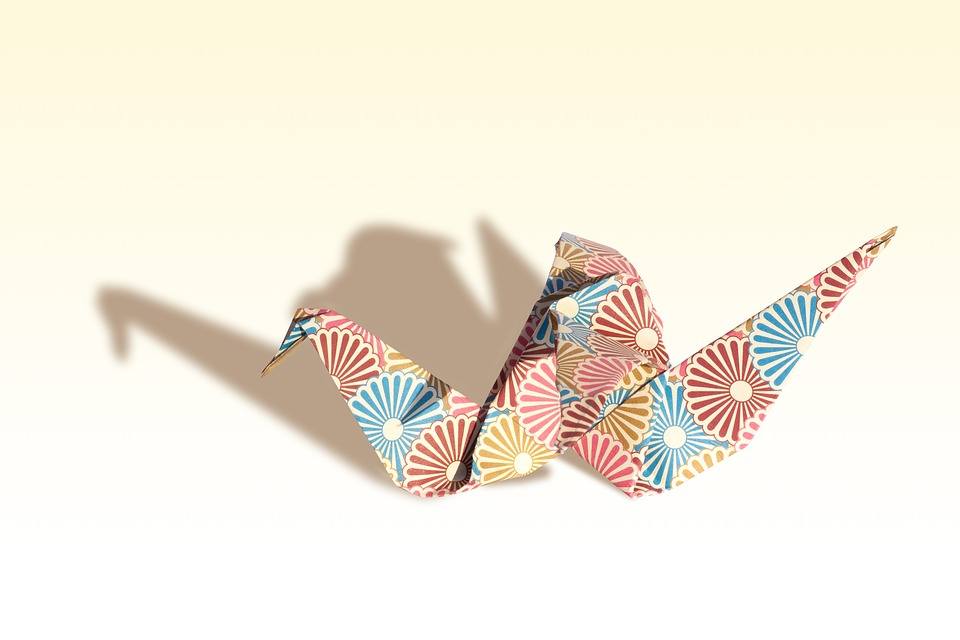
Origami Crane: Instructions
The origami crane is probably the most classic origami construction.
- As with all the others, start with a square sheet of paper. Place it on the table and orient it so that one corner is facing you and it looks more like a diamond.
- the top corner down to meet the bottom corner so that the diamond is folded in half and is now a triangle.
- Fold the right corner of the triangle over to the left side, resulting in a smaller triangle.
- Open the top of the origami owl, flatten it out, and crease both the right and the left side.
- Repeat on the other side.
- Open up the resulting flap and flatten it down top corner to bottom corner, making sure to crease the edges.
- Take both the right and left sides of the top layer and fold them towards the middle of the origami crane. Then unfold them.
- Open the flap upwards again and then fold both sides of that layer towards the middle. The result is an elongated diamond shape.
- Flip the crane over and repeat on the other side.
- Pick up each side of the upper layer. Fold the bottom ⅔ of each side of the upper layer towards the middle of the crane.
- Repeat on the other side.
- Fold the right flap over the left. Flip the crane over and repeat.
- Take the bottom corner of the origami crane and fold it upwards, towards the top corner. Flip it over and repeat on the other side.
- Under the resulting top flap will be two tabs. Pull them out.
- Slightly open one of these tabs and bend a tiny portion of the top corner downward. This becomes the head.
- Bend the wings (the flaps behind the head and tail of the crane) downwards 90 degrees.
And there you have it! Now you’re fully equipped as an origami master.
Which origami will you make first?


