
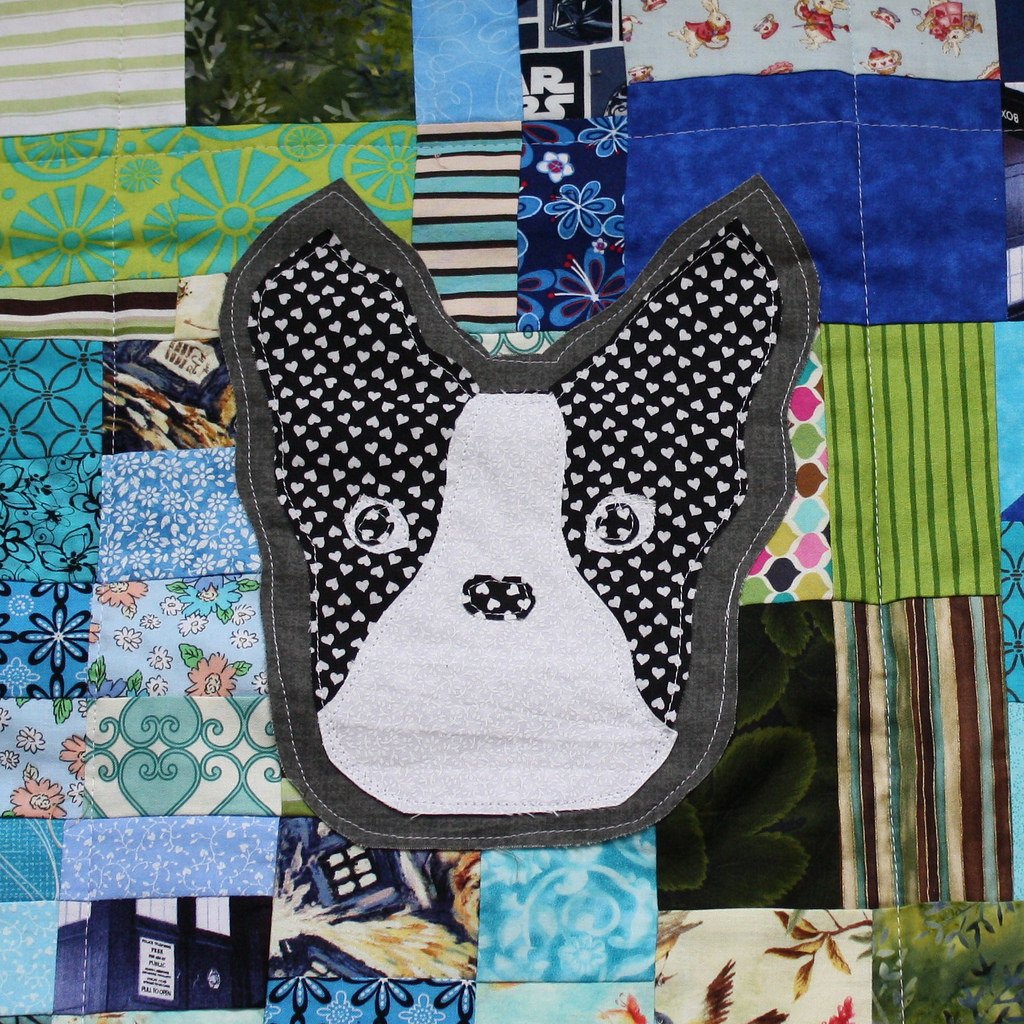
Although this is probably your first time learning (or perhaps even hearing) about applique, chances are you’ve already seen this beautiful art form.
By anneheathen (CC BY 2.0 licence)
The designs on your grandmother’s quilt, the embroidered initials on a child’s backpack, the intricate patterns carved into the wood on the mantle of an old home – these are all examples of applique.
If you want to add a one-of-a-kind touch to your craft project, applique is an easy way to add that special something to your work.
Let’s find out more…
Contents
What is Applique?
Applique is the process of sewing a small piece or layer of fabric onto a larger base fabric.
The smaller piece of fabric is often a different color or material than the base, which creates a unique contrast. Appliques are versatile in that they don’t have to be limited to fabric and can extend as far as your imagination. Some examples are lace applique, wood applique, and sequin applique.
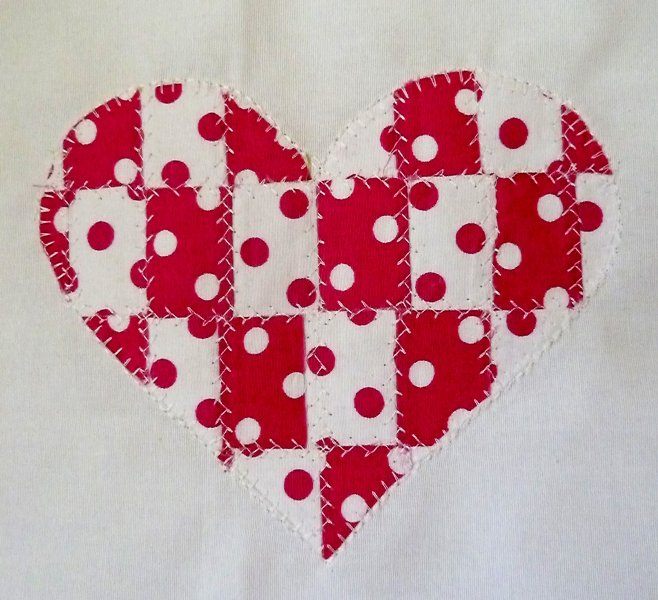
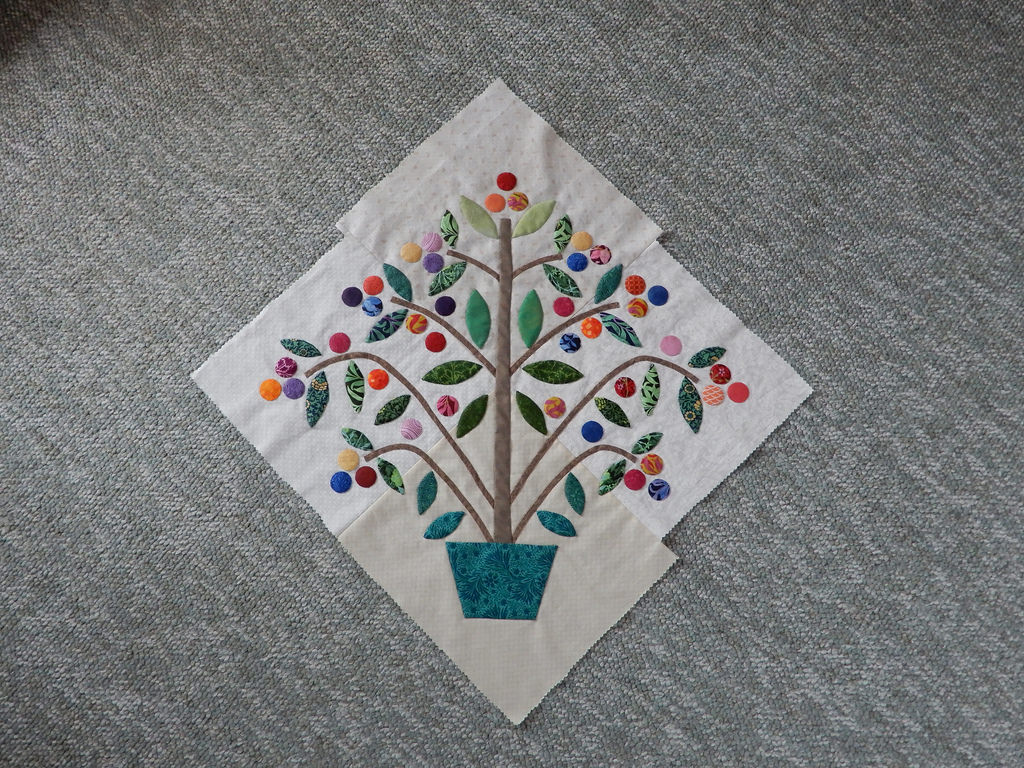
What Can You Make With It?
The great thing about applique is its versatility. You can create a wide array of things that have an applique flourish.
Applique can be used to create clothing, bedding, pillow shams, woodwork, totes, purses, curtains, upholstery… Nearly anything that can be stitched or put together can have an applique!
The best part about applique is that, no matter where you put it or how you sew it, it’s an original.
By Sarah Witherby (CC BY-SA 2.0 licence)
Applique Tools and Supplies
Below are the basic tools you’ll need to try your hand at applique.
For the purposes of this post, we’ll be going over hand-sewn applique since it’s the most common form.
You will need:
- A pencil (for drawing/tracing designs)
- The applique design of your choice
- Fabric (preferably ones that resist fraying)
- Sewing shears
- Fusible web (to help transfer your design onto the fabric)
- Sewing needle or sewing machine
- Iron and ironing board
- Additional supplies like sequins, buttons, ribbons, etc. as needed
- A garment or fabric to applique
How to Applique
Draw/Trace Your Design
Decide on a design that you like and want to applique. You can come up with your own design or you could use a design template of your choosing.
Once you’ve made your choice, draw the image onto the paper side of the fusible web. Remember that for the design you choose, its mirror image is the one that will show up as an applique.
Cut Out Your Design
When you initially cut your design, leave some border space around it and along that border. Don’t cut along the outline of the design.
Adhere the Fusible Web Design onto the Fabric
Decide on what fabric you want to use for your design. Remember to note the direction in which the fabric pattern/print goes.
Be sure to position your design to where the fabric thread runs horizontally or vertically, not diagonally.
Once you’ve positioned your design, heat your iron to a hot setting with no steam. Then place your design on the back of the fabric, making sure that the paper side of the fusible web is facing you.
Adhere the paper to the fabric by pressing the iron over it for a few seconds.
Make sure to press and not glide the iron over as gliding runs the risk of repositioning the paper and fabric.
By jam_232 (CC BY 2.0 licence)
Cut Out Your Template
Once the design has adhered to the fabric, use your shears to cut along the outline of your design. Then you can peel the backing paper off the image. For this we suggest creating a cut in the middle of the paper and extending that cut upward. This prevents damage to the fabric.
Secure Your Template
Position your fabric design onto the garment/fabric that you want to applique. When you’re happy with the placement, secure the fabric by going over it with the iron.
The bonding agent from the fusible web acts as a glue that sticks it to the base garment/fabric.
Stitch, Stitch, and Stitch Some More
How you sew your fabric is up to personal preference. You can choose to hand-sew or use a sewing machine, not to mention that there are plenty of sewing techniques to choose from.
The thread you use to sew should complement the colors used in the design fabric. You can choose to leave the raw edge of the design exposed or stitch up the edge – it’s up to your personal preference.
Choose a stitch that you’re comfortable with (we suggest a satin stitch, blanket stitch, or straight stitch) and get sewing!
Embellish! (If You Want To)
Once your image is stitched onto the garment/fabric, then you’re free to add your own personal touch.
You can glue on some sequins, weave some ribbon – whatever you want!
Here’s a great video on applique for beginners:
How and Where to Find Applique Designs
The great thing about applique is that there are literally hundreds and thousands of designs out there for you to choose from.
Hobby stores sell books with applique designs (and most of the tools you’ll need to get started), and even some department stores may have some templates to work with.
The easiest way to find designs is to search the web: Google, Pinterest, and Etsy have a wide array of images to choose from.
Check out our Pinterest board for a little inspiration:
Although many online templates are free, there are a few you would have to pay for. Or, if you consider yourself to be a pretty creative person, nothing beats an original design you drew yourself.
Wherever you get your inspiration, once you try your hand at applique, you’ll never look at your crafts the same way again!


