
Even if you’ve never so much as touched a paint brush before, acrylic painting is a fantastic place to start – thanks not only to how widely available it is, but also because of how inexpensive the materials are to get started.
It’s a relatively young material that’s only been in use for less than a hundred years, but is still a fan favorite for many artists.
So, how do you paint art with these elusive and wondrous things known as colors, pigments, and mediums?
The best method for learning how to paint with acrylics is to jump right in, so let’s get you started with the basics!
Contents
What is Acrylic Paint?
The main ingredient in acrylic paint is acrylic resin, which is more or less plastic. Together with pigment in varying amounts, along with a polymer, you get an emulsion that results in a substance you can paint with.
Because of these properties, acrylic paint is known to be water-soluble when wet, making it easy to mix into other colors, while at the same time becoming water-resistant when dry.
If you get some on your clothes or an item you’d prefer to keep clean, your best bet is to wash it off right away while the paint is still soluble!
History of Acrylic Paints
The German chemical company BASF created what was probably the first known acrylic resin in the year 1934, though, as a paint, it was not used until the 1940s.
In general and over the years, many artists and chemists began to experiment with pigment and acrylic resin, resulting in things like ‘Magna’ paint, which was a mineral spirit-based acrylic paint, and ‘Aquatec’, a waterborne acrylic paint.
In the 1950s, acrylic paints were finally made commercially available to the public, and since then, they have been used for everything from nail polish to house paints.
Artists as a whole began to use acrylic more and more into the 60s, when high-viscosity paints became popular.
In modern times, acrylic painting has become one of the chief go-to’s for beginners, thanks to its inexpensive start-up costs and quick clean-up.
Acrylic Paint vs. Oil Paints
The main difference between oil paints and acrylic paints is not pigment or usability, but the vehicle with which they are emulsified.
Not surprisingly, oil paints are bound with oil (usually linseed, or other drying oils), whereas acrylic paints use water.
At the forefront of their differences in actual use, though, is their drying time. Oil-based paints take a very long time to dry, which can be seen as an advantage in using some techniques, but a poor trade-off if one wants to work quickly.
Acrylic paint, while it typically dries fast, can be slowed with the use of acrylic retarders; typically glycerin-based additives which slow the evaporation of the water in acrylic paint.
Lastly, oil paints require the use of mineral spirits or turpentine to clean up, while the water-soluble acrylic paint is easier to wash off of brushes with as little as hot water and soap.
How to Get Started with Acrylic Paint
Acrylic painting for beginners is simpler than you might think!
There is a stark difference between professional and student set-ups, but what’s important is that you don’t need a ton of money to get started.
First things first:
Have Lots of Clean-Up Supplies
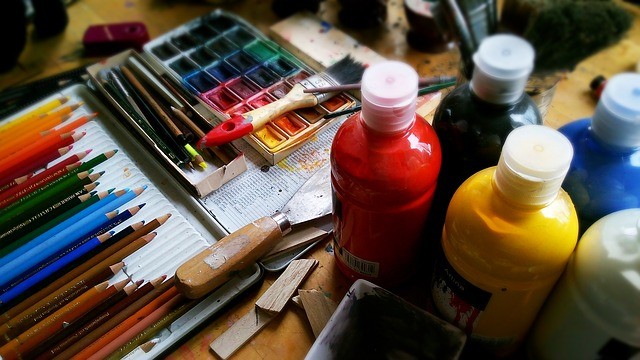
You’re going to need some paint (no surprise there), but there are a few other investments to make.
First off, you’ll need clean-up supplies, unless you are quite particular about where your paint goes, and any seasoned artist can tell you ‘the paint goes where it very well likes’ – your clothes, your hair, under your nails, and on any surface you keep nearby!
Make sure you have plenty of rags or paper towels at your disposal before you begin, as well as a cup (or jar) of water.
Finally, have enough soap to clean your hands, your clothes, and the brushes you’ll be using!
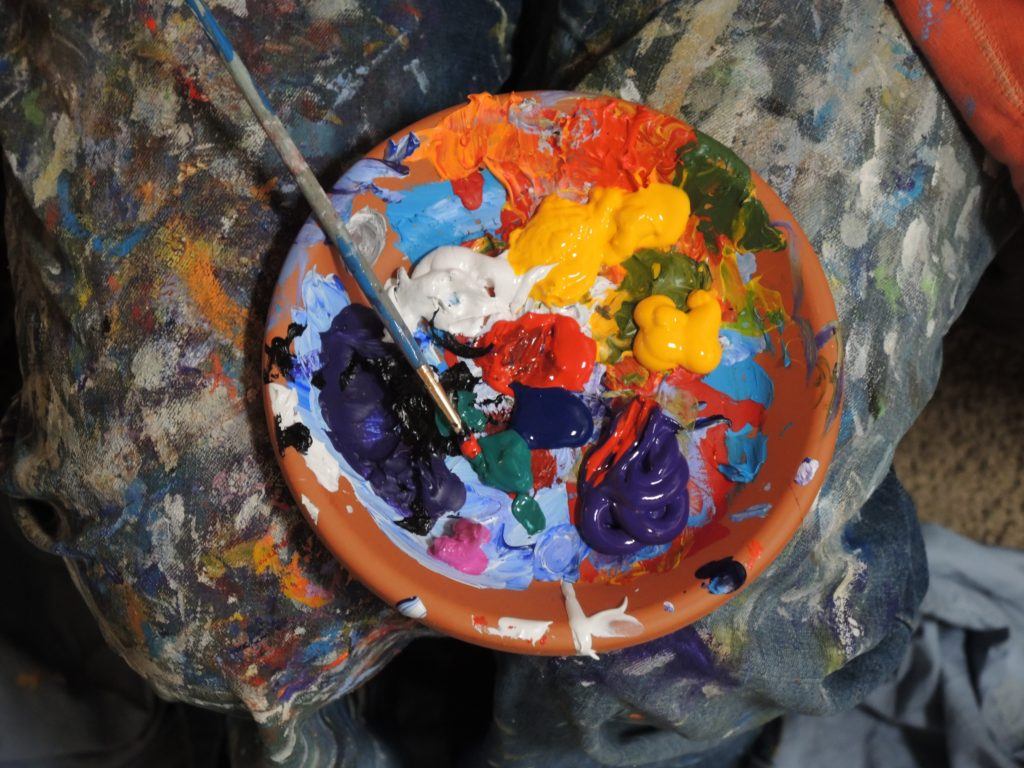
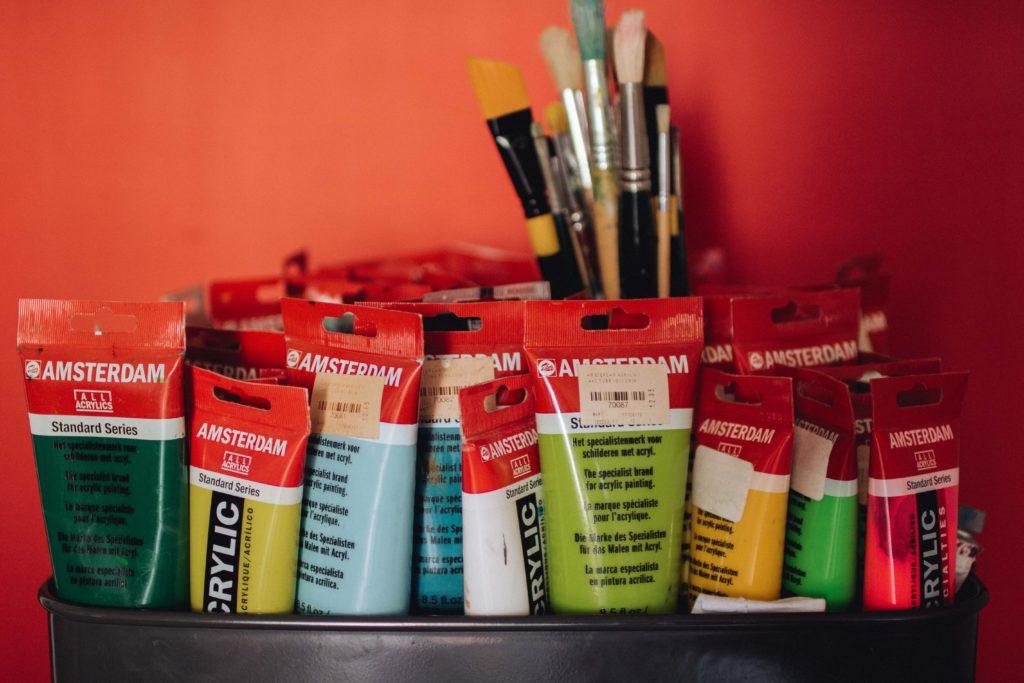
Choose Your Paint
There are two grades of acrylic paint: artists’ quality (sometimes referred to as professional-quality) and students’ quality.
Generally speaking, professional paints are higher quality, but also more expensive, while students’ acrylic paints have a smaller range of colors and sometimes not-so-great pigments.
When you’re first starting your journey, make sure you have most of your primary colors such as yellow, orange, red, green, blue, and violet, with some love given to white, black, and brown.
If you need any other colors, you can personally mix your selection as required.
Choose Your Surface
On that note, what should you be painting on? Acrylic paint can be applied to most anything, from hardwood, to paper, to metal and even plastic.
As a beginner, stick with either canvas or some kind of wood, and stay away from plain paper – unless it is specifically crafted to be used with acrylics. This is only because, when acrylics are used on paper, they tend to bleed through to the other side and can cause the paper to buckle, shrink, and warp.
If you want to experiment with a technique or test a color before you apply it to your painting, paper is fine, but you should otherwise plan on a stretched and pre-primed canvas.
Cheap canvas can be found at most superstores, such as Walmart or Target, and is more than suitable for a beginner artist practicing their acrylic painting techniques.
Choose Your Brushes
Now you have your paints and surface. How about something to bring it all together?
There are two types of brushes that come in a wide and astounding array of shapes, sizes, and brands: natural and synthetic.
Natural bristles made from things like stiff hog bristle or soft sable are typically used for mediums like oil paints, because of their ability to cope with the weight of the paint.
They’re known to keep their shape even after many uses, but can be on the expensive side; even professional acrylic painters stick to synthetic brushes when they’re working on masterpieces.
Synthetic bristles are more suited to acrylics, because they stand up to the amount of time they spend in water, and on top of being easier to clean than natural-hair brushes, usually cost just a fraction of the price.
To begin your painting journey, it’s a frugal idea to choose an inexpensive set of synthetic brushes without worrying too much about stiffness or brand. They’re likely to come in a few different shapes when part of a beginners’ set, so you’ll be able to practice without breaking the bank!
Basic Techniques
Now that you have all you need to get started, do just that: get started!
Here is a list of a few acrylic painting techniques you can use for growing accustomed to the feel of your brushes and the weight of your canvas.
Dry-brushing, which is the most basic of paint application, is simply when you take a dry brush with undiluted paint and apply it to your canvas.
By using this technique, you will create a strong line of color on your surface. While it may not have the dilution of water to soften the edges, this can add a purposeful and textured appearance to your art.
Washing is when you go towards the other end of the spectrum and water down your paint as well as wet your brush.
By doing both, you will get much softer lines and smoother edges from your brush, as opposed to the textured and dry appearance of dry-brushing.
Try using both of these techniques on one surface to create a painting with a variety of textures!
Splattering can be a lot of fun, and as the name suggests, it can get quite messy!
With your brush quite wet, gather some paint on the edge of your brush and flick it towards your canvas, using either the momentum of your wrist or a finger on the end of the brush.
Many artists use this technique when creating abstract landscapes or beautiful, starry nights. As with other techniques, it adds another layer of texture to your painting, so don’t be afraid to give it a shot.
Stippling, while often a method used in drawing, can also be leveraged with acrylic paints. It creates a group of tiny dots thanks to the bristles on your brush.
Stippling can be used with a wash or with a dry brush, making it versatile in the areas of texture and color-variation. Try stippling a few different colors on top of one another, and see what happens!
How to Build Your Painting
One of the easiest methods, try ‘blocking.’ Beginning painters can use this to actually paint a picture instead of remaining on the abstract end of the spectrum for the rest of their careers.
Using this method, the painter uses a graphite pencil to draw (lightly!) what he or she desires to paint in basic and general shapes. For instance, the outlines of a piece of fruit, an animal, or even a house!
Then, the painter can paint in blocks of simple color, using whatever texture-giving techniques they like, in order to complete their painting session with a finished piece.
Nothing says ‘motivation’ like actually getting something done!
Here’s a video showing more tips for acrylic painting.
Now Get to It!
Above all – the supplies, the practice, the cleaning and the expense, great or small – comes the first and foremost method: actually painting!
Whether you have the cheapest of the cheap or have gone to great lengths to ensure you have the most expensive brushes in town, what’s necessary to get started is not an expensive class or a hundred different colors.
It’s a paintbrush full of paint and a surface to put it on! Happy painting!
Do you have any tips for acrylic painting?


