
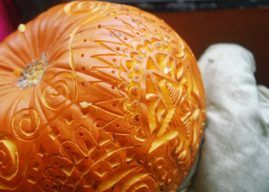


Hands On

Tutorials and hands-on guides for crafty kids and adults alike. Simple steps for projects that you can make entirely with your hands without the need for machines or fancy tools.
Featured In Hands On


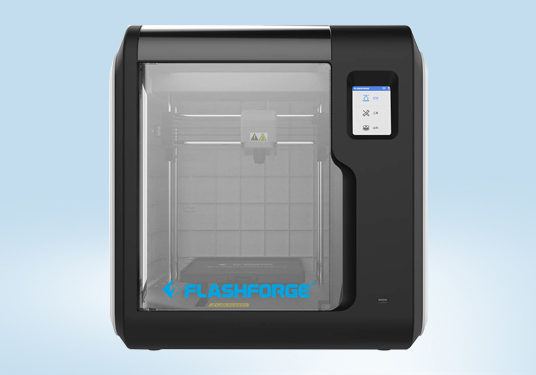
Let's Get Digital
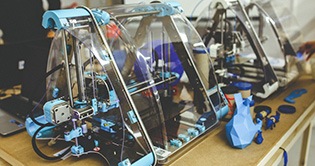
Time to revolutionize your crafts with the latest high tech devices. We review the latest 3D Printers and DSLR Cameras, as well as provide you with amazing photography tips and tricks.
Featured in Let’s Get Digital


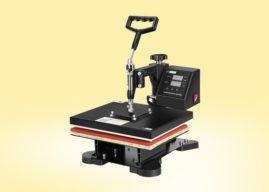
Art Class

Optimize your artistic skills with our tutorials. We cover everything in between painting and drawing, as well as going deep on specialist skills like pottery and calligraphy.


