
Sharing food may be a fun and creative way to tell a story about your day, but for some, the quality of food photography is crucial to making or breaking business.
From five-star restaurants to grocery stores and bakeries, food photography is absolutely vital to marketing campaigns.
It’s important to compose eye-grabbing photos that will have your followers wanting more. Try these simple food photography tricks to instantly improve your pictures.
[toc[
Choose the Best Lighting for Food Photography
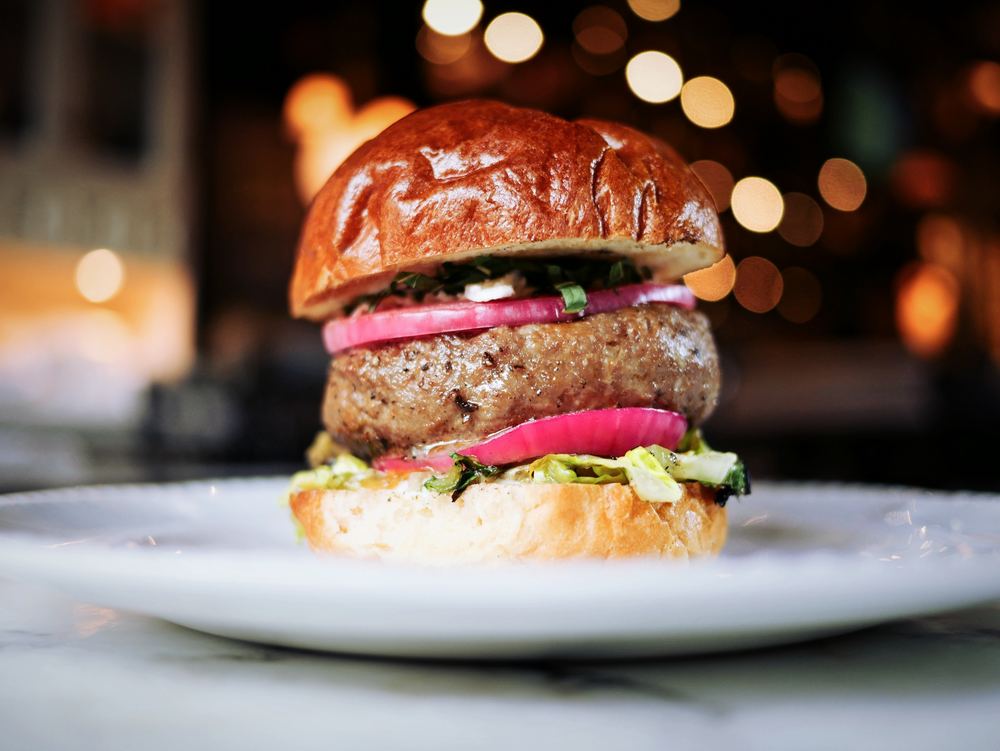
In choosing the proper lighting for your food photography, be mindful of harsh shadows. Excessive shadow in one area can cause portions of your food to look dark and unappetizing.
Similarly, be careful not to overexpose the shot with too much lighting, as this will drown out the image. Soft, natural light will give you an appetizing blend of the two.
The best version of natural light is outside or next to a window during overcast. You want it to be bright out, but not so much so that the sun is beaming down on your food.
This is called indirect lighting, which provides the balance of glow and shadow to highlight food textures.
Don’t have access to natural light? Create the indirect lighting effect with warm, softer photography filters in your smartphone. Try filters, such as Lomo-Fi and Hefe.
Choosing the best lighting involves thinking about the details that make your dish so delicious.
Want to capture the soft texture of a gelato cone? Maybe you want to emphasize the flakiness of a freshly-made croissant.
No matter the food of choice, always be aware of the aspects you would like to showcase before taking the picture.
Check out this video for more food photography lighting examples.
Get Creative with Food Photography Presentation
Presentation has many components to it, but let’s first hone in on plating and arranging the food. The key is to arrange your food, utensils, garnishes, and plates to match the aesthetic you have in mind.
What style are you going for? Maybe you’re shooting a bowl of tonkotsu ramen and want a rustic feel. Then you would opt for a wooden surface table and a black bowl with plain white chopsticks.

Next, think of the details. How can you showcase the best assets of the dish?
Going with the ramen example, you could bob the hardboiled egg to the surface, exposing the yolk’s richness and texture.
Or you can add sesame seeds and dry seaweed squares to emphasize a variety of elements and spices.
Diversify Your Food Photography Props
The perfect food photography prop will complement your food and overall theme.
Shooting a lemon meringue pie? Go with light colours and soft cloth linens, or add a few lemons in the background.
Include items that may have been used to create the dish, such as a rolling pin or a whisk. Creatively using props such as these can liven up your photo, making it look and feel more original with a hint of a backstory.
Food photography backdrops are essential props to consider if you’re tired of taking your photos on the same surface over and over again.
Some affordable food photography backdrops are old sheet pans, ply wood, and craft paper.
Old sheet pans that are significantly worn out and rusted can resemble a rustic tabletop when set upside down.
The plywood can resemble a fence, if placed a few feet behind the dish, as well as a ranch-style wooden table.
Use craft paper to complement fun colours. Clip the construction paper onto a foam board to give it depth.
Switch Up the Angles
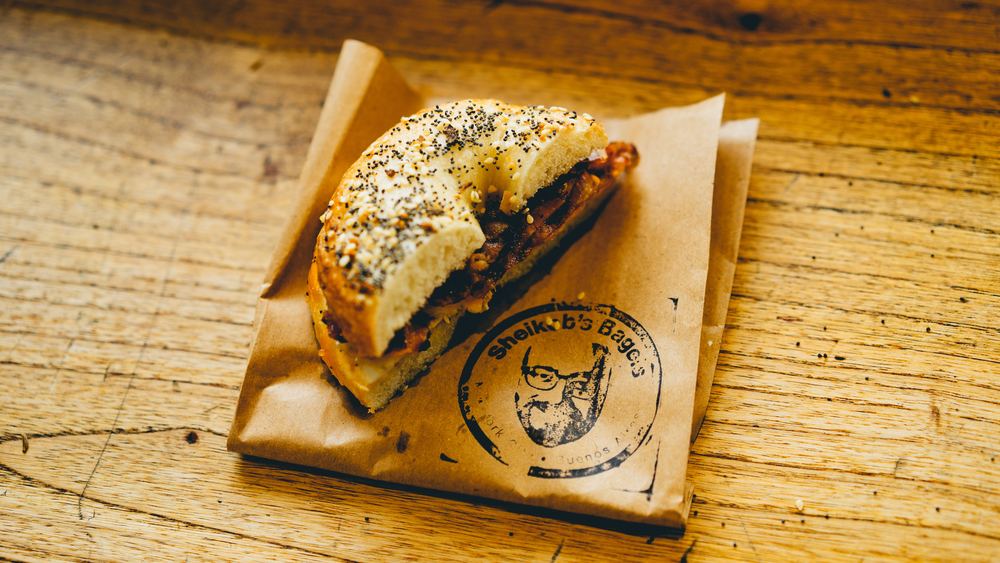
Angle your shot to emphasize what makes your food so delicious. The best angle, of course, depends on your food.
If you are shooting a beefy California burrito and want to emphasize its juicy meatiness, try cutting it in half to show off the inside textures and layers.
Shooting flatter objects, such as a full pepperoni pizza? A pizza pie would shoot beautifully with an overhead angle, showcasing the blend of intricacies and colours on the plate.

Some go-to angles are the diagonal shot, also known as the dutch angle. Use this to shoot longer dishes, such as sushi or long cakes. Your subject would start on one corner and end on the opposite.
This shot is inviting because it captures a more dynamic perspective of your meal as a whole.
Another angle is the gentle tilt. Instead of a straight shot, your phone or camera should tilt slightly to the left to focus on a portion of your food.
The gentle tilt has the same effect as a side-shot. The purpose is for the viewer to scan the dish by section, but to still see the image as a whole.
Touch Up with Food Photography Editing
Don’t go wild with editing, but do rely on apps and programs to give your food photography a few touch ups.
Make your photos look better by sharpening the images and playing around with the white balance. White balance is what makes your image look more “cool” or “warm.”
You can also make your food photography look more crisp and professional by adjusting the brightness and contrast.
A couple of apps that make editing easy are Snapseed and FaceTune. These apps have many tools to showcase a variety of colours, highlights, and shadows, along with intricate, adjustable filters to use before sharing on Yelp, Snapchat, or Instagram.
These food photography tricks will get your creative juices flowing and have you thinking like an artist.
Your pictures become more than just images of scrumptious snacks. They are now portraits that capture the essence and decadence of a dish.
Have you tried your hand at food photography?


